|
Advertisement / Annons: |
My astronomy project:
|
Contents:
Note: |
3, Needed belt length, measurements:For a while I thought the belt drive system will be too costly and also a bit complicated to adjust the tension. Then I tried set up my own timing belt system but find it hard to get proper components to built it from. It was hard to find the T2.5 timing pulleys of correct size. Then I came in contact with Bojan at IceInSpace forum who had already done what I want to built. He told me that he use another standard of timing belt, the GT2 standard, suddenly there was plenty of alternative timing pulleys to use. After that I'm back in the timing belt system plans. GT2 profile are used in the 3D printer world because its smaller profile give more smooth movements and less backlash, exactly what I want. I have almost found all the needed parts for this project. Now I have to find what length of the timing belt I need to have. The closed chassi of the EQ6 make it very difficult to see clearly how the parts shall be mounted, one example, the distances between the shafts where the timing belt connect. Here I do measurements to find the distances.
Note: DEC axis:
The DEC stepper motor and its mounting block. The extended mounting holes let it be adjusted sideways to have the gears to come in contact with correct distances. Now I shall use this to get the correct tension of the timing belt. But because the adjustment is limited to about 5 mm the length the timing belt must be almost precise in length. 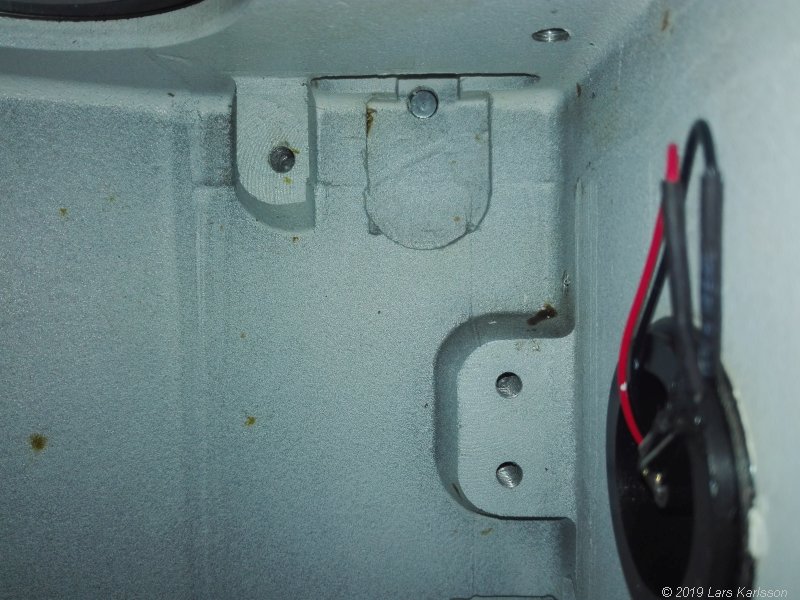
This is the space where the DEC stepper motor is installed. To the right is the opening for the RA axis with the LED for the polar telescope. 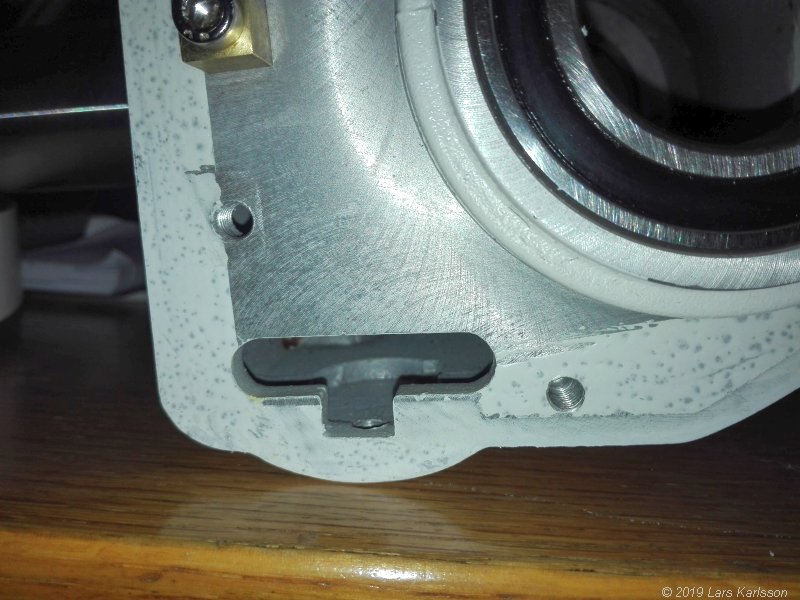
Through this hole the middle gear of the internal gearbox protrude and connect to the worm gear shaft with its spur gear. 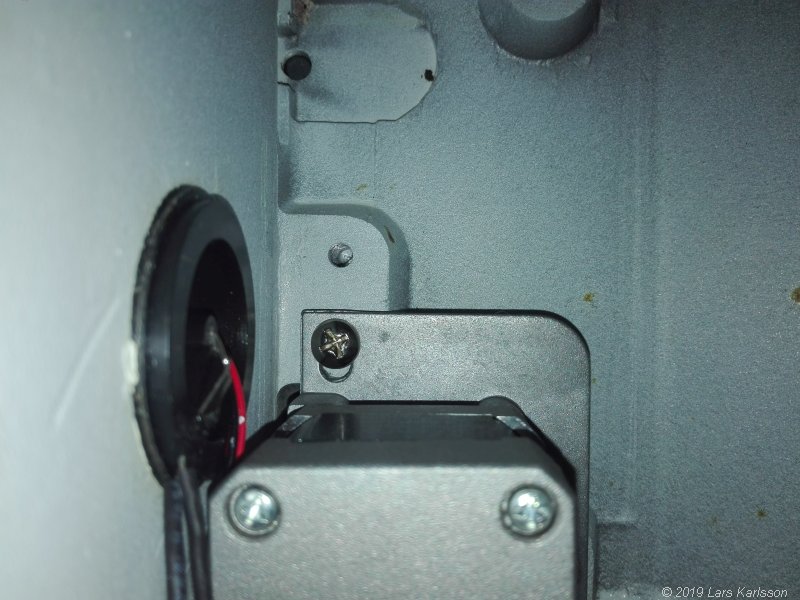
The stepper motor installed, now in its closest position. 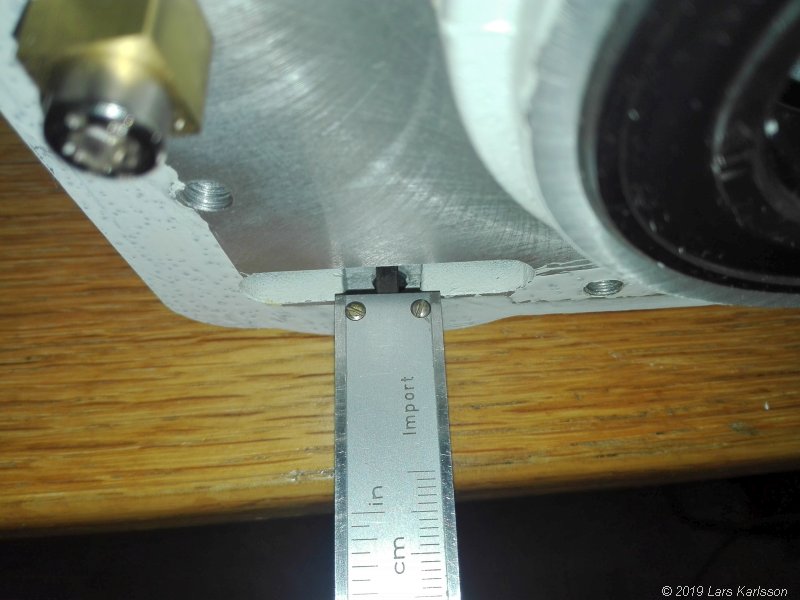
I measure the distance to the face of the chassis from the shaft. 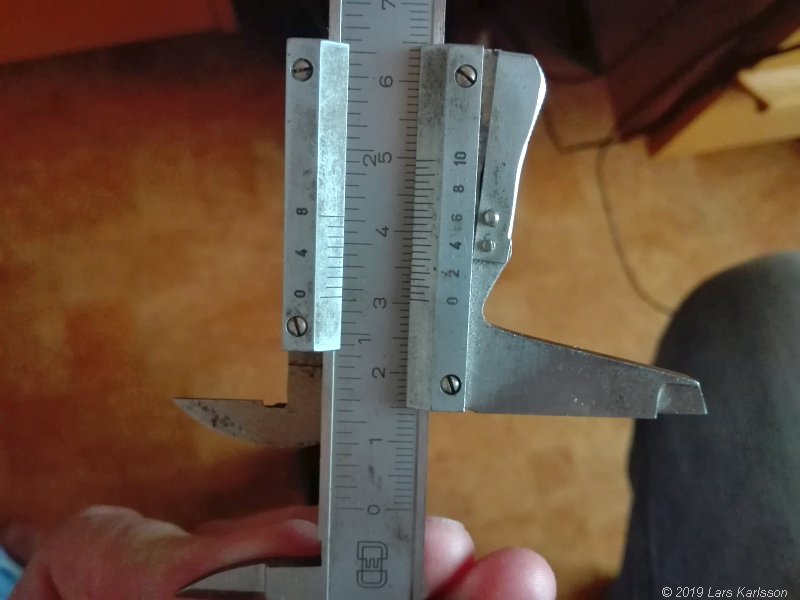
I get the distance to 30.5 mm, to this I must add 2.5 mm because of the shaft diameter of 5 mm. Then we have a distance of 33 mm together. 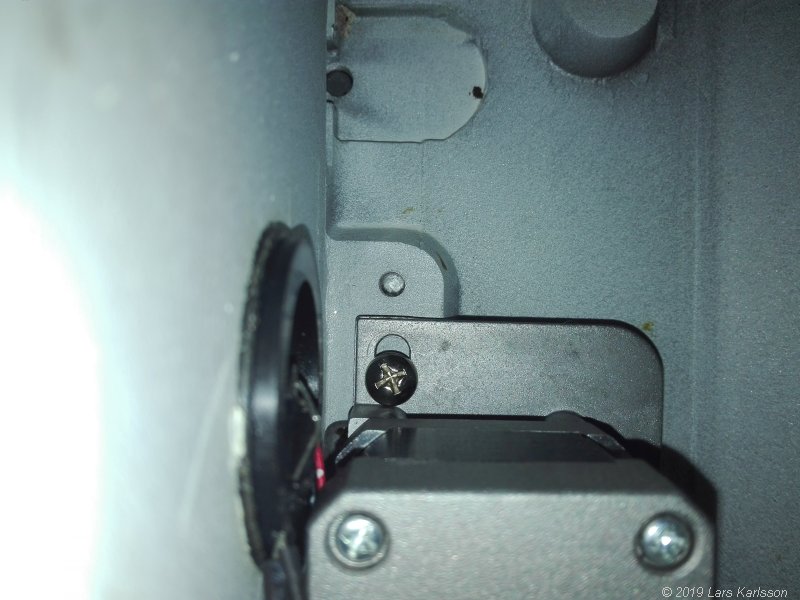
Now I had moved the stepper motor to its outmost position. 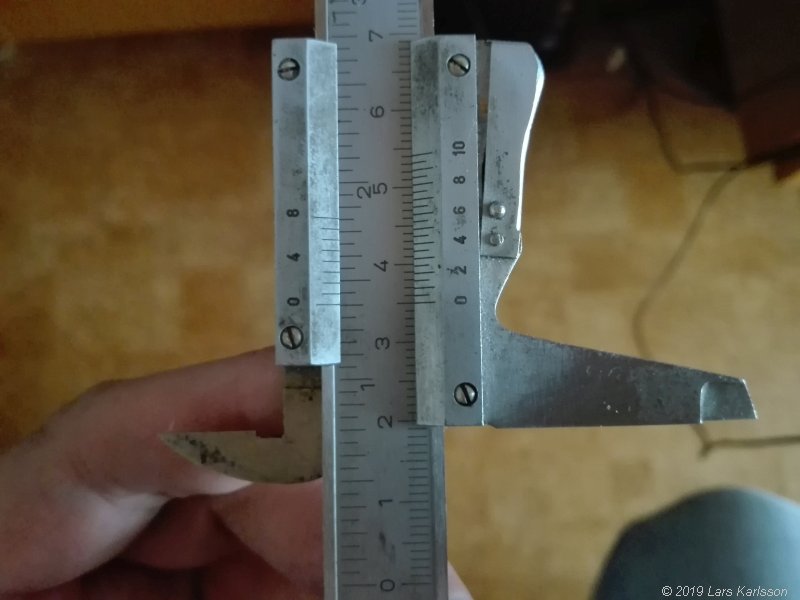
The distance in this position is 35 mm, or 37.5 mm distance to the center of the motor shaft. |
I must also know the distance in the DEC worm gear chassis. This distance is 14 mm. From this measurements I get the following: In its closest position: 33 + 14 = 47 mm distance between the two shafts. In its outward position: 37.5 + 14 mm = 51.5 mm distance. RA axis:I don't know if the distances are equal between the DEC and RA axis, I have to measure the RA shaft distance too. 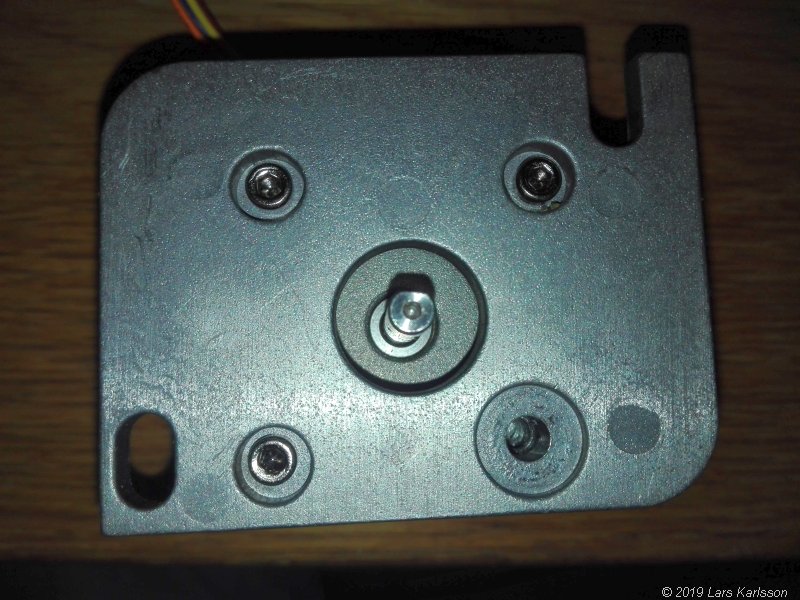
The mounting block of the RA stepper motor is a little bit different. 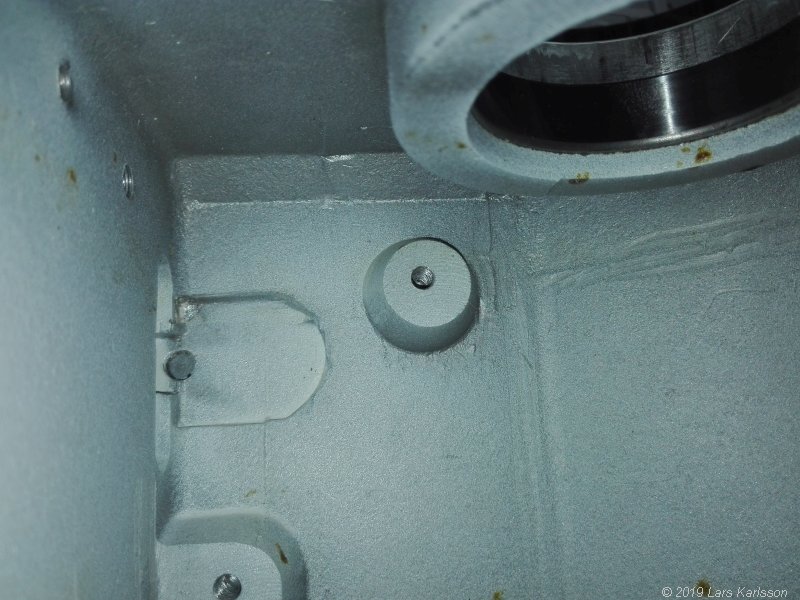
The space where the RA stepper motor is installed. 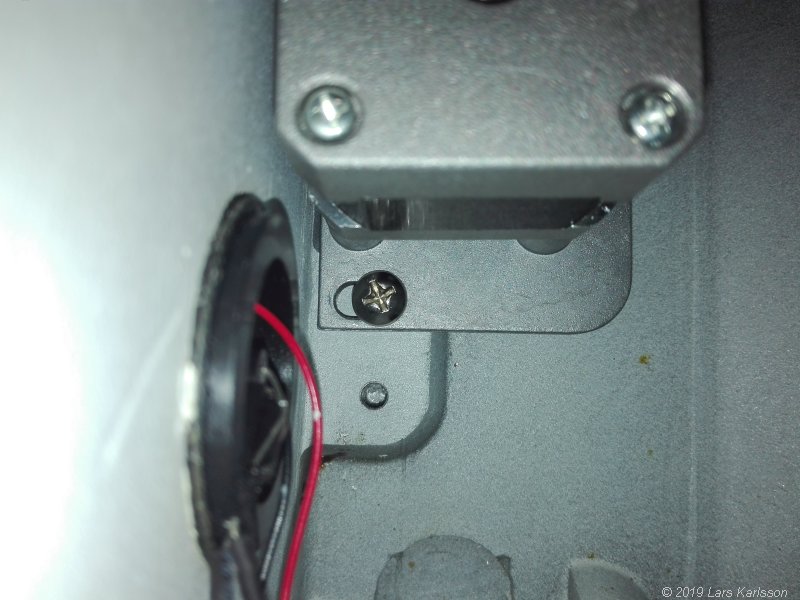
Motor installed and adjusted to its closest position, you need small hands to work inside here or proper tools. 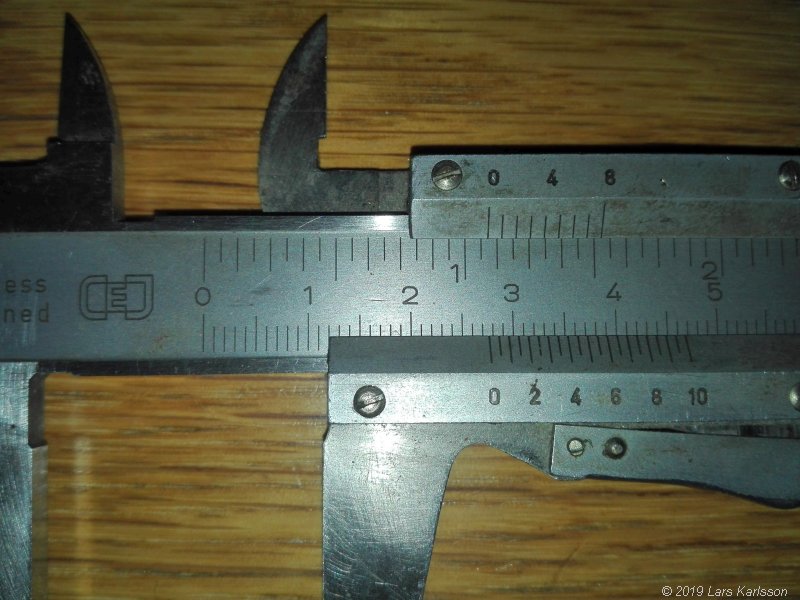
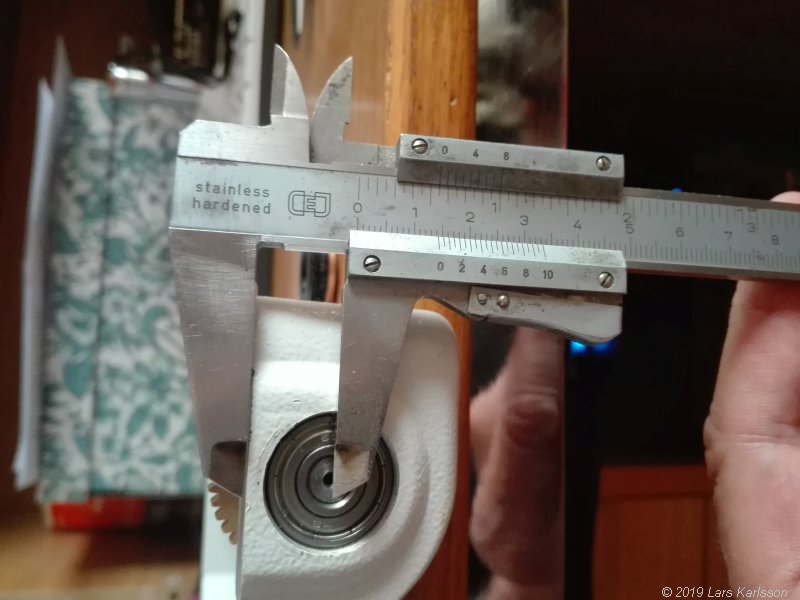
I get the distance 27.5 mm, to that I add the 2.5 mm from the stepper motor shaft and get 30 mm. 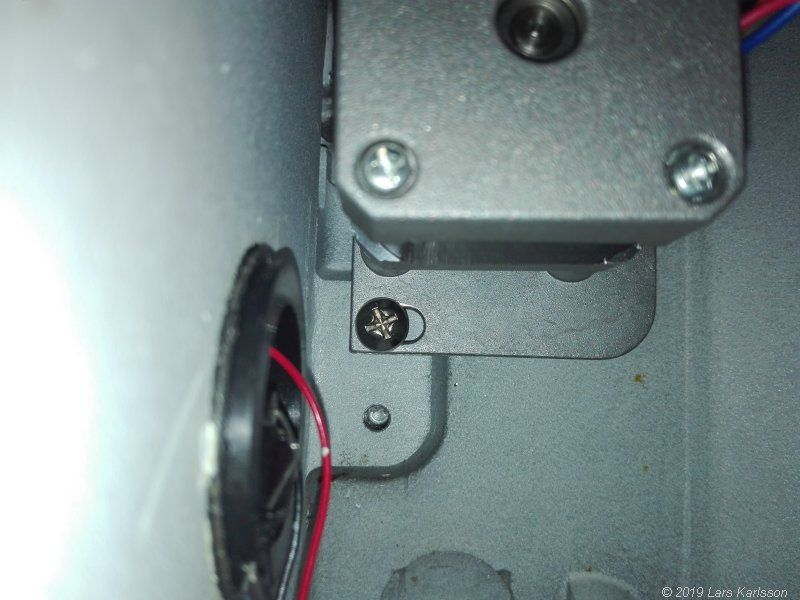
Move the stepper motor to its outward position. 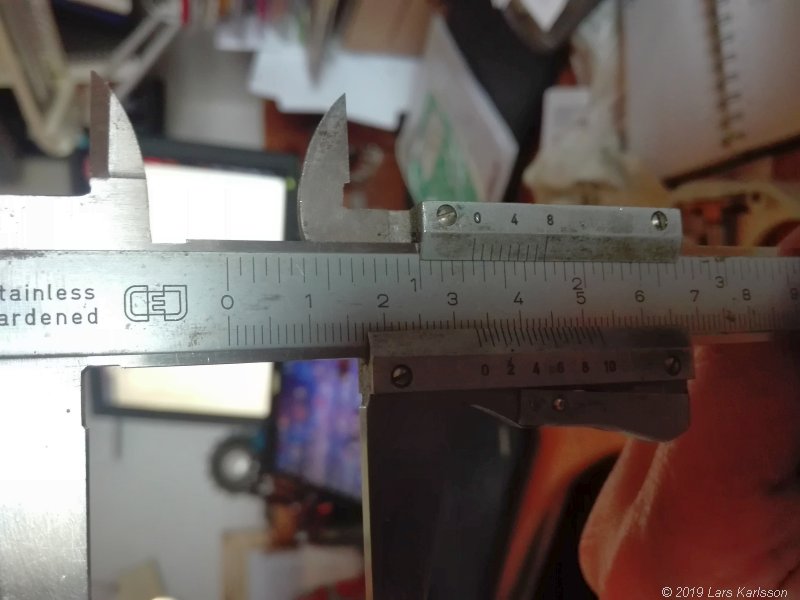
I get the distance 33 mm and that gives together with the shaft 35.5 mm. 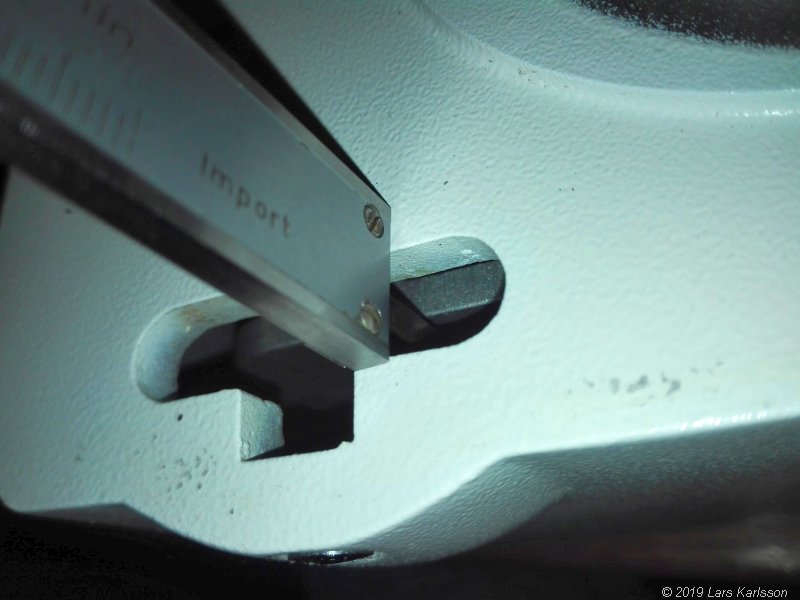
The RA axis is more complicated to find the distances to. The stepper motor shaft is not in center of the hole. The shaft center of stepper motor is not in line with the center of the worm gear. We need some Pythagoras calculation here. 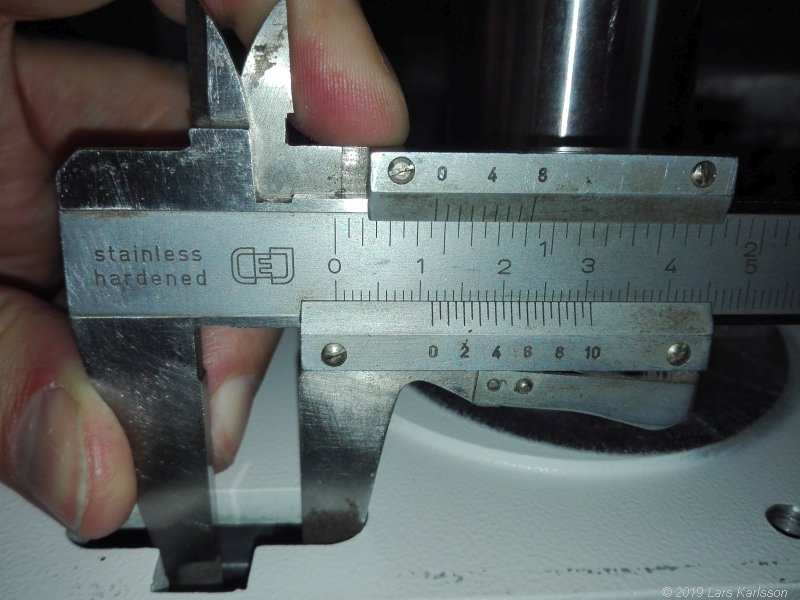
It's side shifted by 11.5 mm. The distances in the chassis that hold the RA worm gear shaft is the same 14 mm. As you maybe remember from mathematic lessons in school you have A2 + B2 = C2 When motor is in closest distance we have A = 30 + 14 = 44 mm, B = 11.5 mm, from this we can calculate C, with the calculator we find it to be C = 45.5 mm. When motor is in outward position we have A = 35.5 + 14 = 49.5 mm, B = 11.5 mm, from this we can calculate C, with the calculator we find it to be C = 50.8 mm. It's not exactly the same as for the DEC axis, then we had the distances from 47 to 51.5 mm, it differs about 1 mm, close enough to have the same length of the timing belts. Note this was not a precision measure, I will check it once more later and maybe do it a different way. Timing belt length:I have not decided yet which timing pulleys to use, maybe GT2 60 teeth and 12 teeth that gives a 5:1 ratio. An alternative are 60 teeth and 15 teeth that gives a 4:1 ratio. Very small gears with few teeth give less smooth precision so maybe it's better to use a 15 teeth timing pulley. One thing I have decided is the width of the timing belt, 6 mm. It stretch less then the 4 mm that are used normally, but I need to do some machining work on the chassis. A great help was when I found a timing belt calculator. Timing belt calculator:
Interesting result from this calculation was, when choosing fewer than 16 teeth I get a warning that it's too few teeth, less then 6 teeth in mesh. After this I redesigned to have 60 teeth and 16 teeth. It gives a ration of 3.75:1, close to the spur gear box (3.9:1). Another alternative is to have an idler pulley that wrap the timing belt around the small pulley, but I found it too complicated.
Note:
Update: Timing belt quality:I found this about timing belt quality, it's from the 3D printer world. They also have problem with backlash, Wikipedia:
What can be important, they say that small teeth number give more backlash and break the belts. At last I ordered GT2 pulleys with 60 and 16 teeth, I found them at an English company with correct hole diameter and with twice locking screws on each. The timing belt was 2GTx6mm 184 mm, maybe 178 mm had fit better.
These are standard pulleys where you can find on many places.
|
|