|
Advertisement / Annons: |
My astronomy project:
|
Content:
Note: |
3, Installation of Ubuntu Mate, setup WIFI:Now it starts to be very complicated for a Windows user as I'm, how to understand how to install and configure these devices with the mix of Windows and Linux system, headache starts! I have been told to use the software Ubuntu Mate, it's a special version to run the software Kstars and Ekos on the server (Raspberry and Linux). It's small and optimized to run on the Raspberry Pi 2 & 3.
I try to only have Linux on the Raspberry and only Windows on my laptops. It should work if I only can understand how to configure it. Read and download from the links below. Installing Ubuntu Mate: Windows machine: Download the Ubuntu Mate and unpack the compressed image file, it will take about 30 minutes, they recommend to use 7-Zip to unpack.
Windows machine: Format the SD card with SD card Formatter, download from the link below.
Windows machine: Use Win32 Disk Imager to installed the image file on the SD card, Etcher didn't work for me.
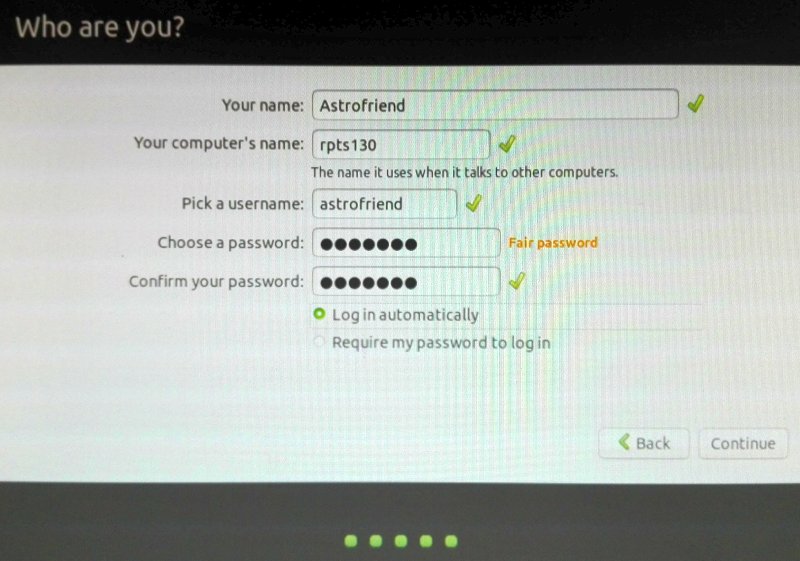
Move the SD card from Windows computer to Raspberry computer. Raspberry machine: Connect a HDMI display and an USB keyboard and mouse to Raspberry. Raspberry machine: Connect an USB power supply to the micro USB port on Raspberry and power up. Setup Ubuntu Mate: Follow the instructions on the Welcome screen. My settings, yours could be different. This is a bit old, it's different with newer versions of Ubuntu-Mate. The Wifi is enabled already from the beginning and at no 4 it will ask for some information.
 When finished, press continue and wait, it will take a while when it setup your system.
(This is not needed anymore ! ) Click on the big red button "Raspberry Pi Information" on the welcome screen. Click on "Resize Now". Click on red button "Reboot". In the new window, click on "Restart" button. After this you will have full access to all of your SD card memory. Close Welcome window. Activation of WIFI:
Now your Raspberry should connect to Internet. Do a restart before proceed, click on the start/stop symbol on top most right.
|
|