|
Advertisement / Annons: |
Macro photography
|
Content:
Note: |
4. LED flashWhy a flash ?A bright flash make the exposure time very short and then it can freeze any vibrations. In my case I only have a LED flash. More for testing purpose now in the beginning. I have to make a cable that connect the LED flash to the camera flash shoe. Other wise I must have the flash on continuous mode. That drain the batteries very fast. |
LED flash: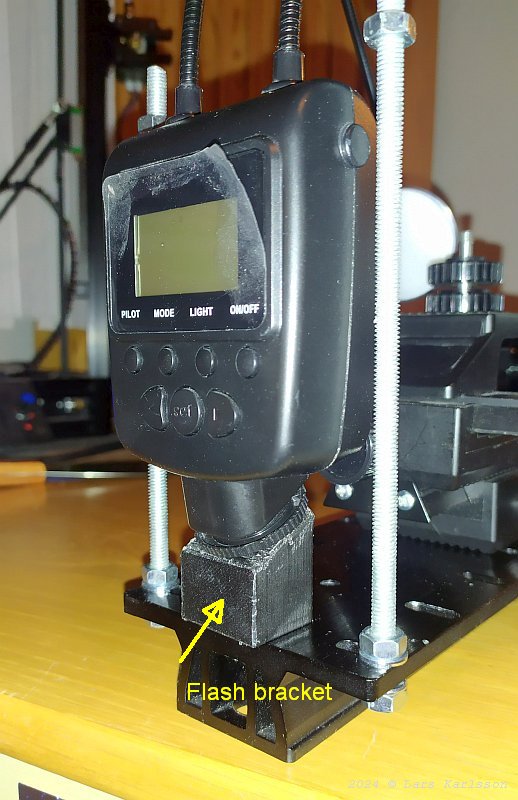
For the moment I only have a LED flash, far too weak to freeze any vibrations. But I use it to test out my setup. To make it more practical I have 3D-printed a bracket for the flash. I need a cable between the flash and the camera to sync the flash. Flash mounted on the bracket: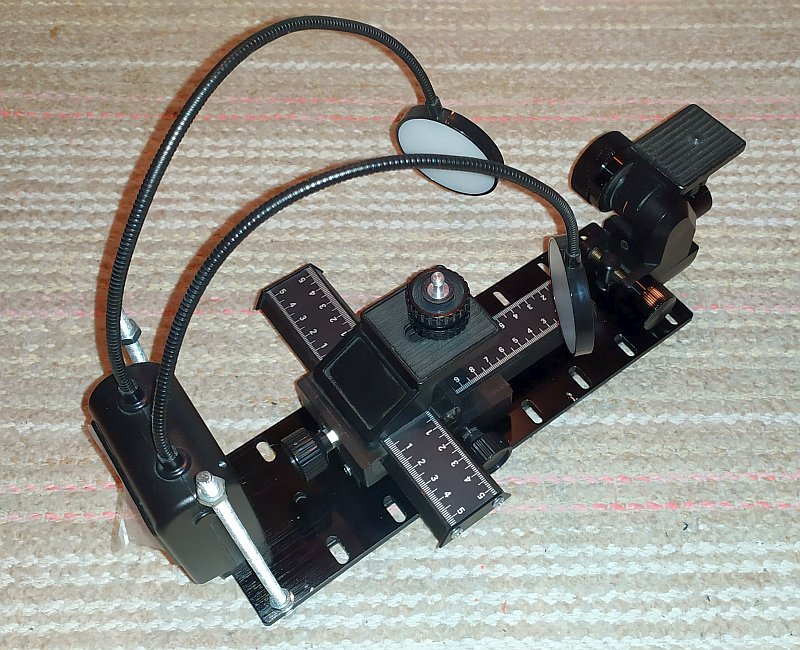
The LED flash is very smart build with two arms that hold the LED lamps. Easy to set to correct position. Sync cable: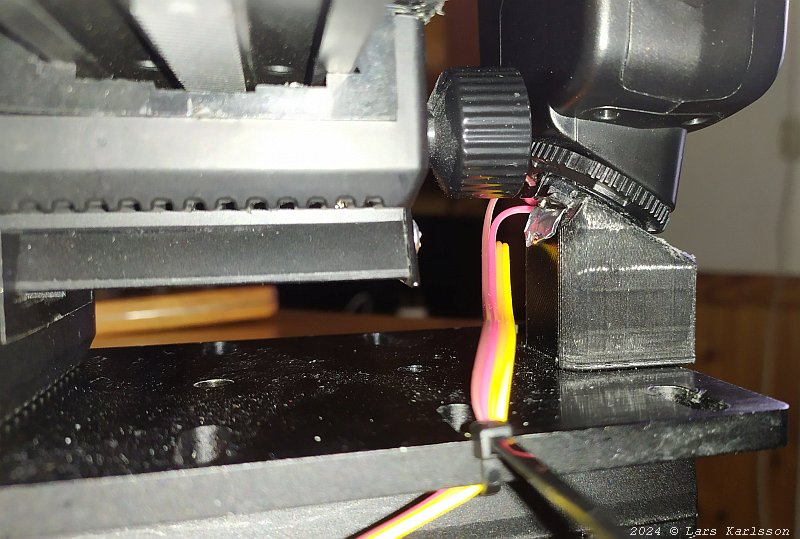
It only take a pair of wires to sync the flash with the camera. Here is the flash end of the cable connected into the flash stand. Note, old flashes can have very high voltage out from the trigger contacts, many hundreds of volt = dangerous ! Camera flash shoe: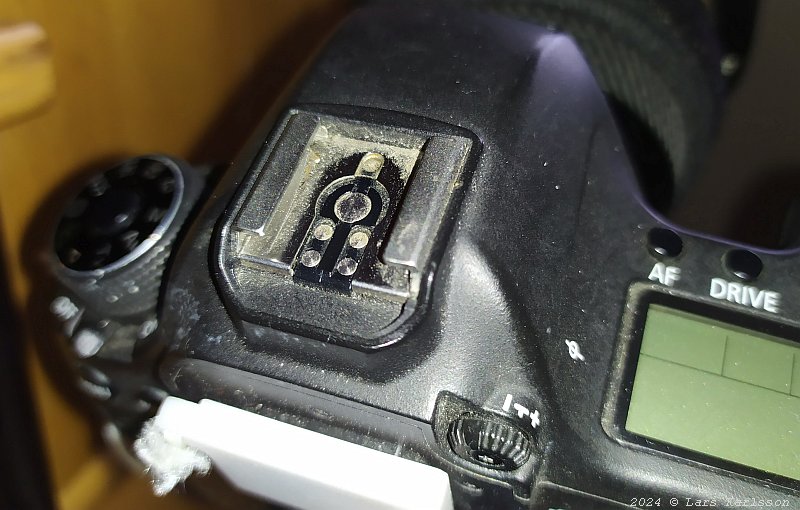
In somehow I have to connect the wires to this shoe. Only the contact point in the middle and the chassi will be used. The other are for more advanced control that will not be used here. CAD design: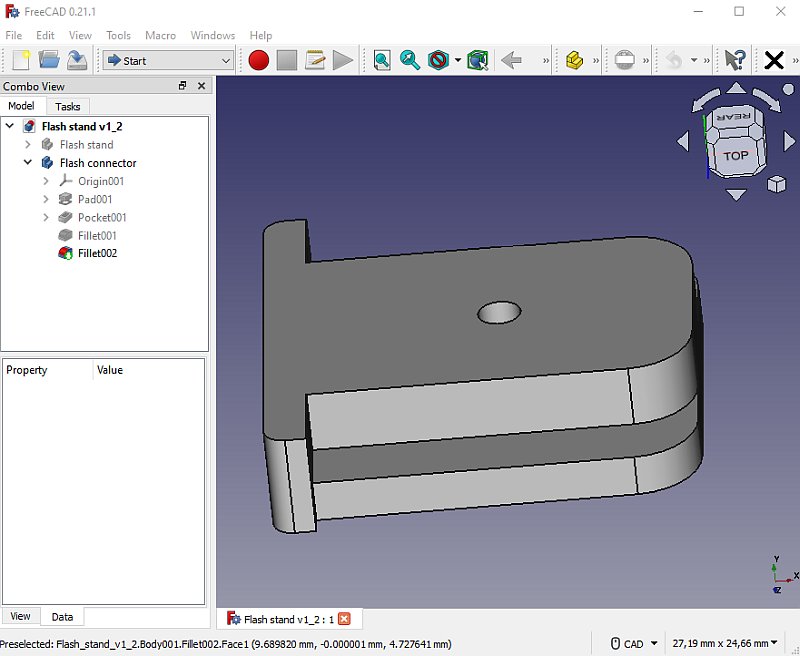
The most easiest way is to scrape an old flash, but I have already trash the ones I had. A fast solution is to 3D print something. 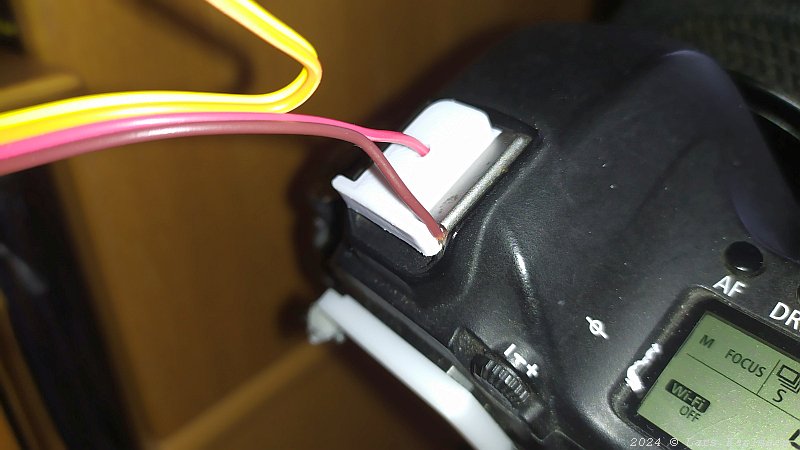
Fast and dirty solution, but good enough to do some tests. |
|
|