|
Advertisement / Annons: |
3D CAD drawing:
|
Contents:
Note: |
1, EQ6 Lid design:Introduction:I need a new lid to the EQ6 mount where I can place the new AstroEQ driver box. If it later will be a permanent solution I can 3D-print a new enclosure to it and place it inside the EQ6 mount. The latest is a lid for the FYSETC-E4 board to be placed inside the EQ6 chassi. The AstroEQ box: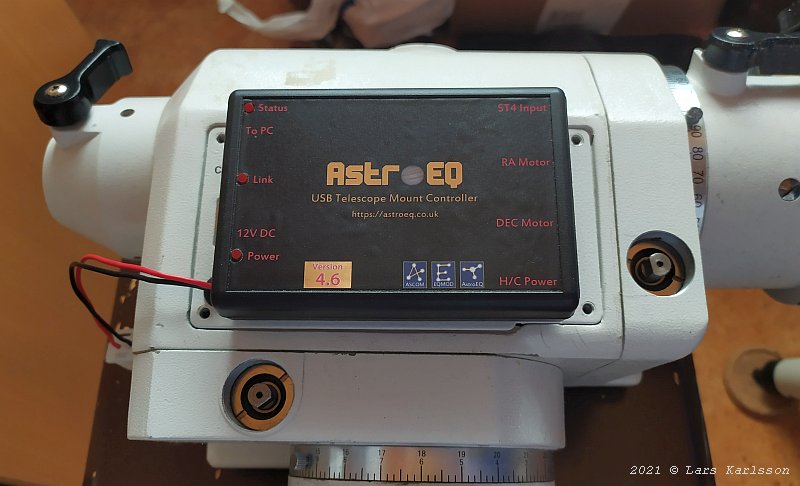
The AstroEQ box placed on top of the lid to the EQ6 mount. I need some holes for the cables and don't want to drill holes in the original lid. It's easy to 3D-print a new lid for that purpose. Dimensions of the lid: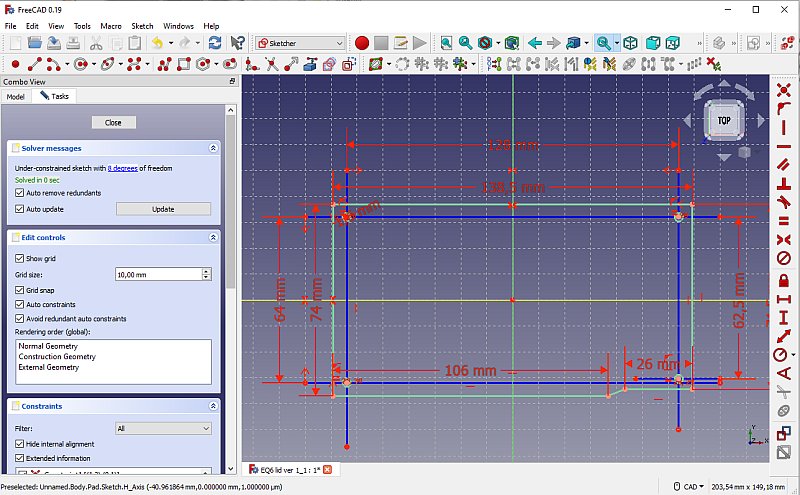
I use the same dimension as the original lid, note that it's not symmetrical. 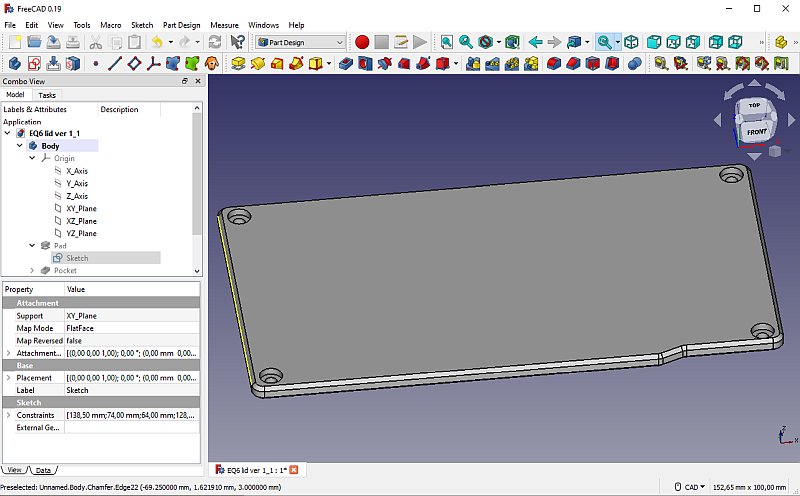
It's padded to 4 mm thickness and has rounded edges. 
The holes where the cables go to the stepper motors. My project: EQ6 and AstroEQ page. EQ6 Lid for FYSETC-E4 board:
This is a prototype lid for the FYSETC-E4 board. Test print it on your own risk. I live in a very cold country, if you live in a hot environment you maybe need to add a fan to not let it overheat. Check the clearance around it to the EQ6 chassi, the space is limited, it can be a risk of shortcuts ! The four pillars you have to thread with M3, you have to drill them with 2.4 mm first. My project: EQ6 OnStepX FYSETC-E4 page. STL ZIP file on the main page: 3D-Printing. |
|
|