|
Advertisement / Annons: |
3D CAD drawing:
|
Contents:
Note: |
8, CAD bracket version 4.1, part 1:Info:Now when I have used the motor bracket version 3 I got some experience from it. It's a bit too weak, I will give it a try to reinforce the design. Design of bracket version 4.1: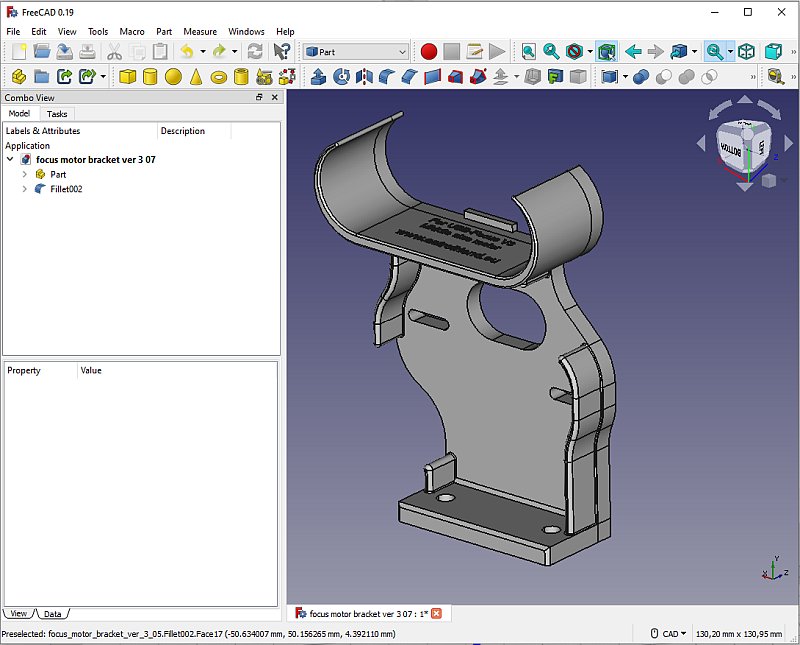
This is the old version 3. The walls on the side doesn't go all the way and the motor shaft is placed at the top. If I placed it upside down and with a twist I can redesign it in a better way. 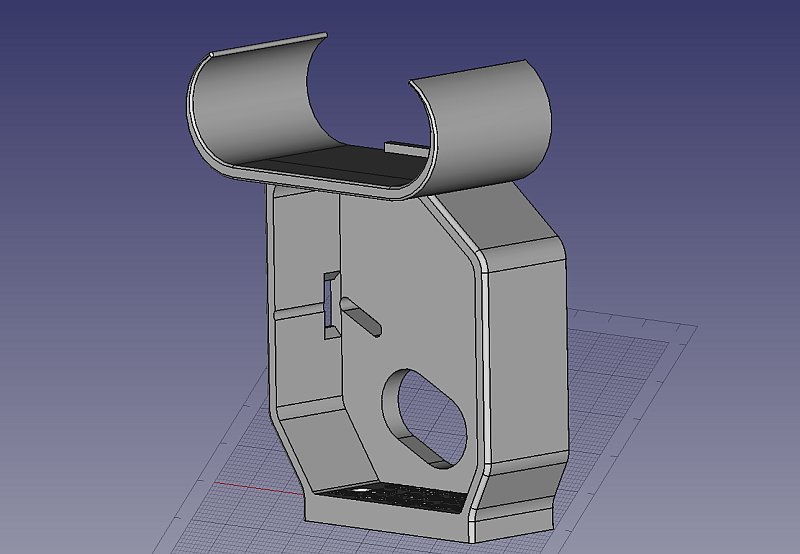
The new design, now the motor shaft is placed at the bottom and the side walls go all the way from bottom to the top. I did this a bit different compare to how I did it earlier. Instead to build two walls I did the block solid and then made a pocket inside it. This was much easier to do and I save a lot of time. 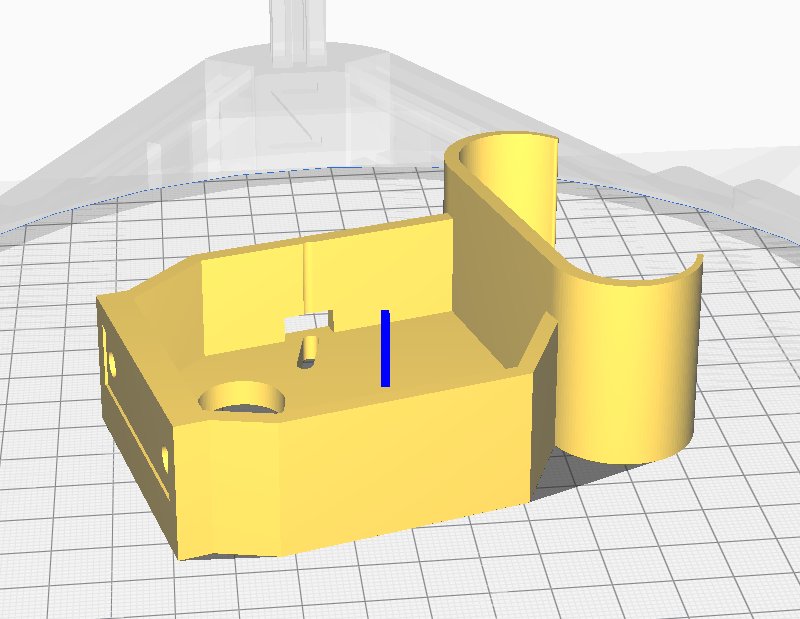
Export as a STL file and took a look how it appear in Cura, everything looks to be there. I will do some more checks before I print, it's so easy to miss some detail. Note the small pocket I added at the bottom, this 0.5 mm pocket will move the the surface it stand on towards the edges and then give more stability. I have also rounded off all the edges which is not on this image. 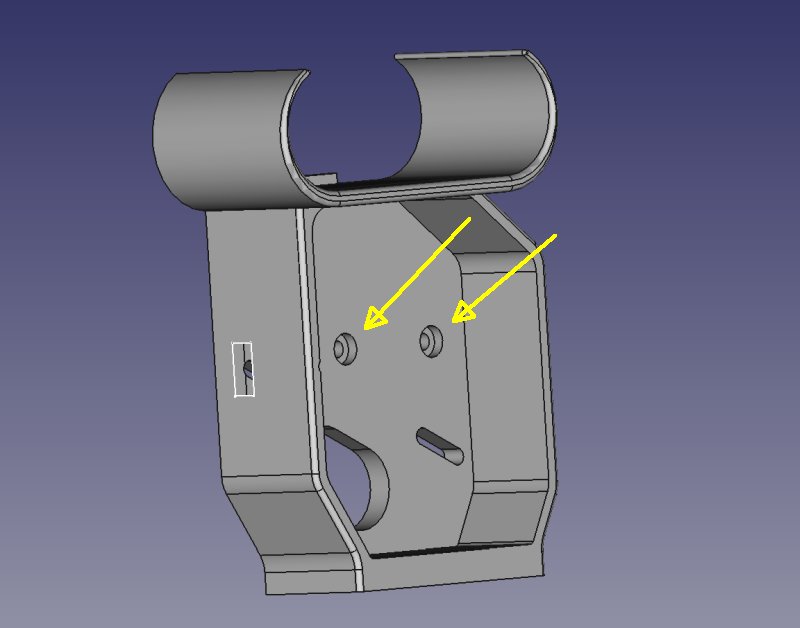
Before I 3D-printed this bracket I added two extra holes, it gives an opportunity to add extra support on the backside if needed. 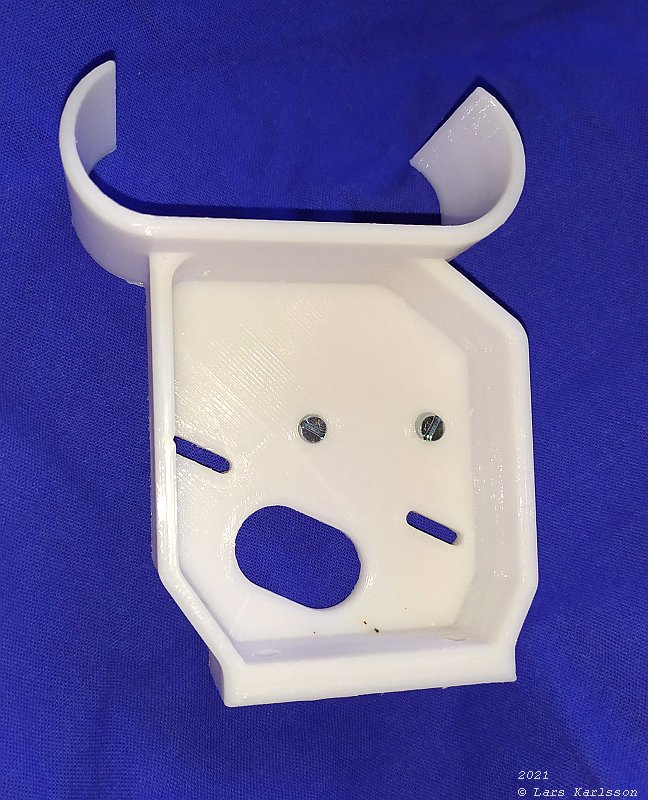
This is how it looks after it's 3D-printed. Above the screw sit the motor with its gear box. 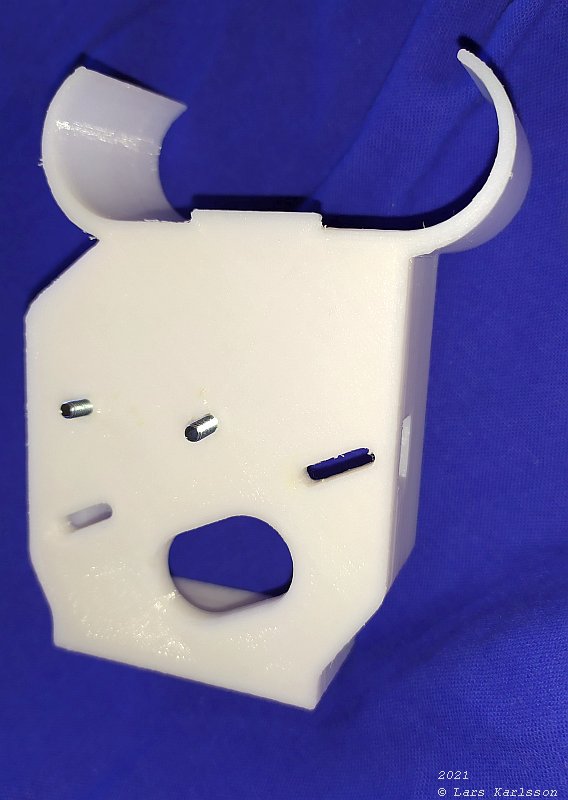
The back side of the bracket. I will not use these screws now in the beginning, only if I notice that it still are some flexibility in the construction. 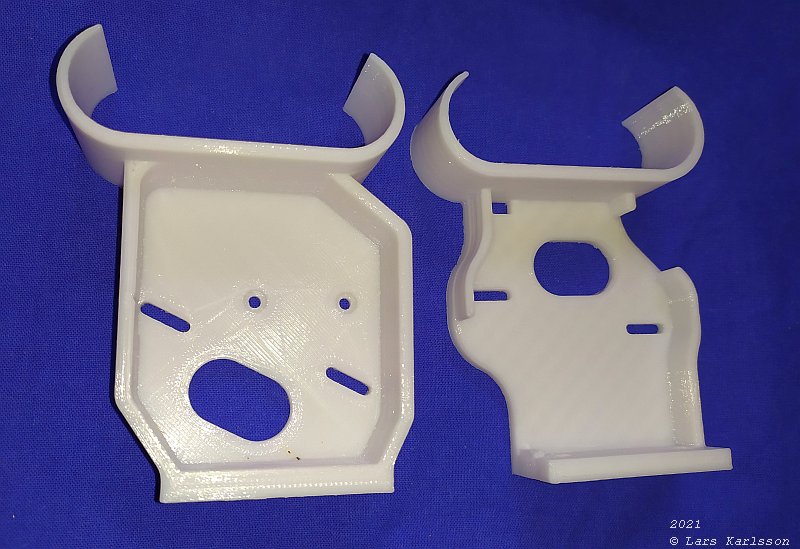
Version 4.1 vs 3.0, most important is that the motor shaft is placed close to the bottom now and reduce the forces on the bracket. 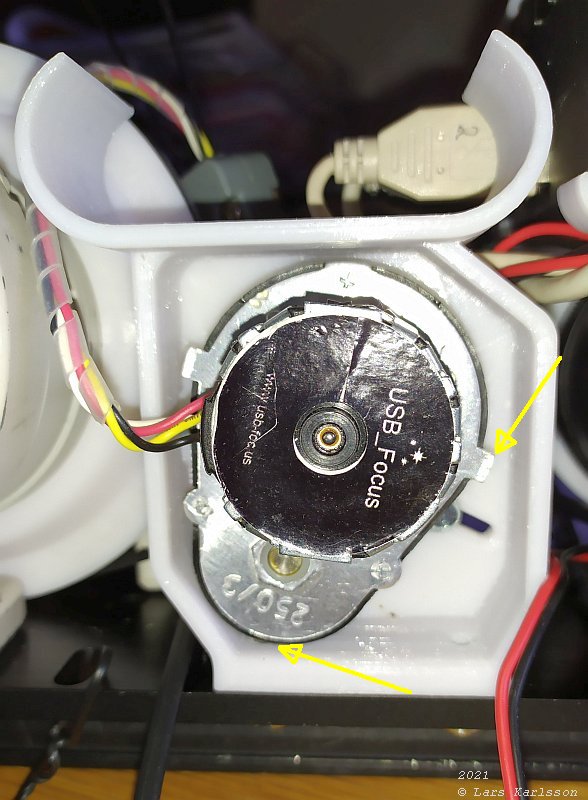
The motor installed on the bracket and the dovetail. Of course some new problems, when moving the motor to set some tension on the timing belt it hit de base of the bracket. But never had to move the motor to the extreme right so I can use it as it is. 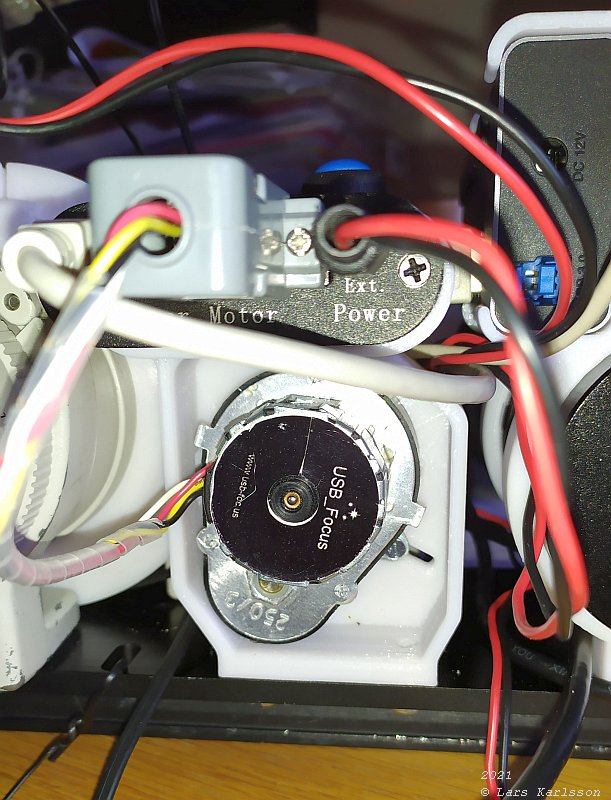
The driver box with its control buttons installed. 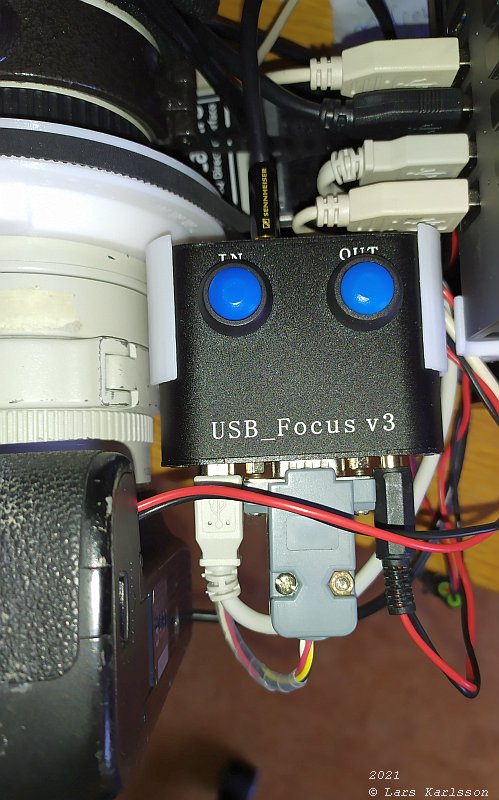
A view from above, it's much stiffer now and I think the low force that the focus barrel act on the bracket will not cause any problems. I set the lens' to nearest range of the focuser and calibrate it to zero point. I could do it with only use of the In / Out buttons. Now I have just to wait for a clear night to do some test. Maybe I even get an astrophoto ! |
|
|