|
Advertisement / Annons: |
My astronomy project:
|
Contents:
Related projects:
Note: |
8, Temperature, Humid and Pressure sensors:In the OnStepX software there is a driver for a simple weather station build around the sensor BME280. It can measure temperature, humid and pressure. The BME280 can be ordered in 5 volt or 3.3 volt version, I chose the 3.3 volt version because the logic levels are 3.3 volt. But the FYSETC-E4 board have 5 volt on the power outputs, I then also need a 5 volt to 3.3 volt converter. Note: The sensor has also a version BMP280, that one doesn't have the pressure sensor. Very easy to be confused which version you order. OnStepX installation: Scroll down and you find the part I follow here. Adapter cable: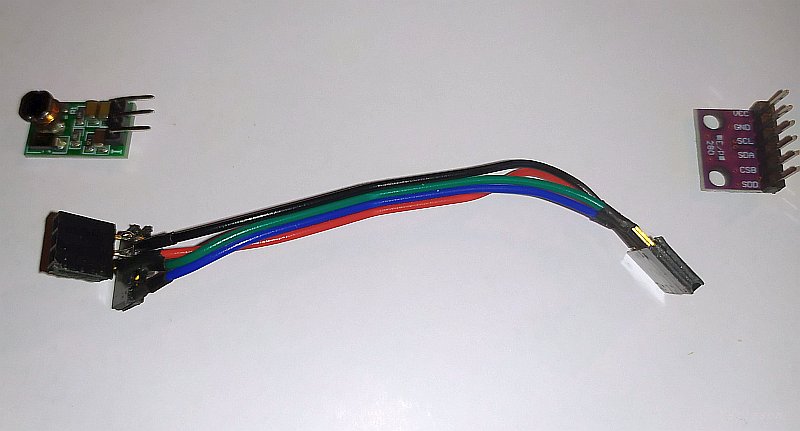
The DC/DC converter to the left and the BME280 sensor to the right. To connect them together and to the FYSETC-E4 board I have made an adapter cable like this. Not tested yet, I'm not sure if it will work without the clock-module, wait and see. 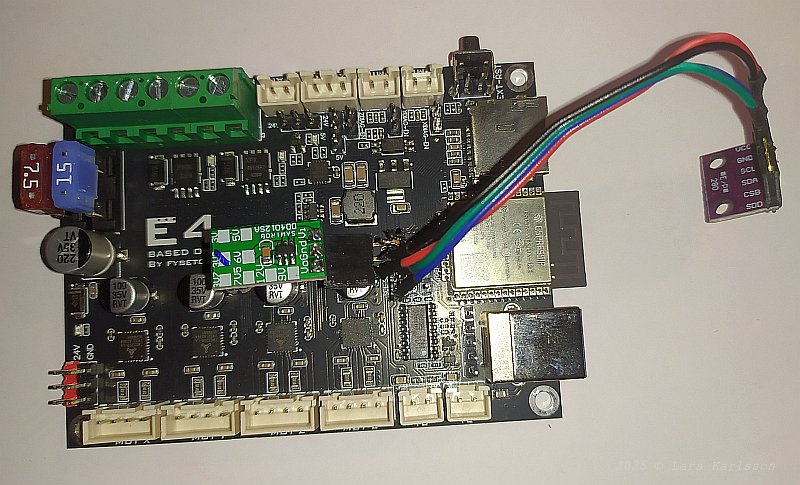
The cable and the devices installed on the SYSETC-E4 board. I have to fixture the DC/DC circuit later. BME280 sensor: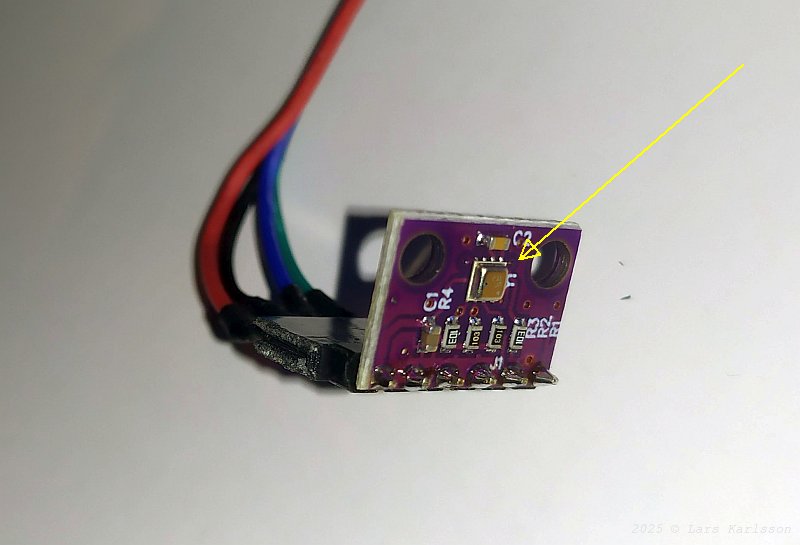
The circuit board with the weather station, BME280. It's the little tiny silver component that has the sensors for temperature, humid and pressure. This sensors is less than 3x3 mm in dimension. Don't mix it with the BMP280, it has another sensor which is rectangular and cheaper. Bosch Sensortec BMP280 vs BME280 Sensor Confusion New lid: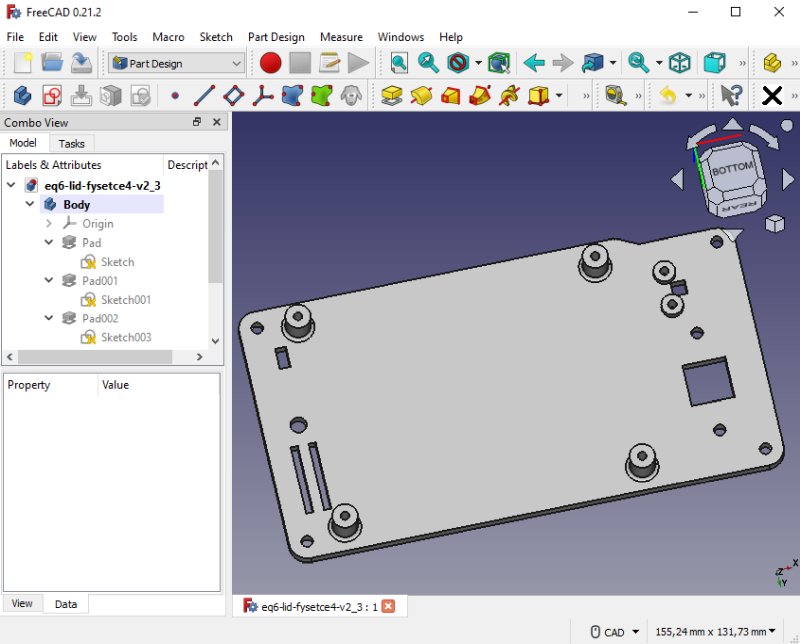
To fit the lid with this sensor I have updated it. Upper right, a rectangular hole where the sensor point out from the enclosure. Some isolation around it is needed so don't the heat from the inside of the mount disturb it. 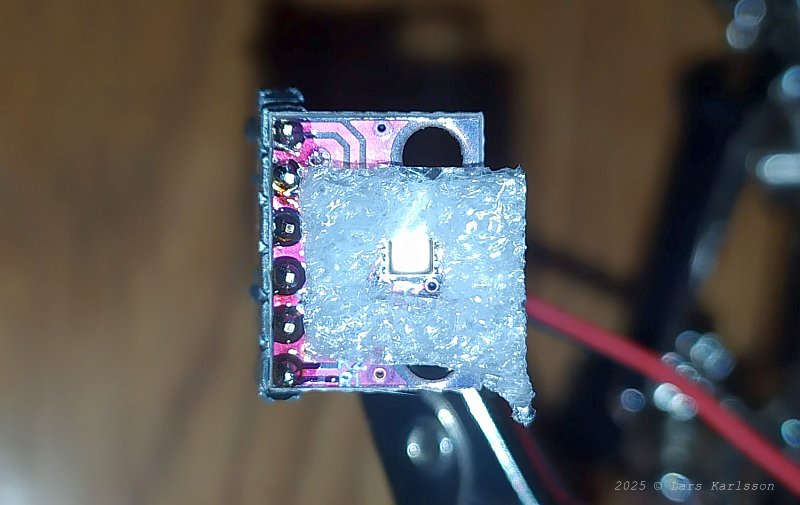
Sealing the sensor from the heat inside the mount with a bit of foam. 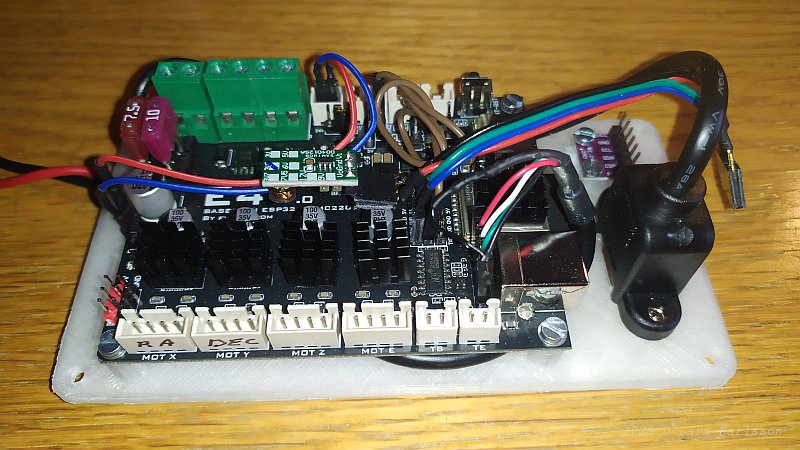
Move over all the devices to the new lid and add the weather sensor. Before I connect it I check that I have 3.3 volt out on the connector's pins. 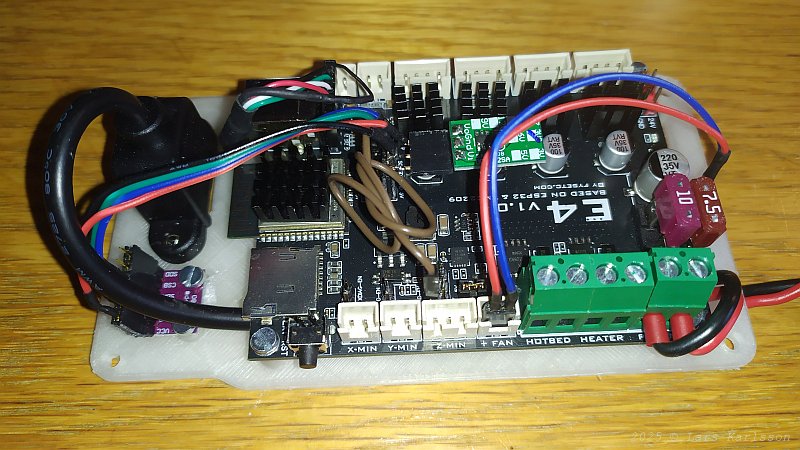
The sensor to the lower left and now it's connected. Ekos Weather page: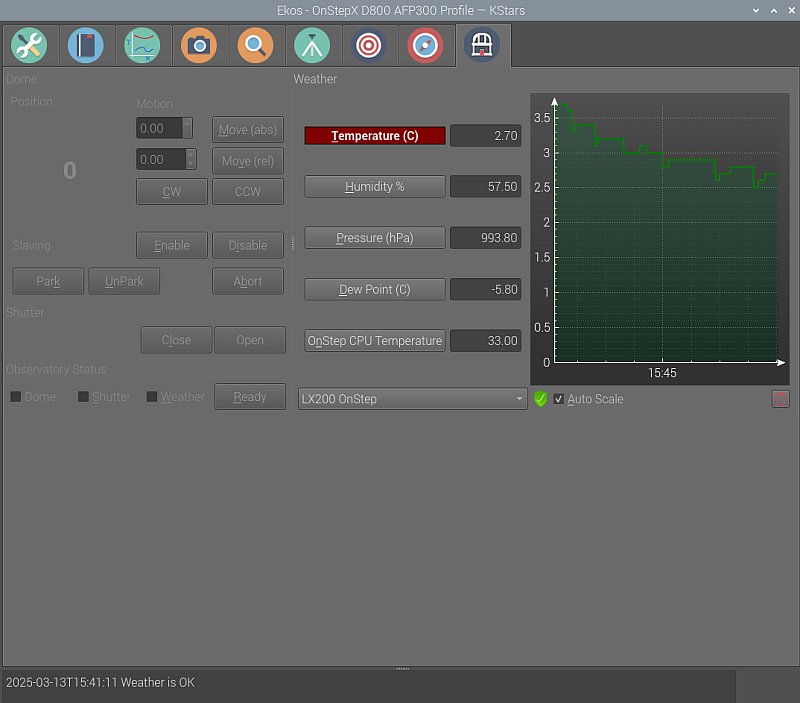
It started working direct after I power it up. The graph can display one value at a time, this is the temperature when it's slowly adapting to the outdoors temperature. Maybe there is possible to store the weather data, I will investigate that later. This is perfect for me, it even says to me that the weather is okay. |
|
|