|
Advertisement / Annons: |
3D CAD:
|
Contents:
Note: |
5, CAD of 15 save and prepare to print, part 4:Now the first version of the pulley is finished and we shall save it and prepare to print it. Save the drawing:
First, save the file in FreeCAD's own format. 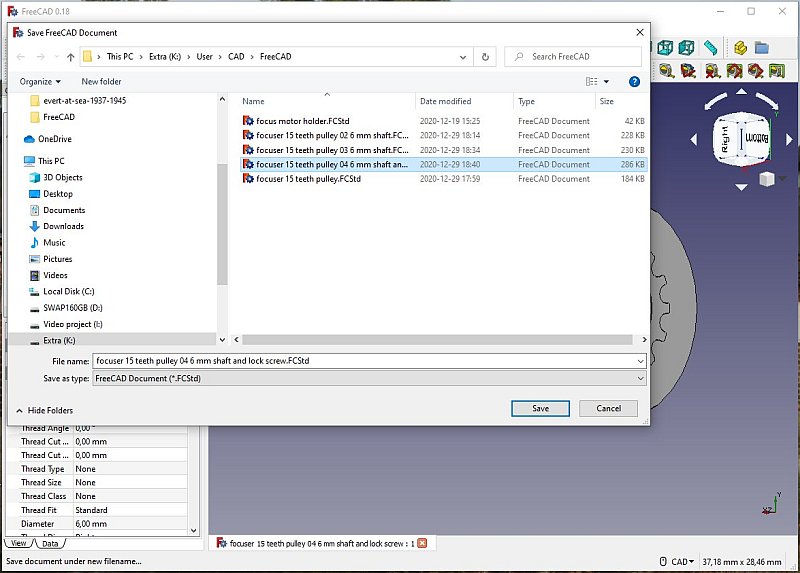
I save this last drawing with an unique file name. 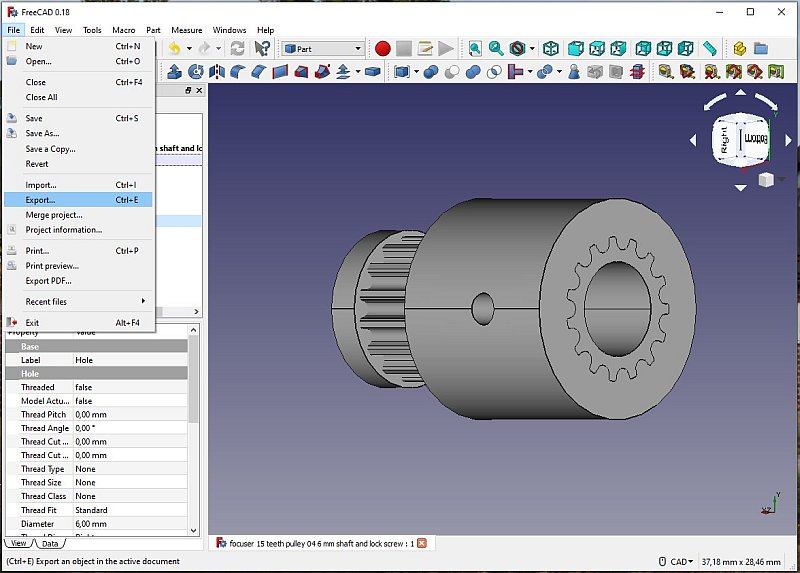
Next step is to Export the drawing in a format that the slicer program can understand, *.STL is one common standard. 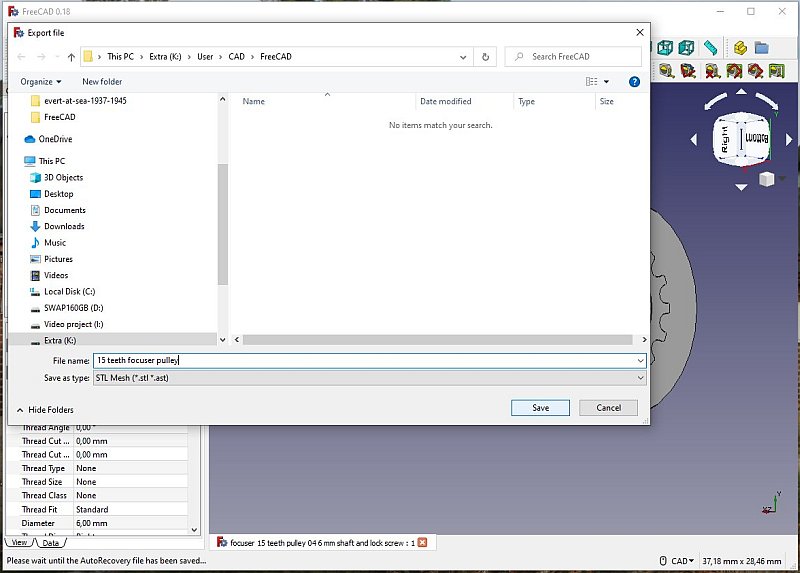
I have the STL files in the same place as the CAD file, later when there are many files another file structure maybe better. 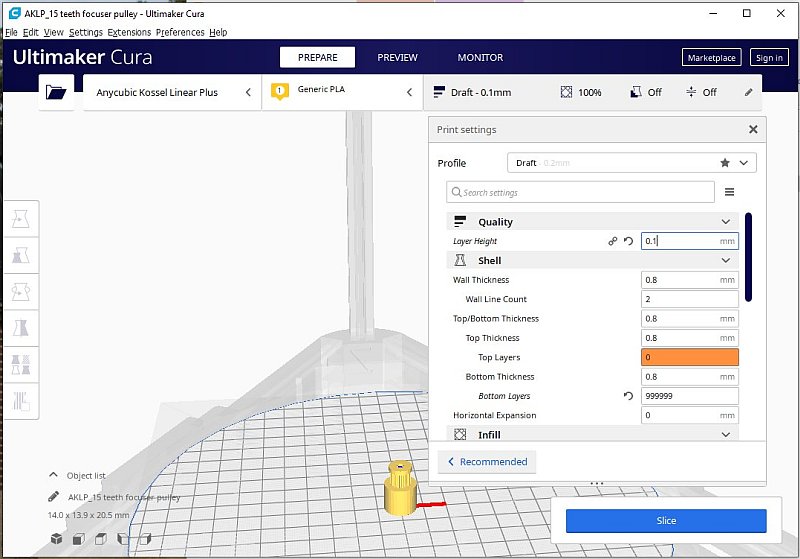
I use Ultimaker Cura to slice the file that I later send to the 3D printer. Slicing your drawing is the same as slicing your cheese. The printer writes in thin slices. This GT2 has very fine details and I set the Cura to send a command to use a layer height of only 0.1 mm, the finest this printer can handle. I store the file on a SD card and put it in the 3D printer. 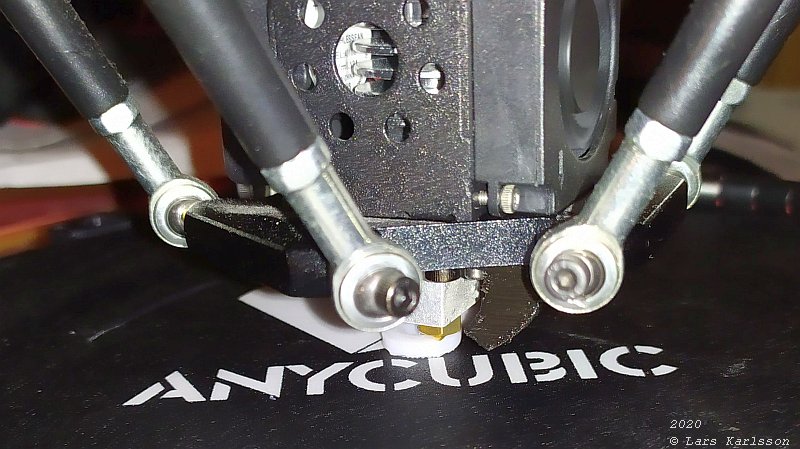
Direct when the printer started I see that I made a mistake. The pulley didn't get stuck to the printing bed as it should, it moved around, the bottom part of it get the wrong shape. Next time I add a thicker and wider bottom layer, that is set in the slicer software. 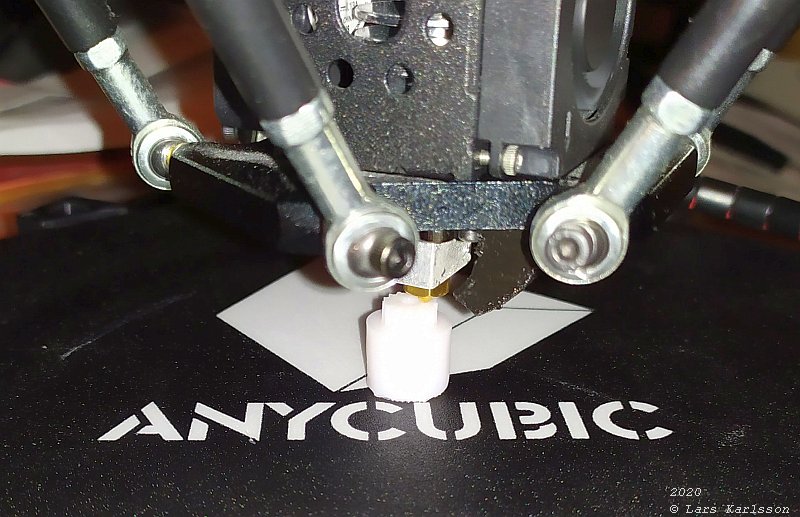
The upper part of the pulley looks perfect. 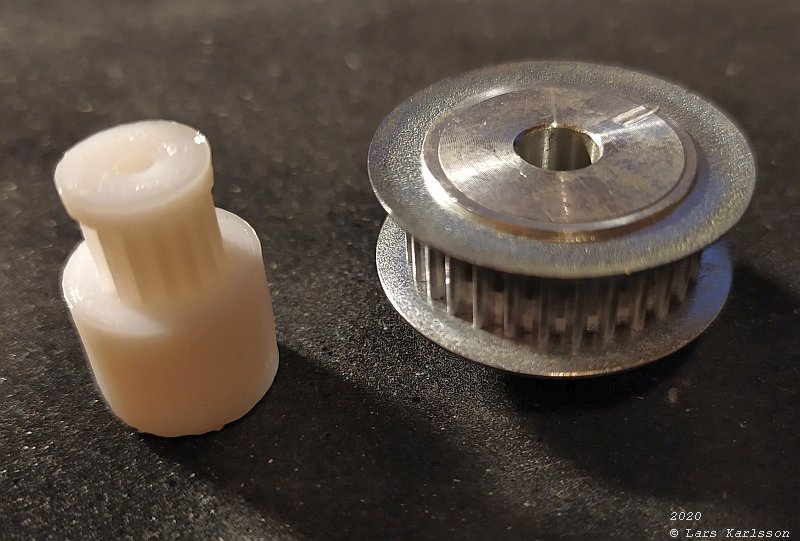
Compare this GT2 15 teeth pulley with the older T2.5 30 teeth pulley. Huge difference. 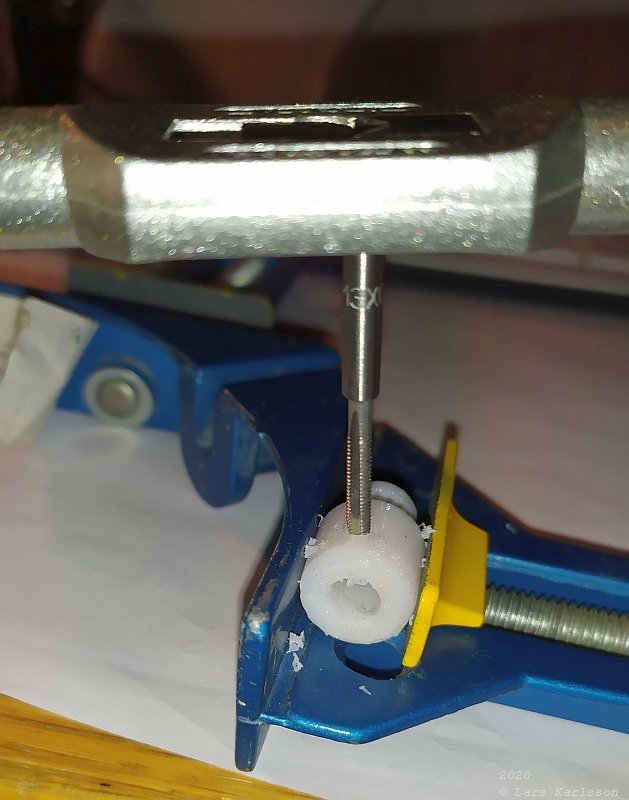
The perpendicular hole that I had so big problem with was missing on the printed GT2 pulley. Maybe I used an earlier version of the drawing. I have to drill this 2.5 mm and threaded it. M3 is a small size thread, but next time I shall try to print it, if it works I shall have a big cake. You see the 6 mm shaft hole don't look very nice, it's the end where the printer had problem. 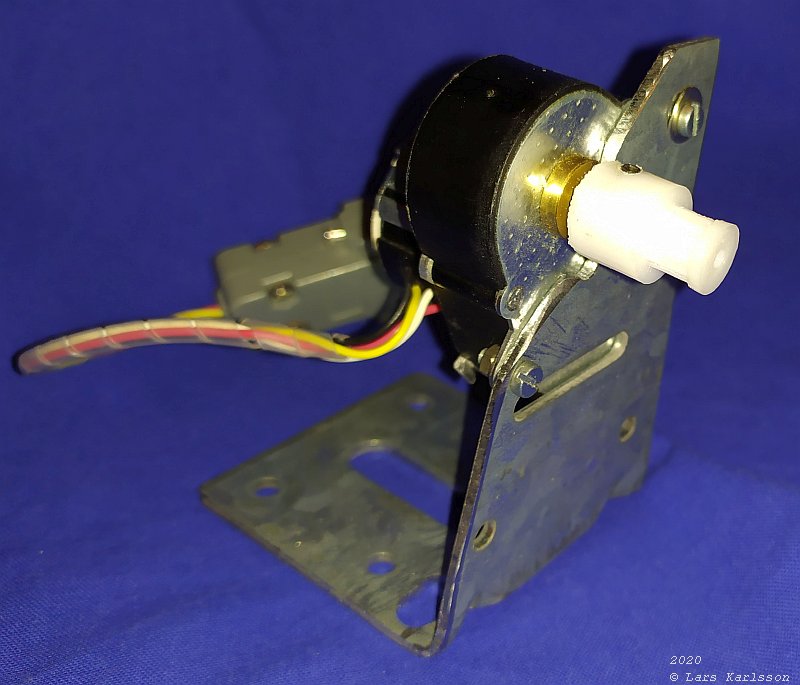
The pulley mounted on the motor, looks good. Next I have to draw the big pulley to the lens. Also the bracket needs a new design, I feel now that I could whatever I want. Maybe a little vertical windmill to power my equipment ? |
|
|