|
Advertisement / Annons: |
My astronomy project:
|
Content:
Note: |
8: Off-Axis guiderIf I can implement the off-axis guider in the filter wheel it will save a lot of space. Ray trace: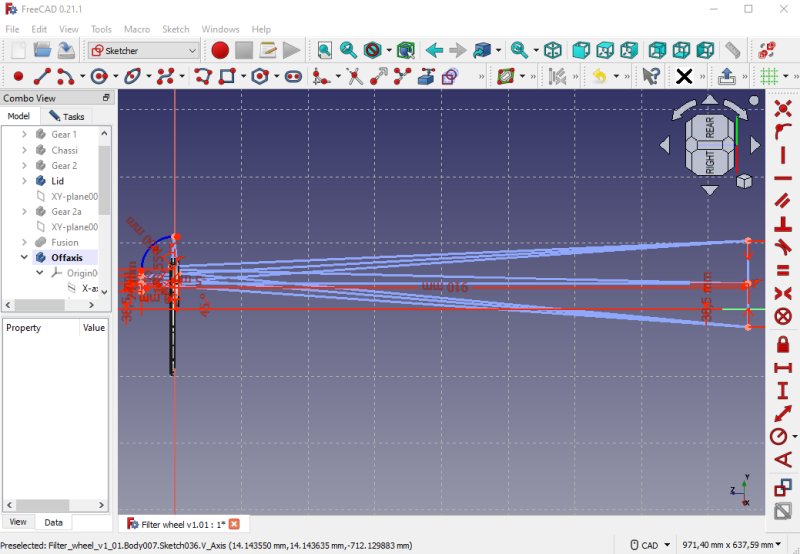
It's very critical where to place this off-axis guider. To far away from the camera sensor and it need to be placed also far from the optical axis. With a simple ray tracing I can get a better idea how to design this. I do this in the CAD software. 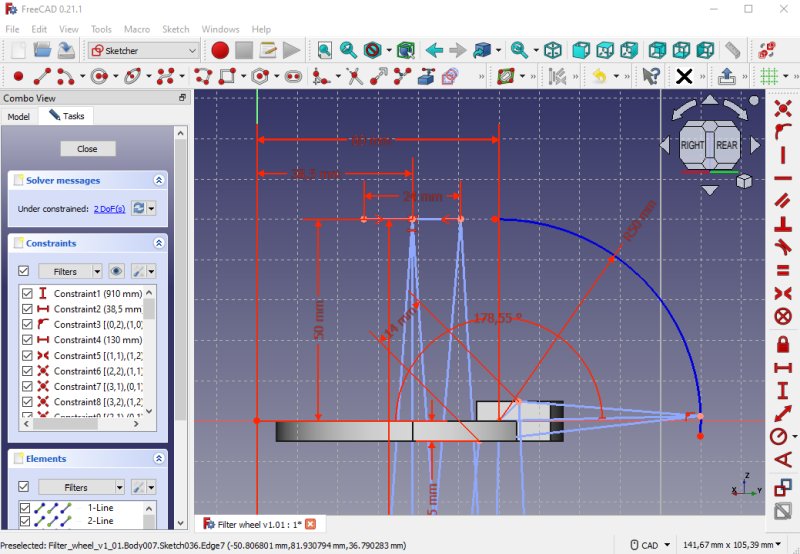
A zoom in around the off-axis. It's optimized for my 910 mm f/7 refractor. From center of the prism to the focus plane it's 50 mm in this design. The prism sits inside the rectangular block to the right. The guide camera get the ray before the filters, otherwise it will not work very well with narrow band filters. 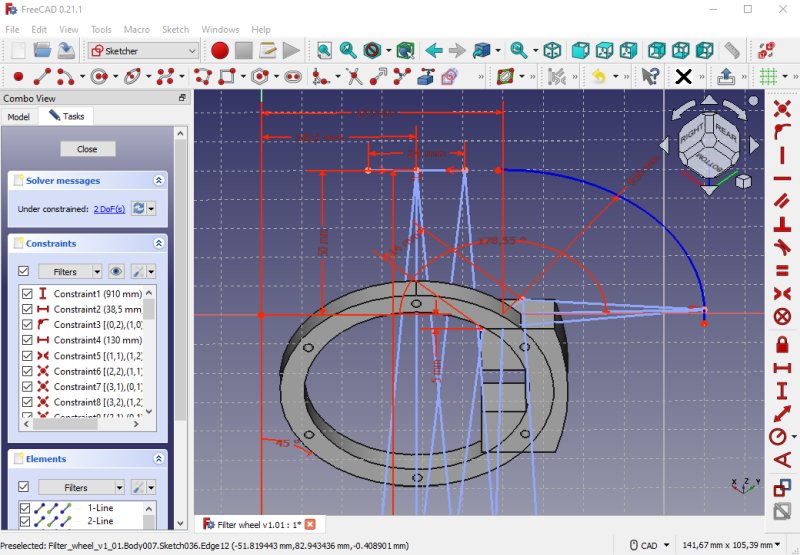
From here we can see that it is almost a free passage for the light ray to both cameras. The prism or mirror in this example have the size 15 x 10 x 10 mm or 15 x 15 mm. That's very big compare to how they are normally designed. It could be that I need a bit more margin between the main camera and guide camera so the light rays separate better, 1 mm extra or so. This design set some demand on the telescope's image circle, at least 50 mm. Some ideas: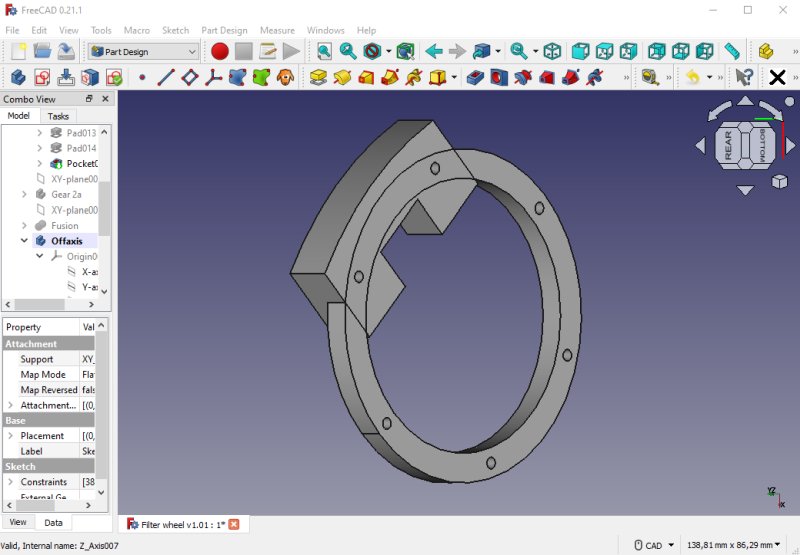
A first outcast for a design, this is the telescope side with the filter wheel on the backside of it. 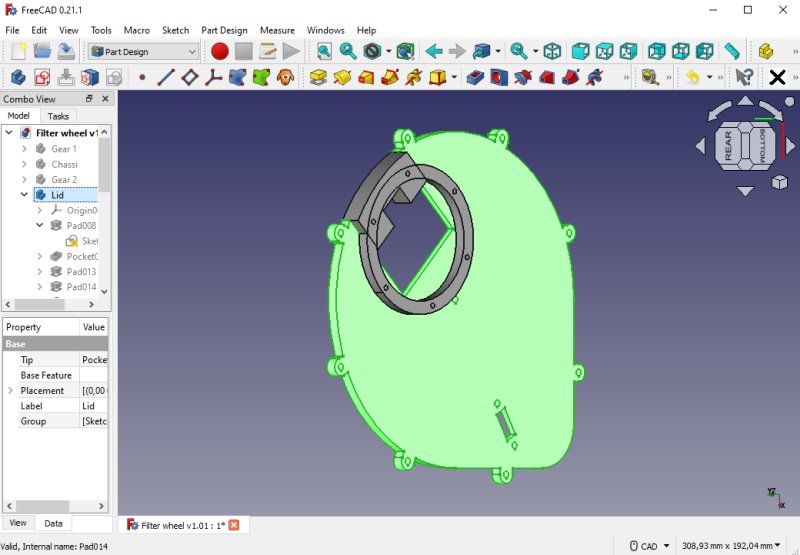
It will be fused together with the lid like this, or maybe I have to glue them together because of practical problem to 3D-print them. I had to increase the rectangular opening in the lid to 44 x 30 mm, it's more far away from the camera sensor and because of the light ray is conical. 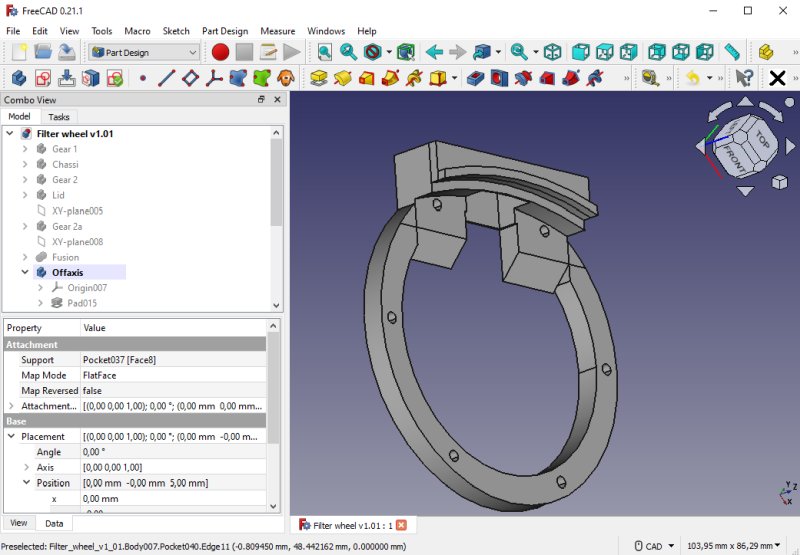
The camera side, here is a problem. The rim I added earlier to the edge of the filter wheel, for the home position sensor, will block half the ray that go to the guide camera. Need to change that design, maybe a magnetic sensor is easier to use for this. 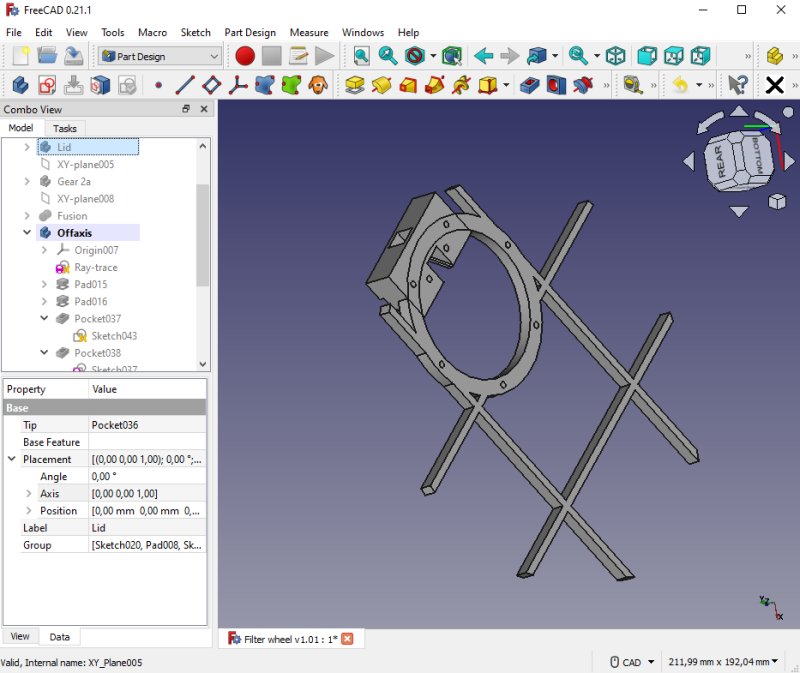
After one nights sleep new ideas come up. In this design I have chosen a prism. I couldn't find a 15 x 10 x 10 mm, have to choose 10 x 10 x 10 mm. There is a pocket for this prism. I also added some walls to strengthen the lid. 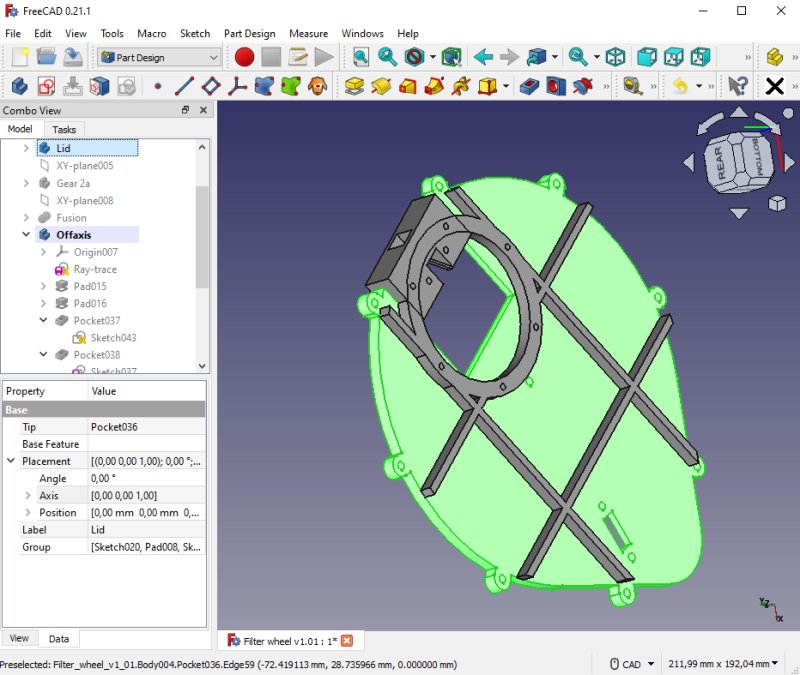
With the lid it looks like this. The total thickness of the filter wheel is now 22 mm. If I put the strengthen walls on the other side it will much easier to 3D print, but the rectangular hole must then be even bigger. The entrance hole for the prism is 10 x 10 mm and the hole up to the guide camera is 8 x 8 mm. Prism: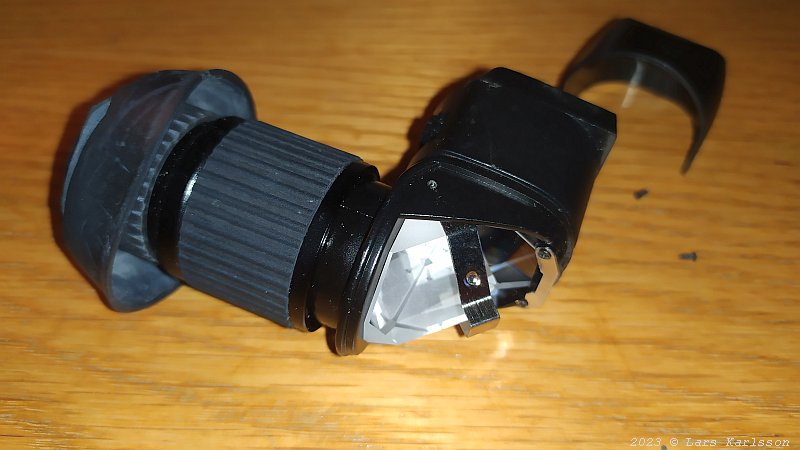
I thought that I maybe could take the prism from my 90 degree camera viewer. But when I open it I saw it was way too big and it's a construction that mirror the mirror the image.
|
|