|
Advertisement / Annons: |
My astronomy project:
|
Content:
Note: |
2: Disassembling the friction clutchAfter I have disassembled the RA axis I understood it was not necessary if you only need to take the friction coupling apart. 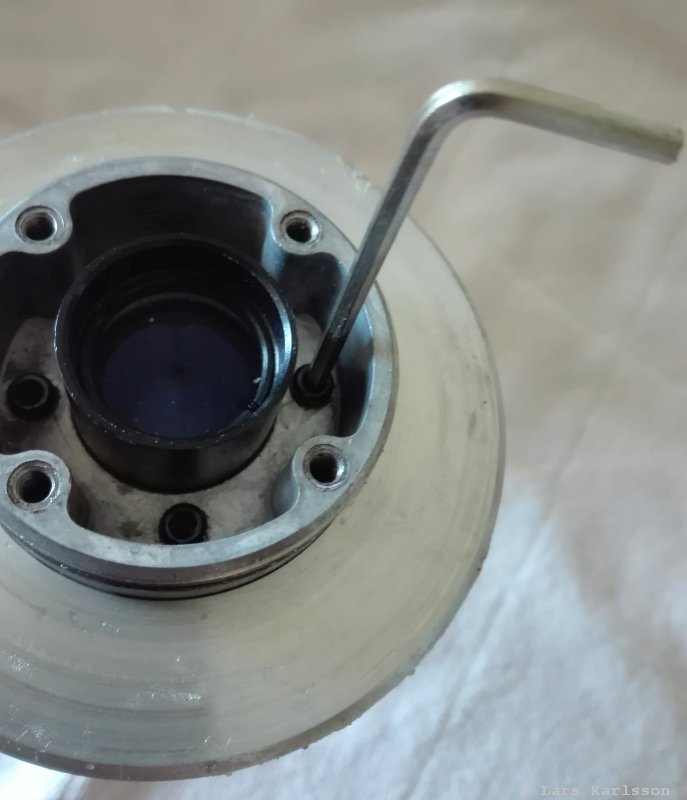
With a 2.5 mm hex wrench you can unscrew the friction coupling. 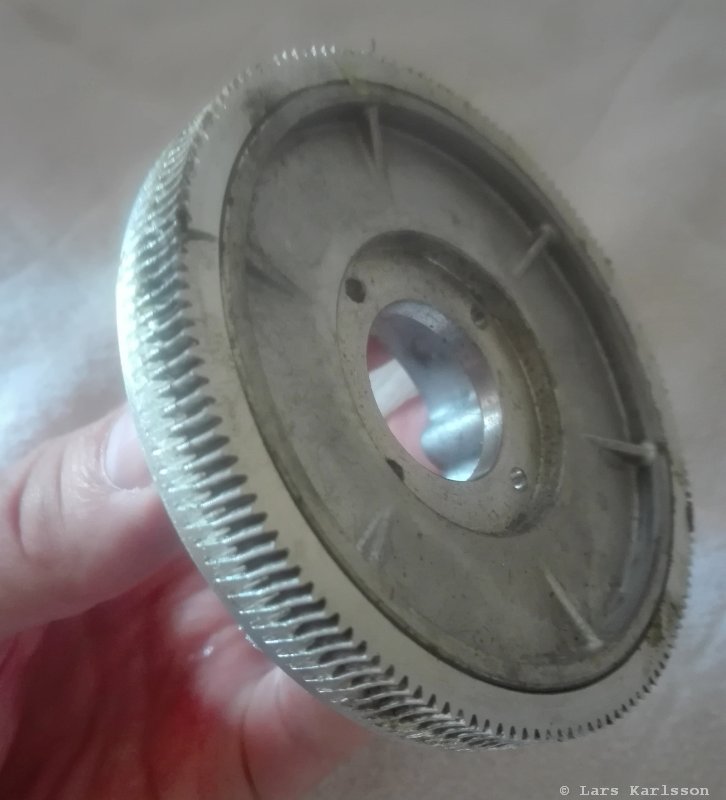
Here it's clearly seen how the friction coupling is constructed. For some reason they are now like welded together. I felt this will not be possible to take apart and repair. But when my girl friend see it she said, use heat. She is used to work with big marine V8s. Yes that maybe was not a bad idea, just figure out the detail how to do it. The outer part shall be warm and the inner part cool. If you just heat the outer part you also transfer heat to the inner part. 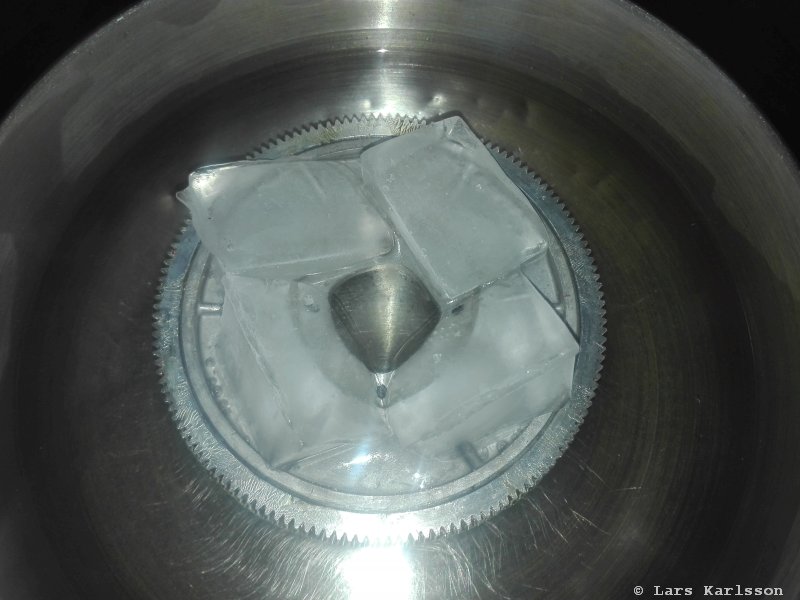
This is how I did it. A hot water bath that cover the lower part and ice cubes in the central inner part. After about thirty seconds I took the coupling in my hands and with the thumbs press it apart. It's important to press even, other wise they get stuck and maybe impossible to take apart later. 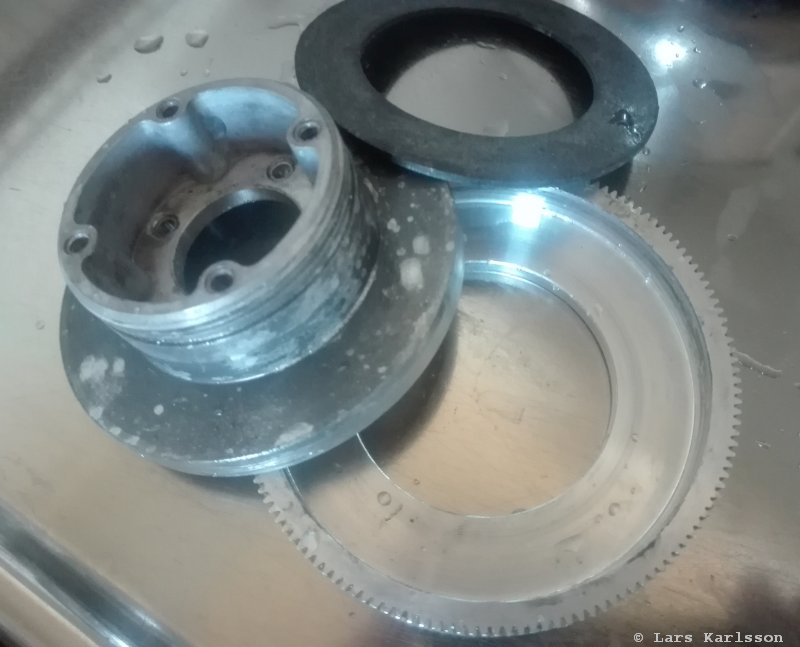
The three parts that make up the friction clutch. The black part above is that part that makes the friction between the lower parts. When you tight them together with the big black lock mechanism you saw earlier you lock the RA axis (the inner part) to the gear (the outer part). 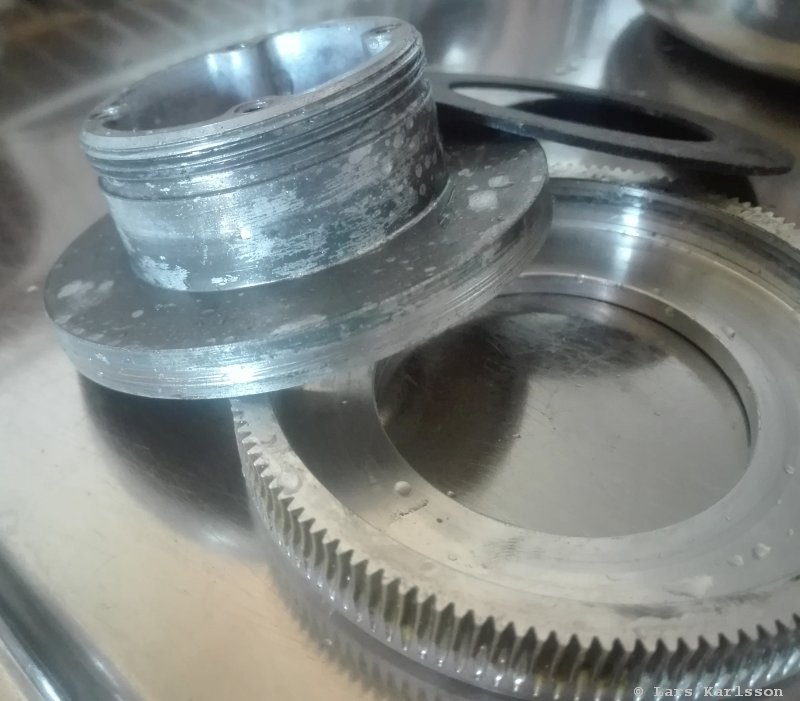
Here you can see on the edge what has caused the problem. The edge have scratches and that is what have get them like welded together. 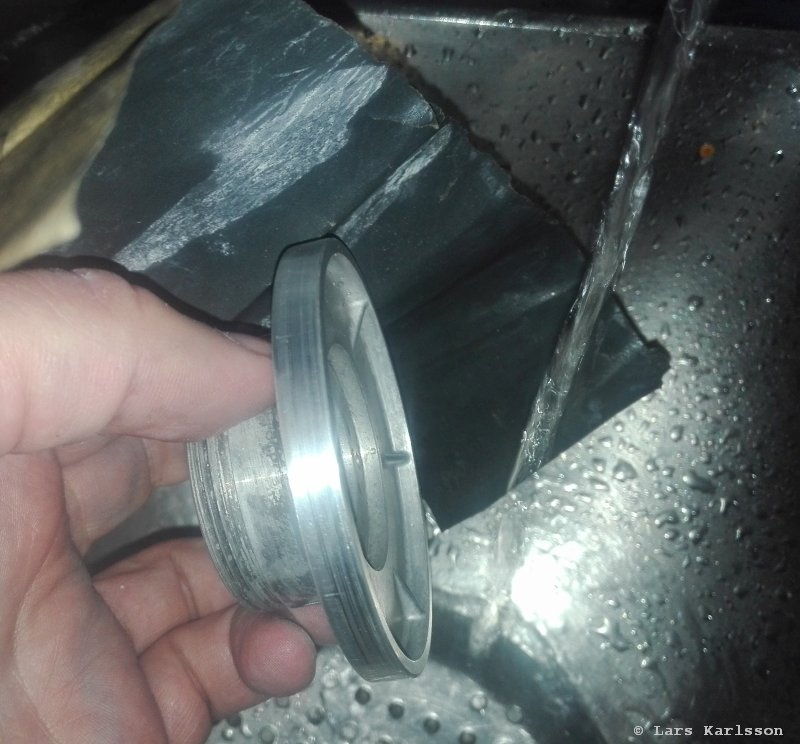
The precision between these parts are high. I carefully grind the surface with a wet sand paper grid 1000. I took it in many steps and tested between until it felt ok. After that I carefully clean all items from dust and grease. 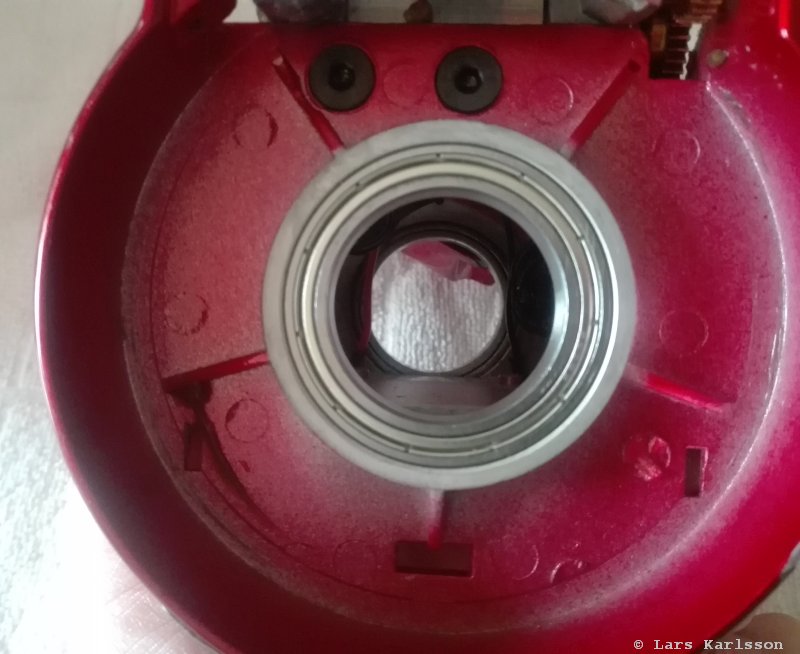
Here is a view at the roller bearing of the RA axis. 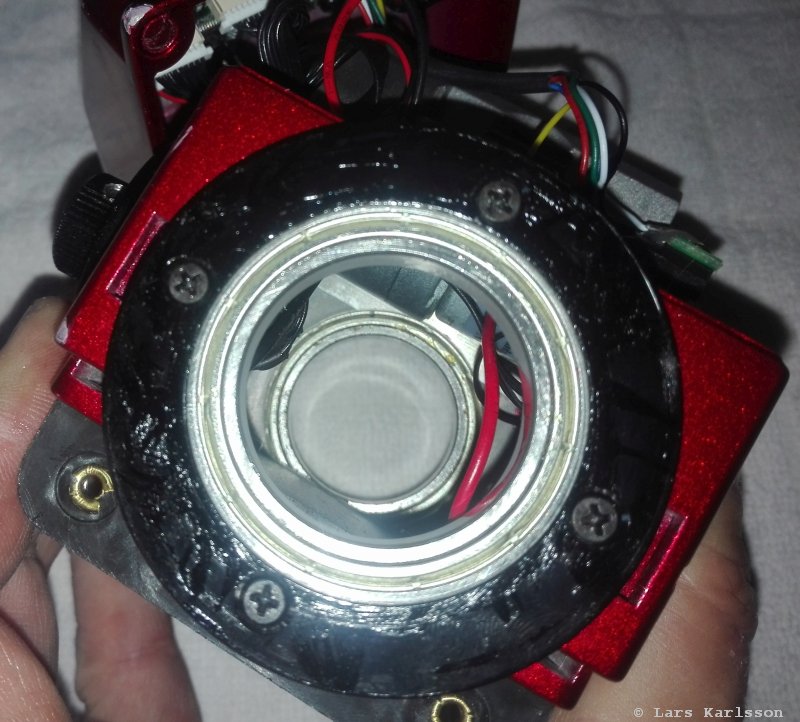
And here is the other side. Looks to be very well made to me. 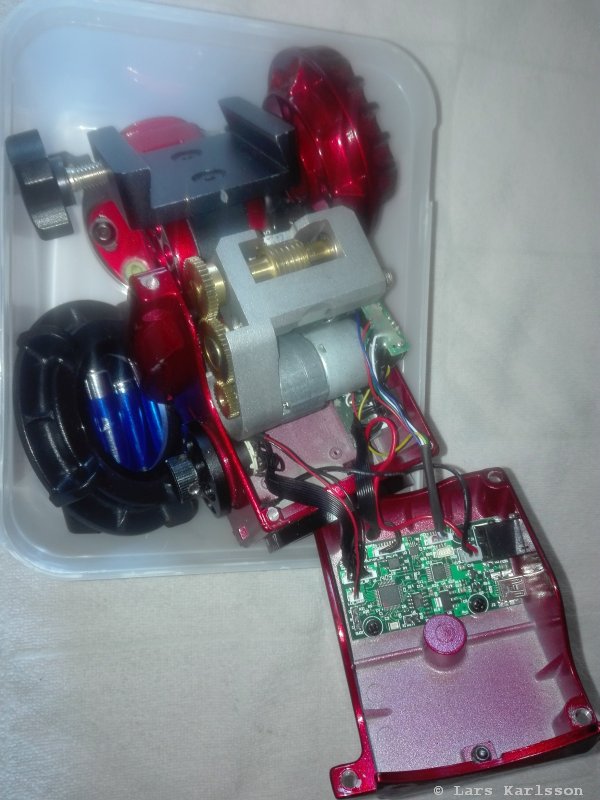
Now it's only left to assembly the parts together again. Not very difficult, just be careful to not get any dirt into it and put a a high quality grease on the bearings and gears. 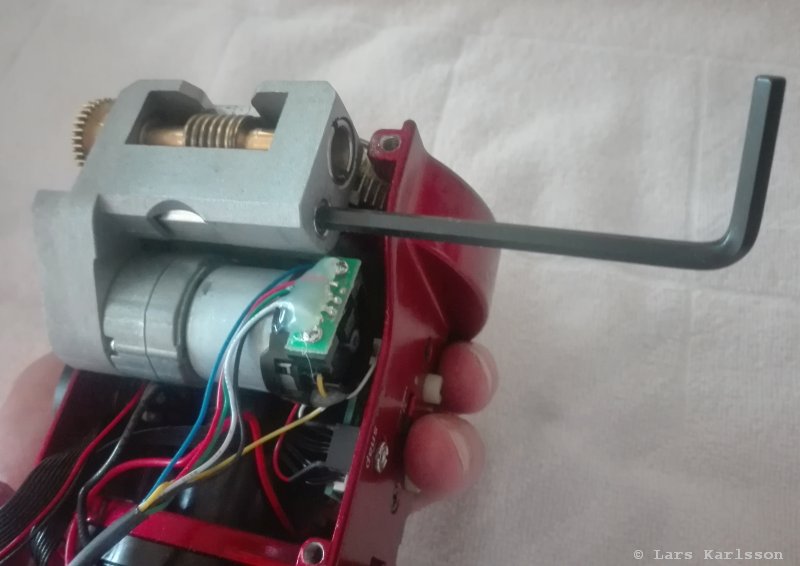
This is the hinge that holds the gearbox, don't over tight it, the gearbox shall easy move around the hinge (axis). 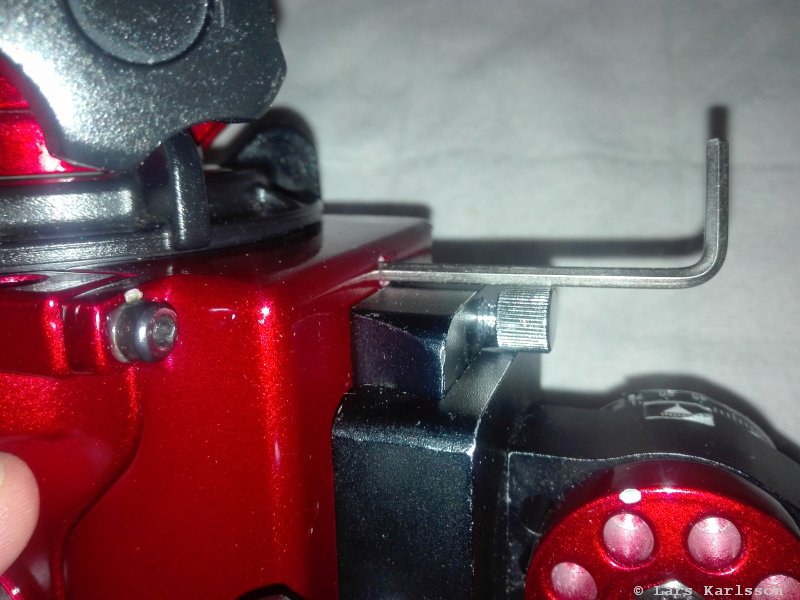
This adjusting screw is important, with a 4 mm Allen key you adjust the force that act on the worm gear. You have to have some feeling about how hard you should turn this adjuster. Too hard and the motor stop, too loose and you get backlash. Always have this tool with you, you don't want to breake a clear sky evening because the motor stop or bad precision in the align of the gears. You can read more here about how I did the adjusting from part one: ../project-star-adventurer-repair/ project-star-adventurer-repair.html
|
| Go Back |