Astrofriend's homepage

www.astrofriend.eu
Share: Twitter Reddit Facebook Gmail Gmail Email
Search Astrofriend's homepage:

Valid CSS!

All pages shall now have been validated

Info Cookies (Kakor) / GDPR

Navigation

Advertisement /
Annons:

Twitter @AstrofriendLars

Follow Astrofriend

Tutorial News

Advertisement / Annons:

My astronomy project:
Astro server and power unit, ver2


Content:

  1. Astroserver and powerbox, ver 1.0
  2. Astroserver and powerbox, ver 2.0
    1. Introduction to astroserver and power unit ver2
    2. Astroserver
    3. Powerunit
    4. Enclosure box
    5. Power supply
  3. Balcony outdoor outlets
  4. Lithium Battery power

Note:
I take no responsibility or liability for what are written here, you use the information on your own risk!


Page II.4: Enclosure box

I have installed this box in the observatory, from beginning it looked very big and I thought, what will I do with all this space?


Astro-server ver 2: Server hall

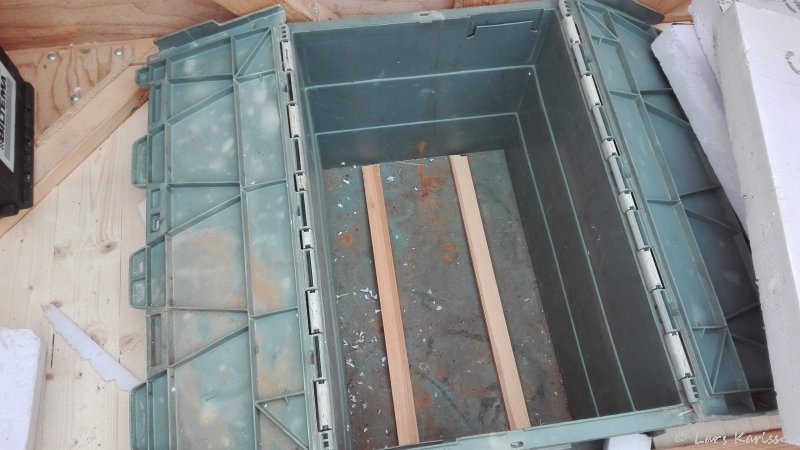
I think it will be wise to have it thermal isolated. In bottom I have placed 5 mm high distances to let any water that come inside to flow away. Never know if there will come water in it. There are two holes drilled at the bottom to let the water out.


Astro-server ver 2: Server hall

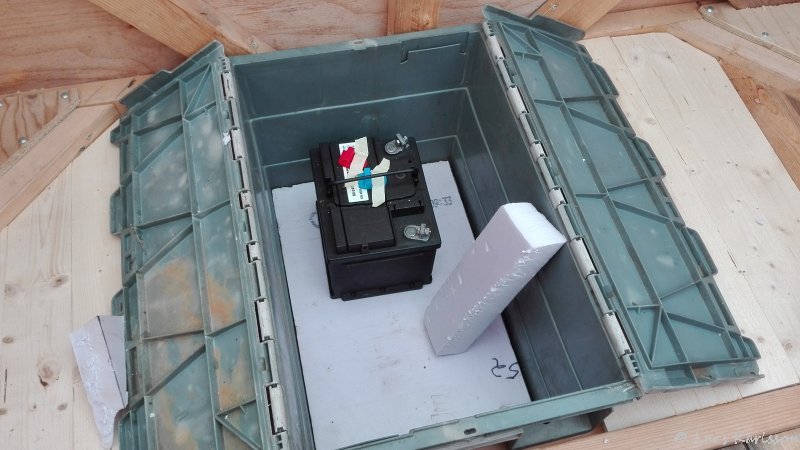
As insulation material I use this 50 mm (2") plastic material, easy to cut in correct sizes.


Astro-server ver 2: Server hall with thermal insulation

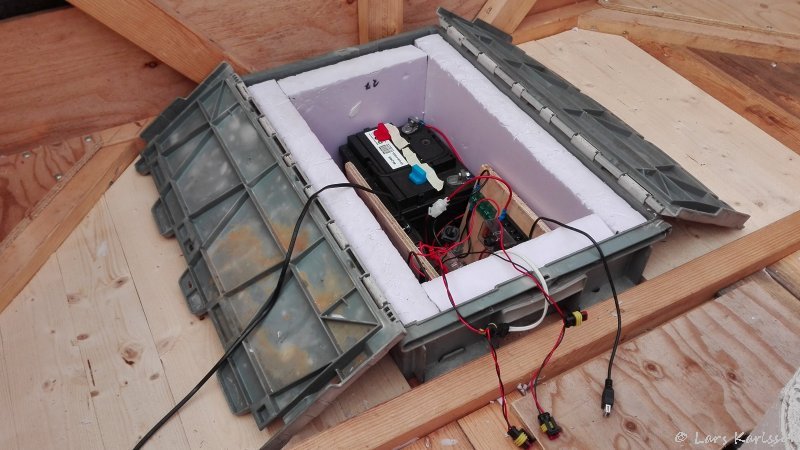
Now with all the insulation installed there is almost no space left! Later I shall move the box down in level with the floor.


Astro-server ver 2: Server hall with thermal insulation

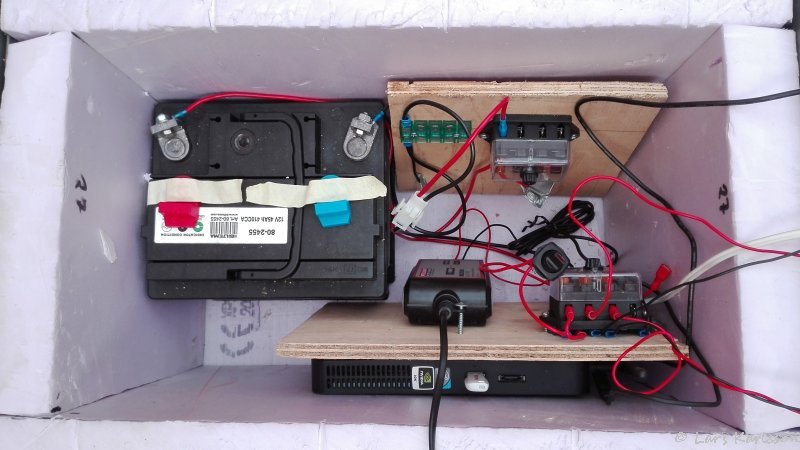
Overview of the inside of the enclosure box. This is an earlier version, I have afterwards moved the battery charger from the astroserver panel to the battery panel above.

Go Back to content

Go Back
To page II.5

Advertisement / Annons: