|
Advertisement / Annons: |
My astronomy project:
|
Content:
Note: |
Page I.1: Introduction to battery box and astroserverAfter struggling for a while with loose power connectors, and poor battery life I decided to rebuild the original parts to be a little more functional. There's nothing so frustrating to be standing there in the night and debug under a clear starry sky. When I plane for this I also draw plans for a local telescope astroserver for remote control over WIFI, in principle. Here are some pictures of what is ready to date and a brief description: 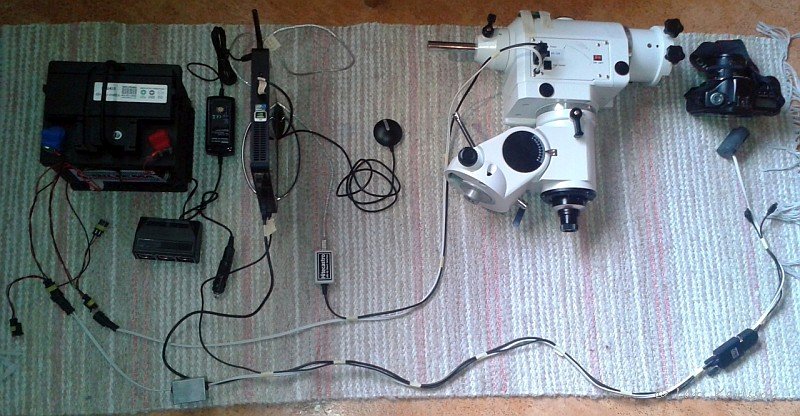
Here is a snapshot before the battery and the computer will be fitted in the box. 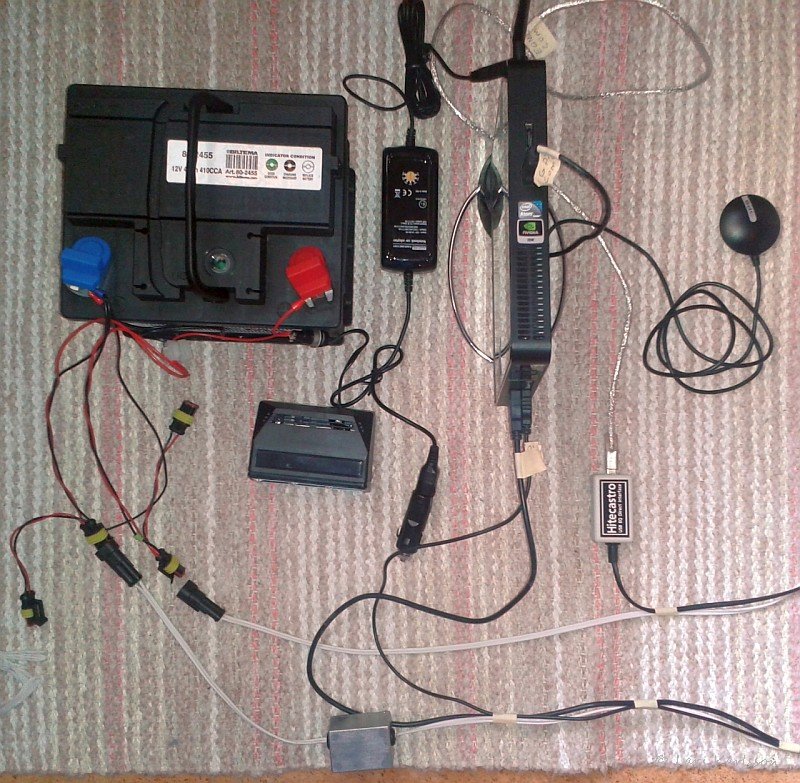
The choice of the battery fell on a 45 Amph car lead battery as a compromise between weight and capacity, purchased at auto parts store for 50 Euro. If it will be of enough capacity? It will probably be a little problem, but considerably less than the 17 Amph I had before. Those parts above are to be built into an appropriate box later, to protect against moisture and cold. One bad thing with this solution is that it becomes two computers, they connect to each other through a local network at my site and might also have charging current to the telescope so that the battery is not the limit for how long the photography may last. Battery's no disadvantage to have at the telescope anyway when it acts as a backup at power loss. Main switch and fuse terminal is not in place in the picture above. Cables area are 0.75 mm2 or 3.0 mm2 together. Computer has a 7 Amp fuse and the other 5 Amp fuses. Protects better than having one large main fuse. 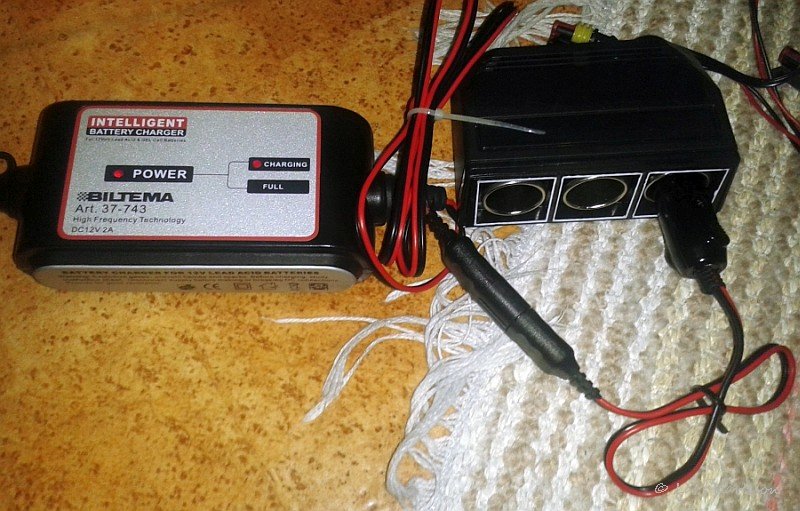
It is very easy now to charge the battery, with the charger followed a cigarette lighter plug that I plug in one of the sockets. This charger gives only 2 Amp so it's no fast charging. But in the cases I have access to electricity it can be connected all the time when telescope is in use. It's just that it does not give too much interference. If I always had access to 230 volts of electricity and with a bit more powerful charger so it would have sufficed if the battery has been on 5Amph and only then served as backup for a hour. Small and compact, will fit in the box. 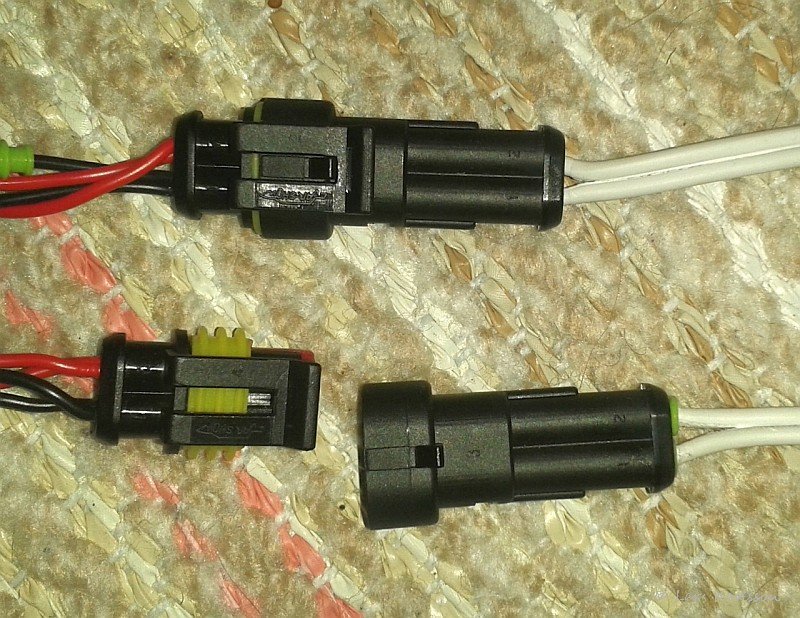
How many have not had problems with loose power cigarette connectors withdrawal? Here they are replaced with 2 pin connectors, are to some extent protected against water. Purchased at Swedish Biltema. The parts are connected here is EQ6 mount and camera (Canon EOS 5D). As a complement, there is a triple cigarette lighter socket for other devices. 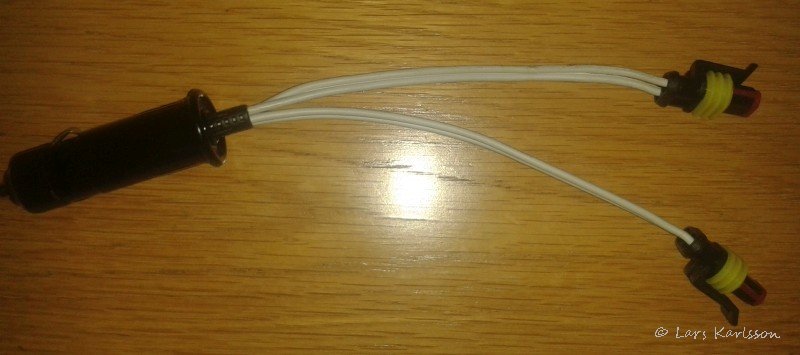
If I in the future need to connect some peripherals to a cigarette light outlet I have made this adapter. It could be when I'm out and time lapse shooting for example. Then it is enough with a regular small motorcycle or start battery. 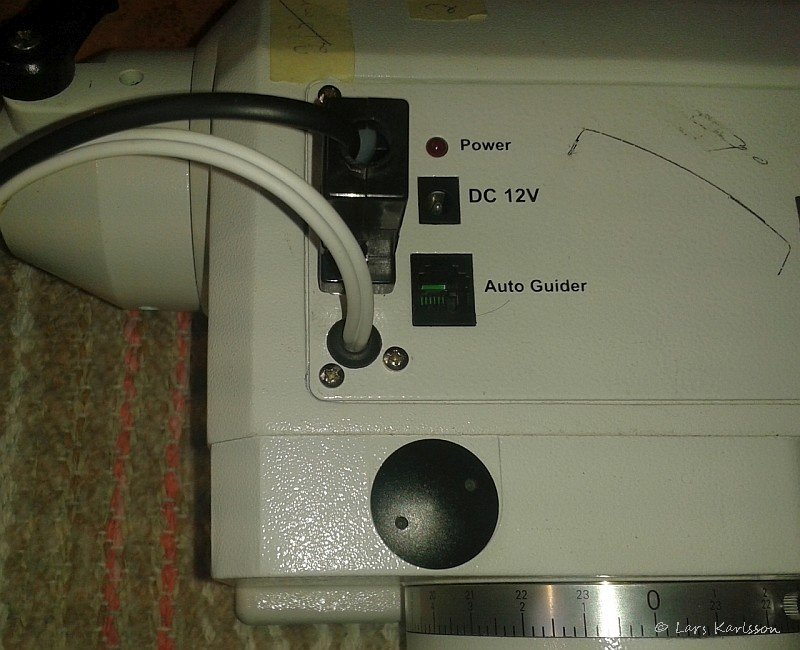
Power supply connection on the EQ6-head is really poor. Have lose the count of how many times I lost the power supply to it. And after a power loss I have to initiate the equipment again which can take one hour. You can change the contact to someone else but the most secure connection is to don't have any contact at all. Have drilled a hole and pulled into a cable and soldered directly onto the circuit board. It felt wonderful! 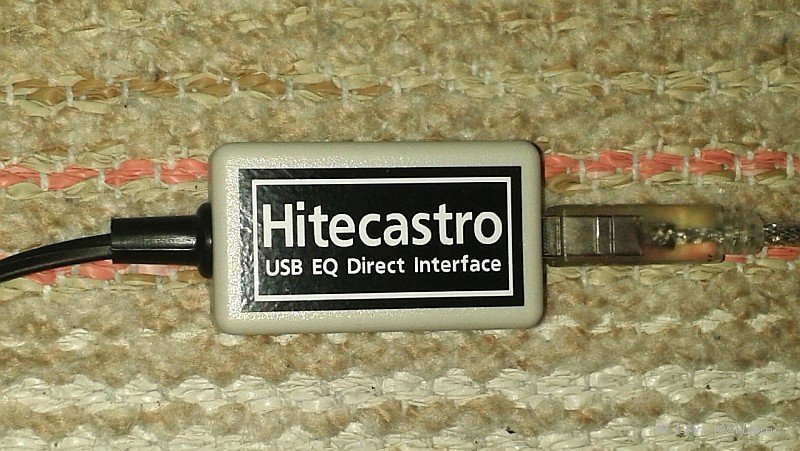
The computer controls the EQ6-mount directly through software EQMOD so I do not need a hand-held terminal that maybe is malfunctioning. The adapter is a standard purchased from Hitecastro. Has worked well so far. The steering assembly with EQMOD, CdC, Cartes du Ciel also interact with the guide camera and APT to get the dithering (small movements of the telescope between exposures). 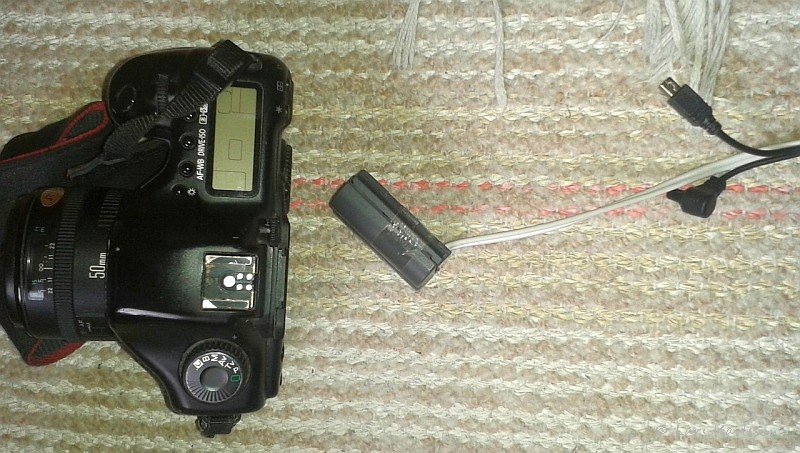
Canon 5D draws about 0.4 Amp under exposures and empties quickly it's own battery. Here is the battery dummy, I built one battery dummy of a discarded battery to connect 8 volts from a 12 volt converter. Inside the battery dummy I have put an electrolytic capacitor at 470 micro Farad that can take care of the instantaneous rush current when the mirror and the shutter is activated. The two wires are a USB for control and transmission of images, and a serial connection to take longer exposures than 30 seconds and feature mirror lock. I mostly use the control software APT that I'm very happy with. 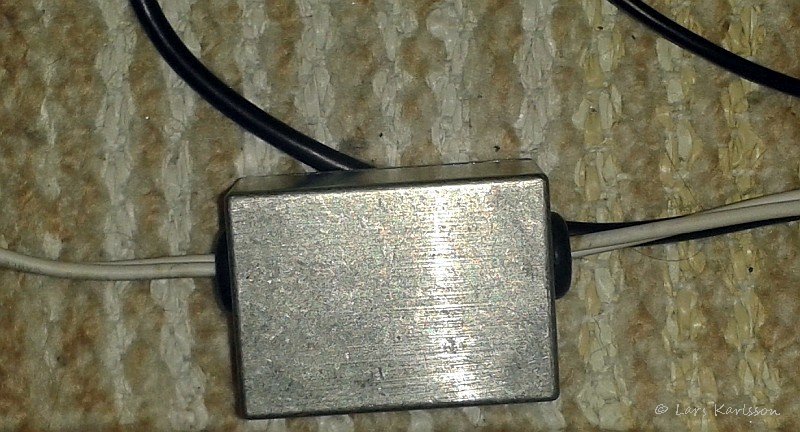
My self-built 8 volt converter from 12 volts to the camera. First I had the electronics inside the battery dummy but it was not good because the camera was heated up by the power losses. 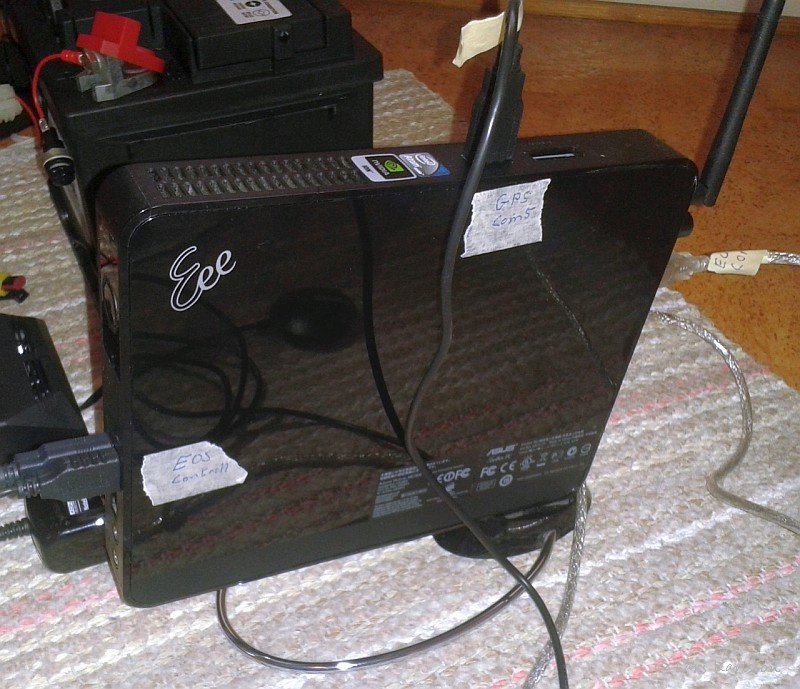
The computer is an ASUS EEE with dual core at 1.6 GHz and 4 GB of RAM. Computer hard disk can be replaced with an SSD to save some power. This computer will be remotely controlled with UltraVNC or similar programs. I do not therefore have to have long USB cable between the laptop and the equipment. USB to WiFi adapters usually supposed to not be so easy to get to work. The computer has five USB ports including 2 USB3 standard, so far I do not have an USB HUB, but maybe need it in the future when the focus motor and other accessories will come. I have neither the monitor or keyboard connected to the computer so it is important that you can trust that the remote control is reliable, has worked well so far. Shall later try to bypass the router and connect computers directly via WiFi, have never tried this before so it will be interesting to test. 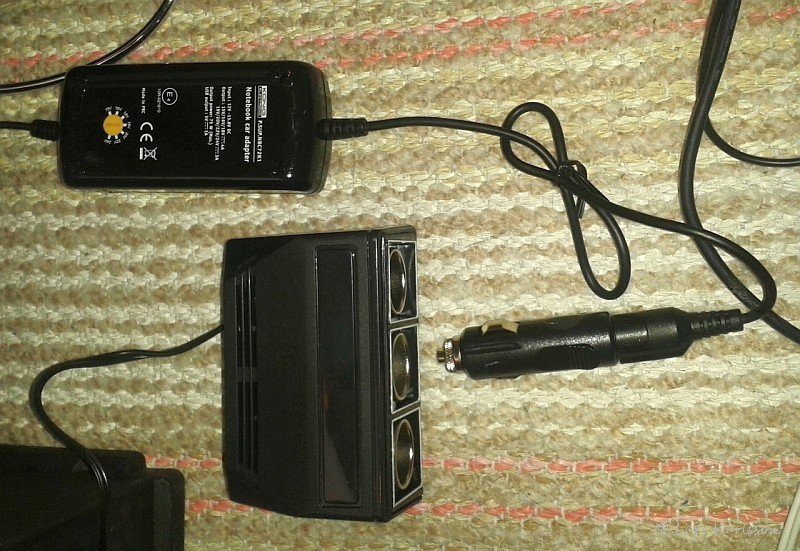
Voltage converter to the PC, from 12 volts to 19 volts. Unfortunately have to have this one, the better would have been to run the computer directly to 12 volts which is how it working internally. But the battery voltage is too unstable to withstand computer requirements. 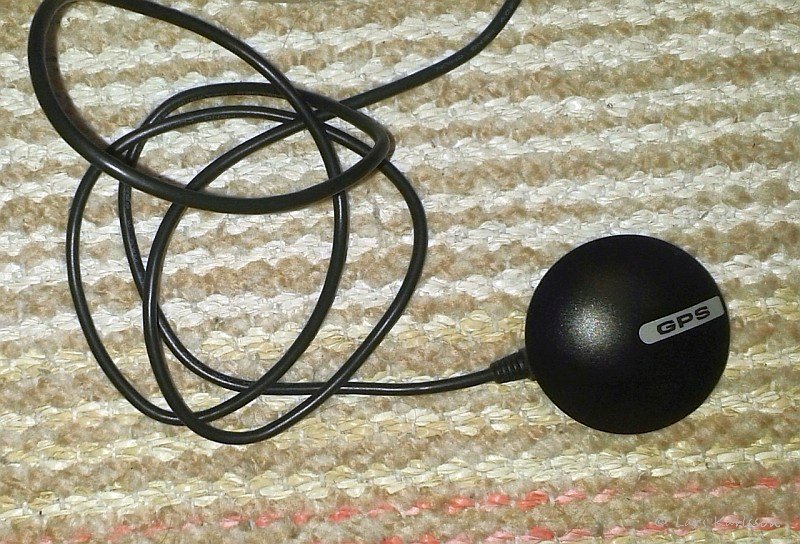
GPS unit, connected through USB. Good to sync the clock and get the right coordinates of location if you're traveling with the telescope. EQMOD can take the signal, it is not wise to let the GPS sync the PC clock. Better would have been to set the clock right away, I think that I now have a problem when the time difference becomes too large, typical a minute or two. What is not included here is the guide camera connection, previously held a webcam but it must be replaced by something better. Focus motor is no longer departed than thoughts in my head. Perhaps Hitecastros solution is good. Saw one who had it on a Star BBQ party in the other night. Battery monitoring would perhaps be handy. But actually, the one can not pick on a lot of things unnecessarily when they draw extra power. Heat Tapes for telescopes, I have never used it earlier but it is a must, the idea is to build an energy-efficient solution.
|
|