|
Advertisement / Annons: |
My astronomy project:
|
Content:
Note: |
8: Modification of the adaptersReturn to the workshop and problem solving. As you read earlier, I have problems with vignetting in the adapter between the field flattener and camera, and then the camera body itself. Thought about selling my Riccardi flat field corrector and buy one that can handle larger sensors. But it's really unnecessary, already this in 2.5" size handle 42mm image circle. Full frame is 44mm and one mm losse in the corners are not so important. If I buy a field flattener in 3" design with matching off-axis adapters, and some adapters rings, I will have a cost of 1200 Euro or more. Not really in my budget. And as I wrote earlier, it will just give me other kind of problems to solve. So back to the problem, it's the original adapter that the main problem lies in that it's the one you should go for. One may well wonder how they can manufacture an adapter that makes it impossible to utilize the expensive Riccardo corrector fully and causes all these problems. For the ones who is satisfied with APS-H format, it is not a problem but then you need of course not so expensive corrector like this one. So it looks like this: 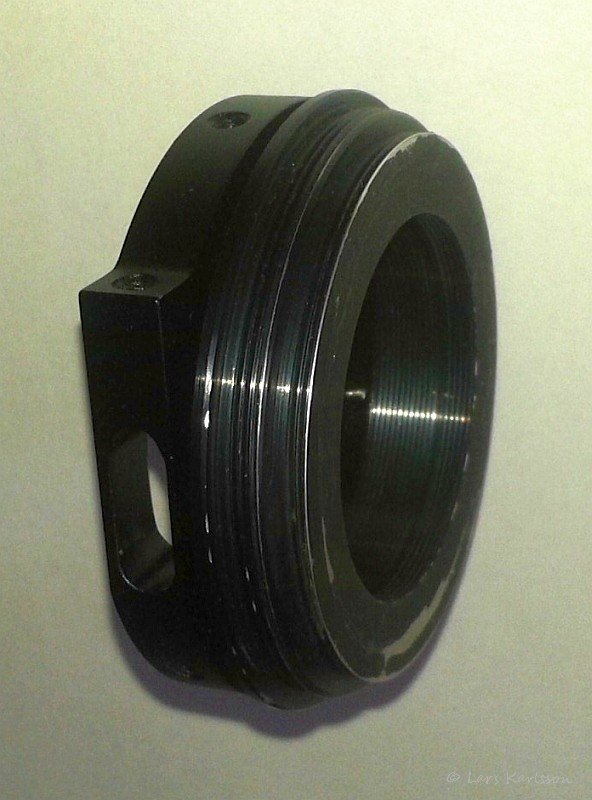
The adapter holes on the input side is 45mm and the corrector lens on the output side is 48mm. The light cone is slightly conical, but it shall of course also reach out to the corners of the sensor. Means that the free passage must be at least 48 mm of the hole if it's circular. Should it fit with flock paper needed further a few mm. I should be able to modify it to nearly 52 mm so that part can be solved. As a bonus, the off-axis guider will get more light and thus it becomes better of the guidance to weaker stars. The off-axis guider and Riccardi adapter are paired with a M48 thread, it will be grind away completely. Feels a bit sorry to do this on this new adapters, they cost close 300 Euro, but as they are now they are not usable today so it is not so much choice. 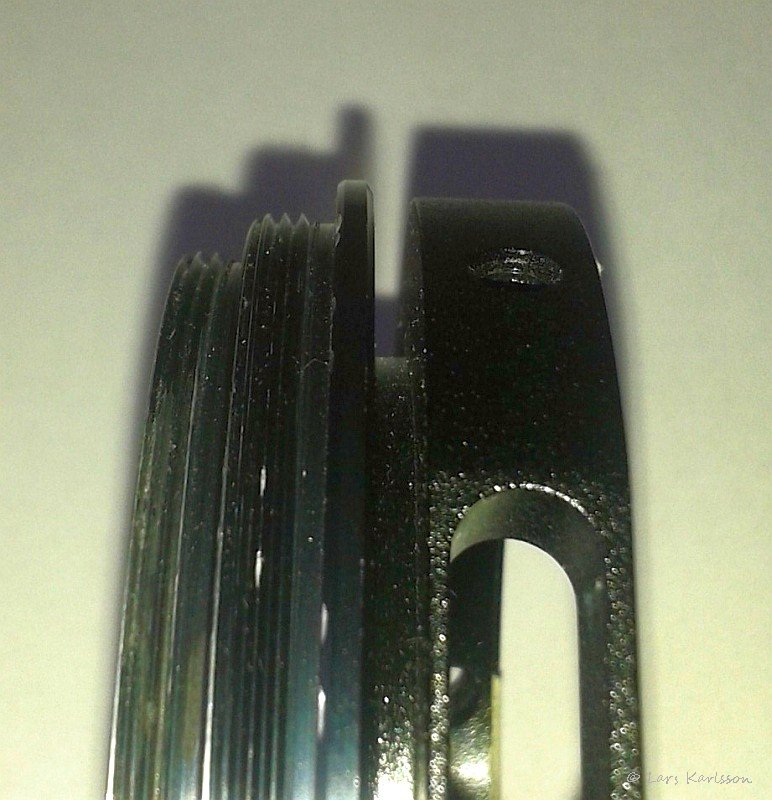
When I lathes away the M48 thread, this gap of 2.5 mm disappear, maybe it will be to weak and I keep a part of it. It admit that I have a little more adjustment range of the critical distance between the corrector and the sensor. 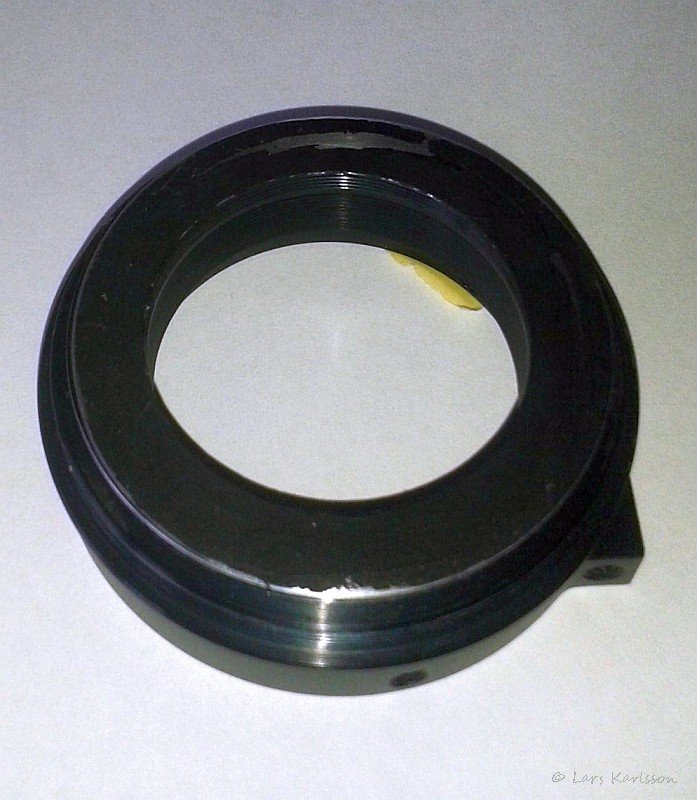
Here are the incoming side, this is where the hole should be taken up to 52 mm. To take up the hole from 45mm to 52mm means that lot of material disappear, fortunately, there is a lot to take of here. 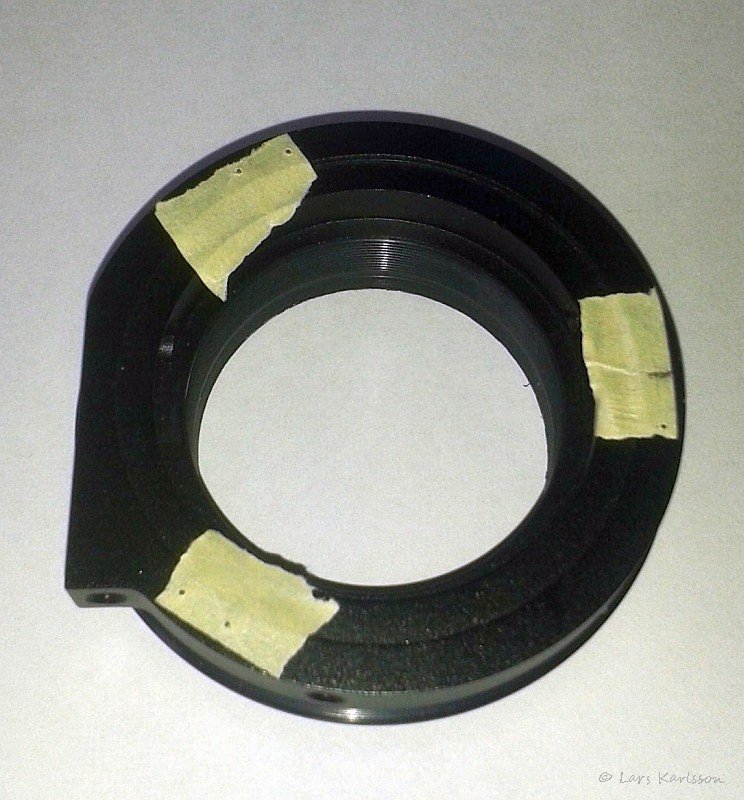
The off-axis adapter's output side. Here should six 3mm hole be made. Three to assemble off-axis adapter with the Riccardi adapter and three to the stop screws which I will fine-tune the distance between them. It's crowded here, several passages of holes for other purposes as they do not allowed to collide with. 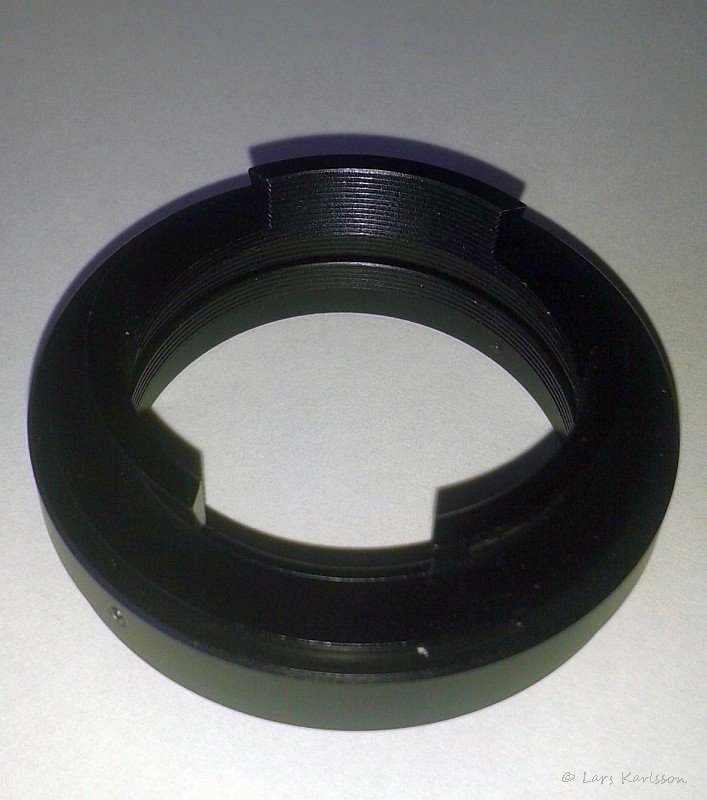
On the output side of the off-axis adapter is an another adapter, this is the M48 thread. Now we are closer to the camera's sensor and has not quite the same requirements. A hole of 46 mm should make it. Original hole in the adapter are here 44 mm, it may be possible increase it, but there will be no room for flock paper. An alternative solution is to grind up a rectangular hole with rounded corners. It appears to be feasible. This adapter has a different problem, it tapers in the bracket and locked with the three set screws. It is not so mechanically stable and my camera is pretty heavy, but I keep the solution so long. Today, I use a Canon EOS full-frame camera, but like any full-frame DSLR cameras have narrow inlets to the sensor which make problems with telescopes with big openings. In my case, a 130mm F/5.3. For this adapter do I make no modifications at the end to the camera bayonet. Maybe it will be a mirrorless Sony A7 serie camera in the future, it assumes that Sony removes the compression they put into the raw format. Maybe a option of a real full-frame astronomy cameras show up, but it is not so likely because of the cost. Now it has come so far in my planning that I can take up the holes needed in the Riccardi adapter before the modification of it. 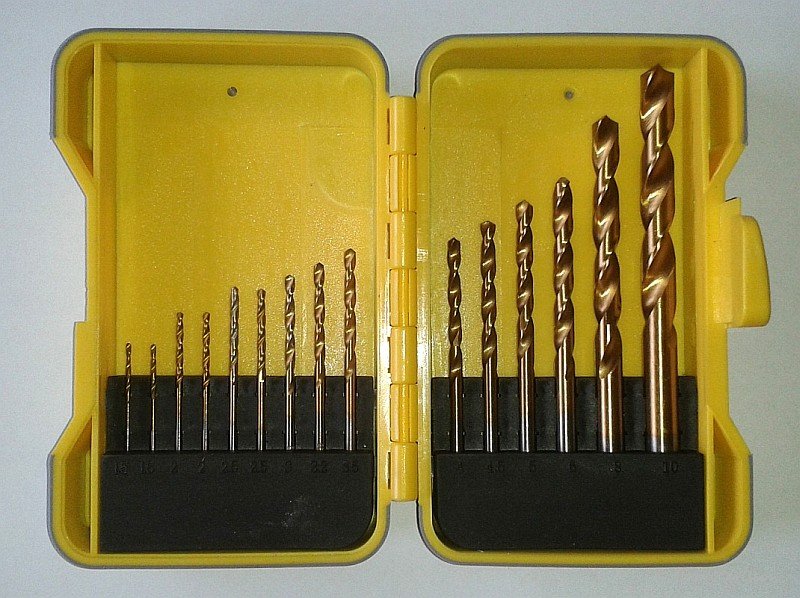
The aluminum can be a bit difficult to drill, it is easy to have the drill stuck and it breaks. All my tools I had disappeared when I moved so I had to buy new ones. I found this drill kit with Titanium coated drills. When drilling I took my time so that no drilling accidents occurred. Continuous lubricating is necessary when drilling. It now hold nine holes, where three is 3 mm consistently and meet up in the second adapter part where 2.5 mm holes are drilled, the latter shall be threaded M3. Furthermore, there are additional three 2.5 mm holes, they shall also be threaded M3 and here shall the stop screws be installed to enable fine adjustment of the distance between the adapter halves. 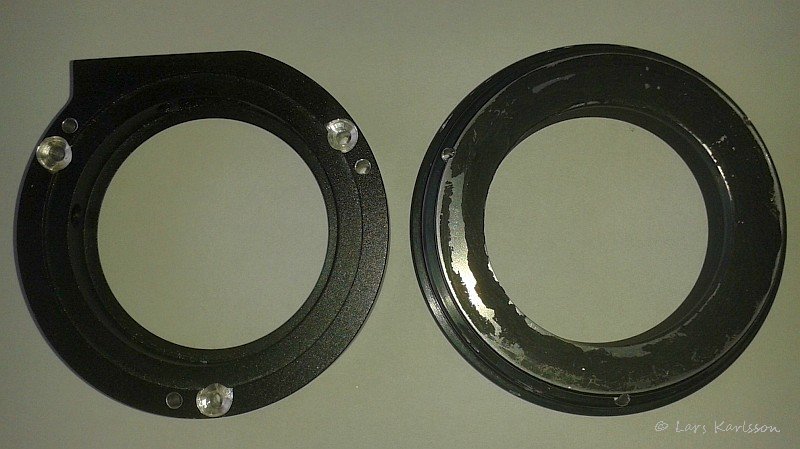
Here is the adapter as seen from the other side, the recesses are for fastening screws trail heads. 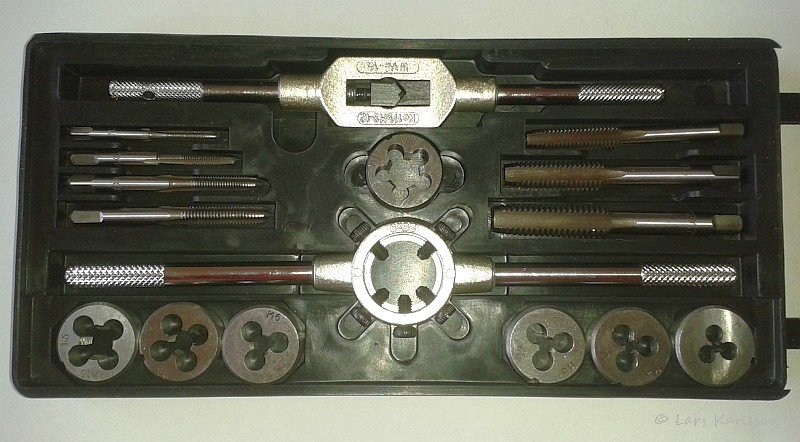
The next phase will be to thread the holes for M3, for that purpose I bought a bunch of simpler set up, I hope the quality is sufficient.
|
|