Astrofriend's homepage

www.astrofriend.eu
Share: Twitter Reddit Facebook Gmail Gmail Email
Search Astrofriend's homepage:

Valid CSS!

All pages shall now have been validated

Info Cookies (Kakor) / GDPR

Navigation

Advertisement /
Annons:

Twitter @AstrofriendLars

Follow Astrofriend

Tutorial News

Advertisement / Annons:

My astronomy project:
Repair of Star Adventurer mount (and a look inside)


Content:

  1. Overview of the parts and an inside look for broken parts
  2. Adjustment of worm gear and gearbox
  3. Will it work after this repair and adjustment?
  4. Complement with a tripod
  5. Complement with a light weight holder
  6. Polar Align
  7. Travel kit
  8. Dithering ?
  9. Red Dot Finder
  10. Test photo on M31 and M45
  11. Soldering mini USB contact

Note:
I take no responsibility or liability for what are written here, you use the information on your own risk!


2: Adjustment of worm gear and gearbox

After disassemble it I start looking after what cause the heavy backslash and if there are some parts that can be adjusted.

Wormgear adjust screw

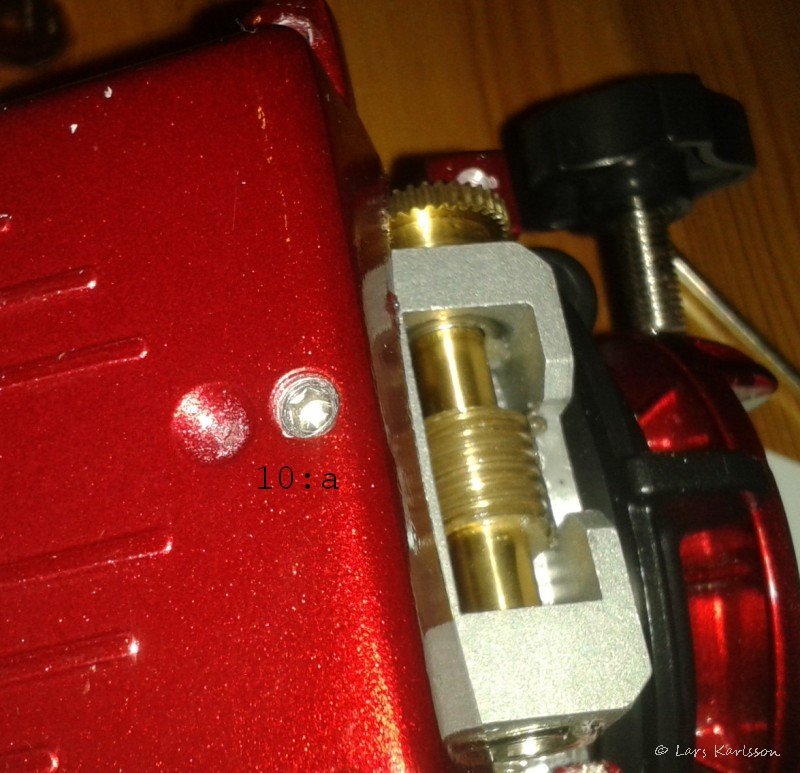
The adjust hex screw (10:a) for the alignment of worm gear. It was totally out of adjustment.

Adjustment screw

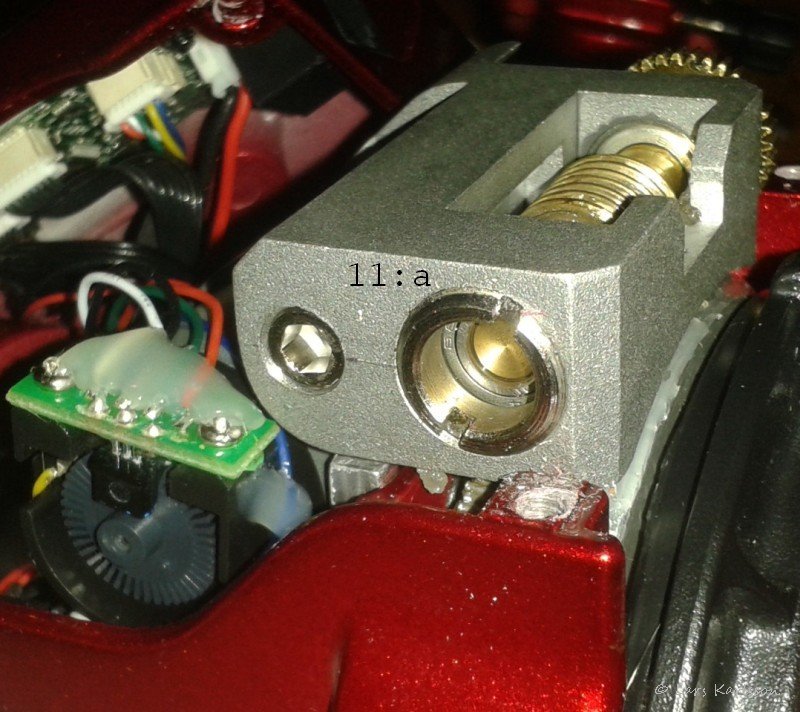
Here I found a second adjustment screw (11:a) for the worm gear. After adjusting this I reduced the backslash to almost nothing in the worm gear.

Gearbox adjustment screw

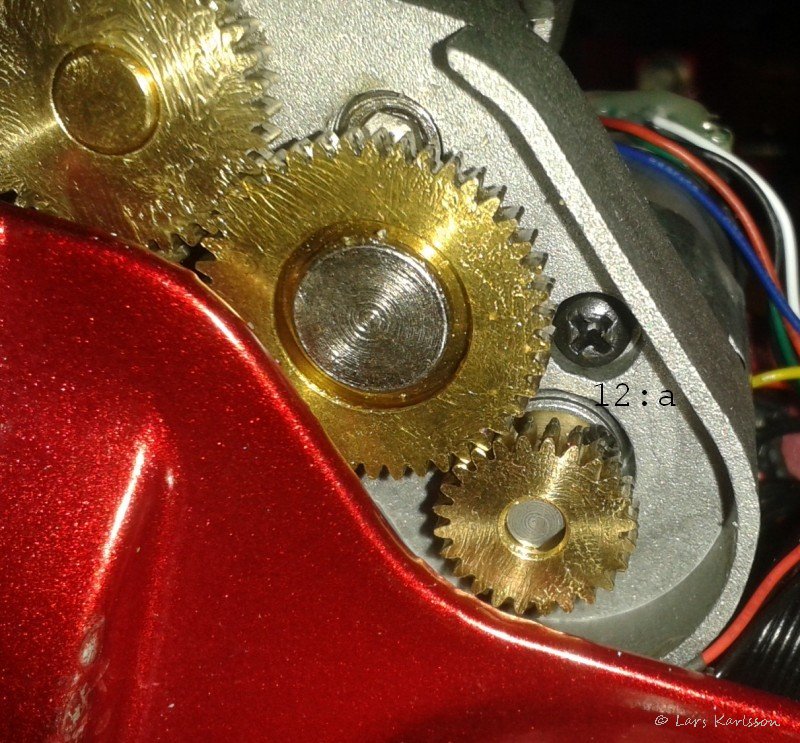
I found more backslash in the gearbox, and one of the gears was loose. It was possible to tighten the gear to the shaft. And with adjusting (12:a) the position of the motor the backslash was reduced, but not perfect. There is also one more screw to adjust, that one I couldn't reach, I will do it later.

Camera tilt

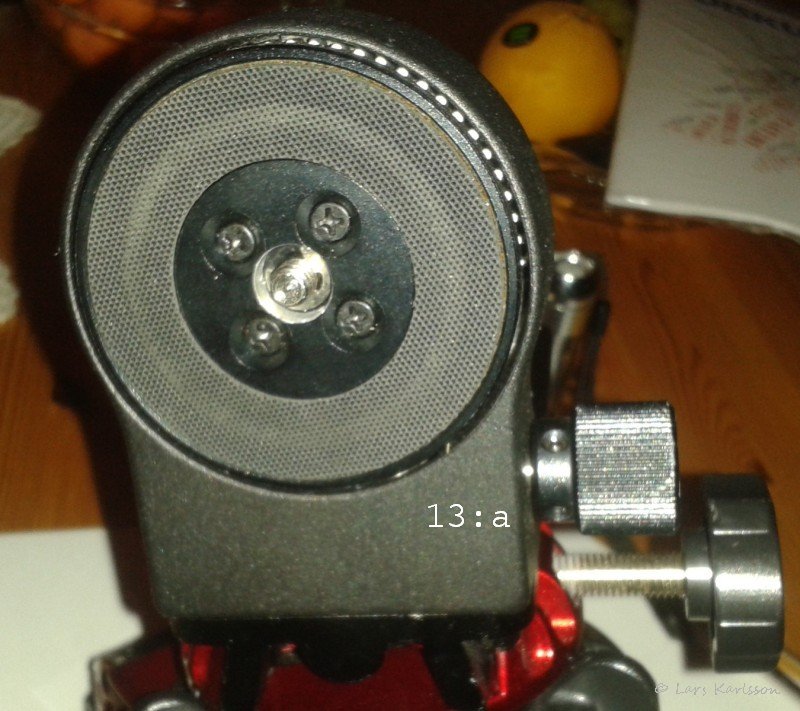
Even the holder for the camera has a worm gear built in, with the knob (13:a) to the right it's possible to adjust camera angle.

Go Back to content

Go Back
To page III

Advertisement / Annons: