
 English

|
Advertisement / Annons: |
Tutorial:
|
Content:
Note: |
2, Desaturate starsWith the new beta version 1.20 of Siril there is a new function. It's possible to desaturate over exposed stars. Oversaturated stars are very common because of stars extreme high dynamics. An astrocamera maybe have a 16 bit depth of its ADU converter. That is 65536 levels, nothing compare to what you find on the sky, the dynamics is more like a million. A DSLR camera is even worse, it has nowadays a 14-bit resolution ADC, in earlier days only 12-bit. 14-bit is only 16384 levels and the bias take 2048 of them. My Canon 6D camera is a low noise camera, but only at higher ISO settings. Normally ISO 1600 is used. When a pixel at the camera sensor catch a photon which it do for every second one it store the signal as an electron in the pixel's well. My Canon 6D can store about 75'000 electrons in each pixel. If more photons detects the new electrons overflow and can not be readout. That is what happens when the camera oversaturate because of the bright stars. When cranking up the ISO it can only use a lower range of the dynamics that the pixel has capability of. At ISO 1600 in my camera maybe only the lower 30'000 electrons can be read out because of the limitations of a 14-bit ADC. Modern Nikon with Sony sensors are better, they can be used at ISO 800 and still have a low readout noise. I have in my earlier software tried to handle this, it worked but very time consuming to use. With Siril it's different. This is the first time I use the desaturate command, I just want to show how to use it. Optimal parameters will come later when I got more experience. Overexposed stars: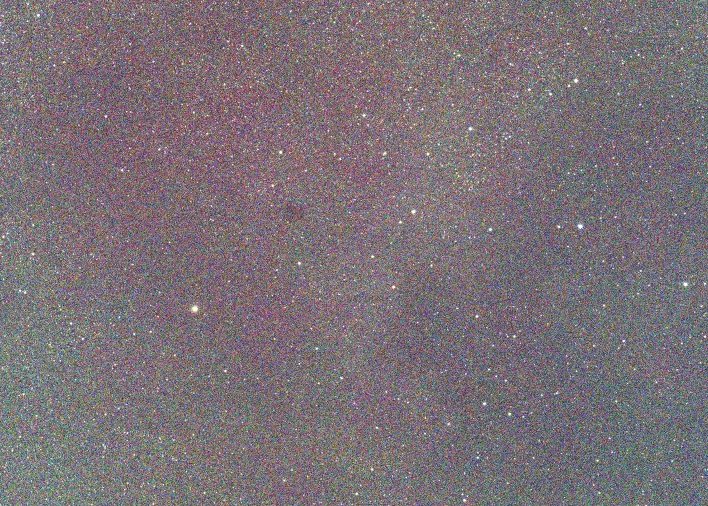
Even if it's only 30 seconds sub exposures I used the brighter stars are over exposed. When that happen the tip of the star get mono color, here they are white. Purple is common after a color calibration because the green channel is more sensitive and get overexposed first. Only red and blue left and that looks purple. 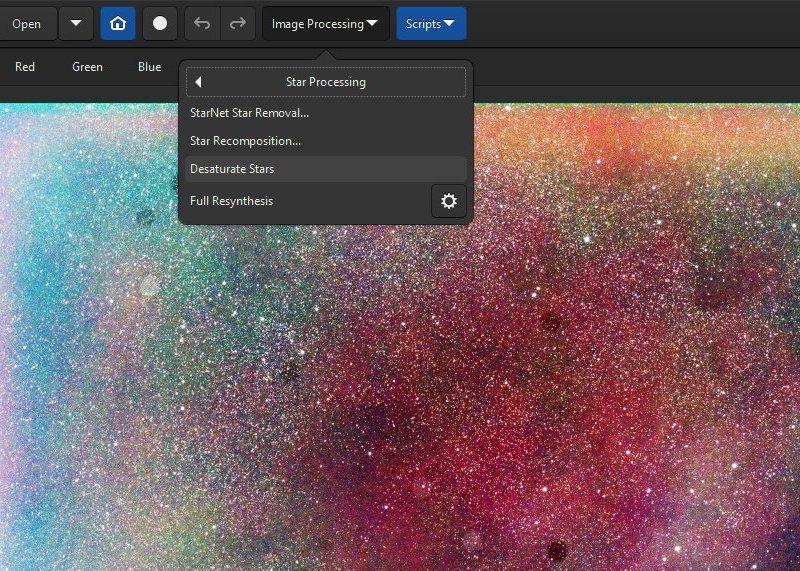
Here I have increased the contrast a lot and the object is the Nebula NGC 7000. In the menu Image Processing there is a new submenu in the beta version, Desaturate Stars. Its a one click button and the desaturation starts and do everything by automatic. Before I do this I must go back to linear mode again. Background extraction: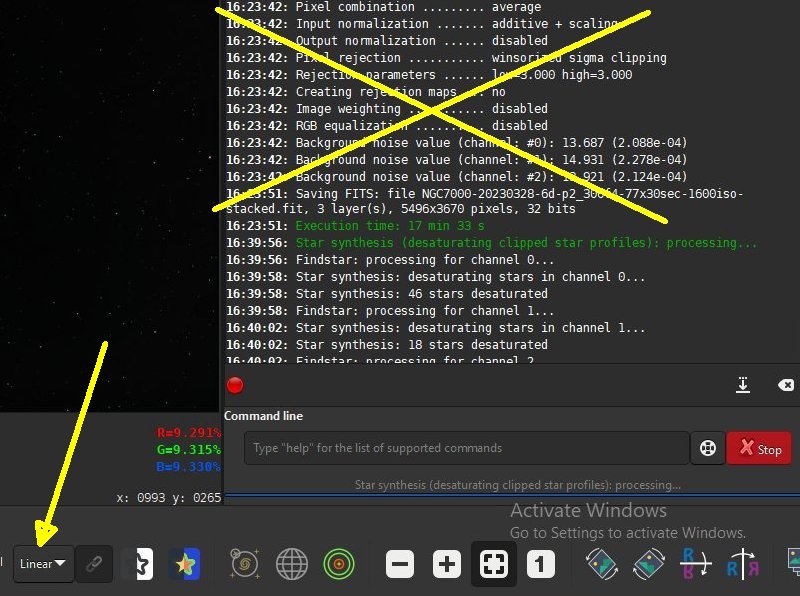
Switch back to linear mode and start the desaturating process. It find the saturated stars automatic and process them. Even if the center is saturated it can use the surrounding of the star's center to calculate how it should look if it wasn't saturated. Save the image with a new name: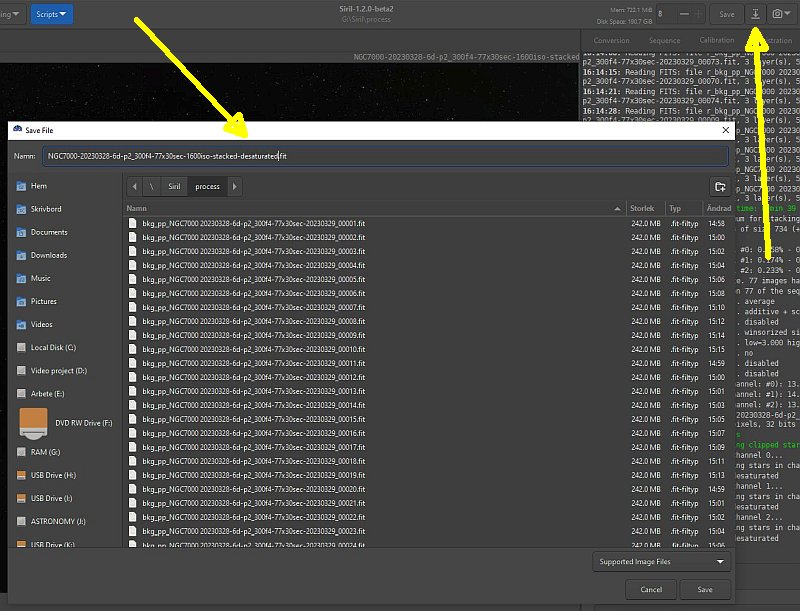
The image must be saved, upper list. When click on the down arrow a menu pops up. Give it a new name and save. 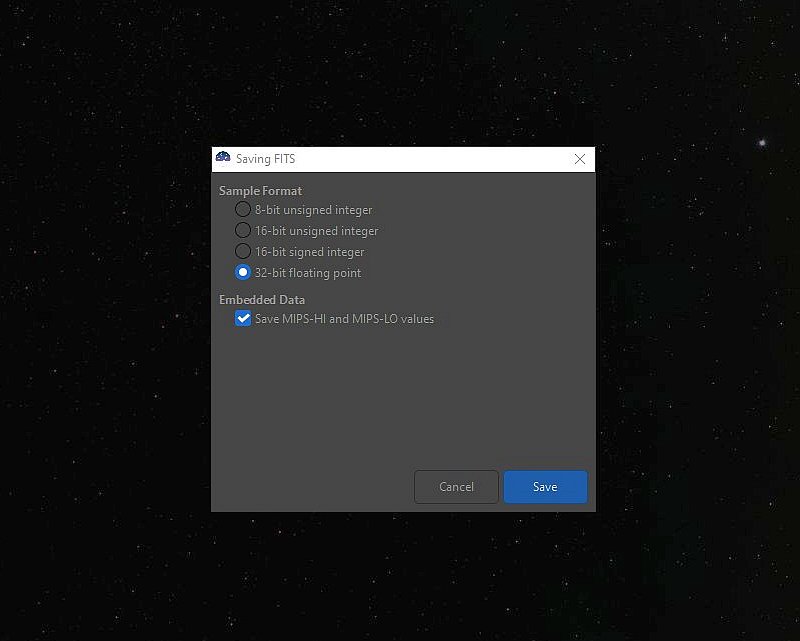
Before it save the image it ask what sample format it should use, normally 32-bit floating point. This desaturating will be my standard routine to do on my images where there are over saturated stars, and there are plenty of them in most cases. But a future fix to it will be a better camera to reduce the problem with saturated stars. Here you find Siril's own tutorial about this: Siril Synthetic Stars and here: Desaturate Stars Details: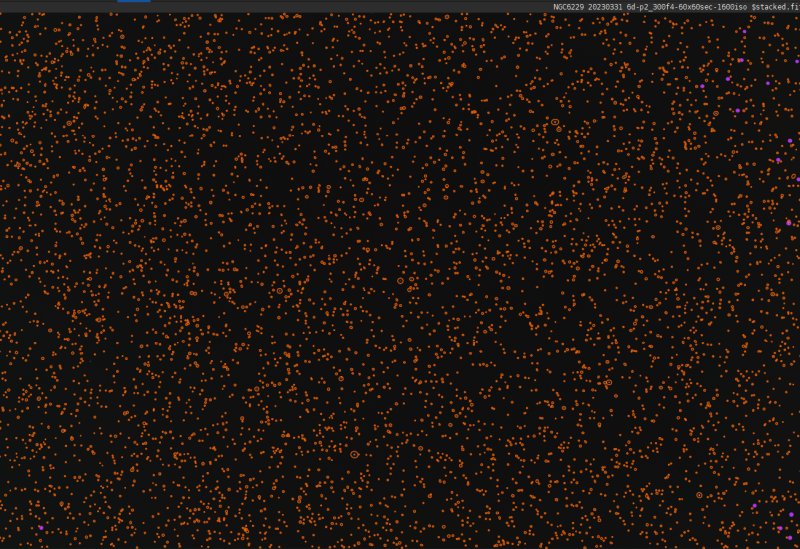
This is another photo and the object NGC 6229. With the command findstar Siril finds a lot of stars and the ones that is saturated is marked with a purple ring. In this photo only a few, it's a 60 seconds exposure at f/4 and 1600iso. 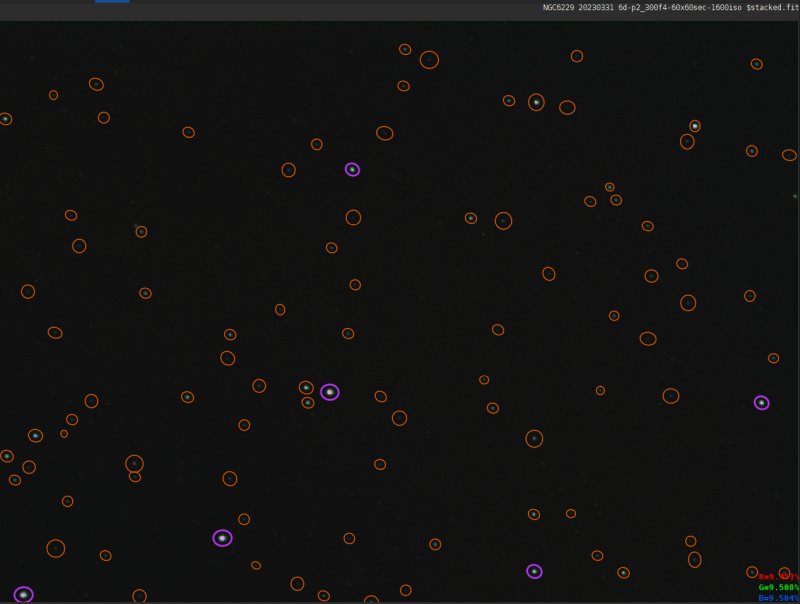
A zoom in at the right upper corner. This is the stacked image before desaturate. 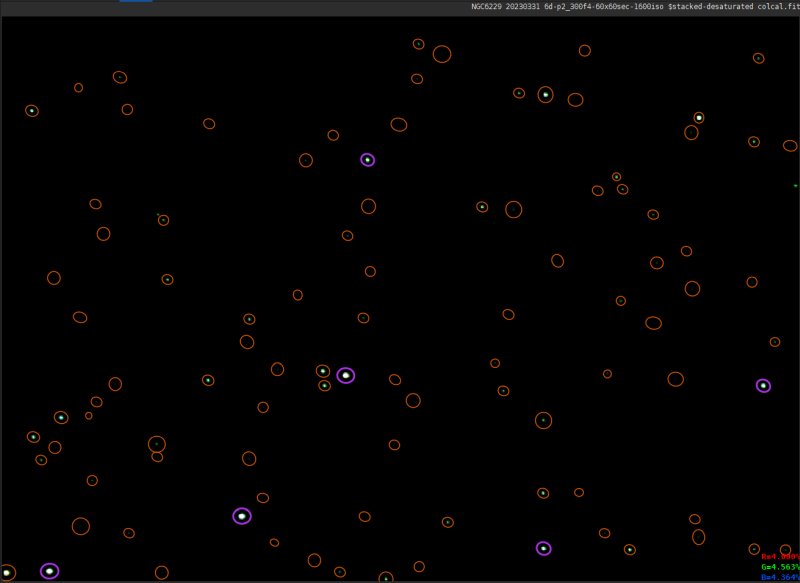
After the image has been desaturated and also color calibrated. Still indicate the same stars as saturated. It will take some time until I find the best settings for this desaturate command.
|
|