Astrofriend's homepage

www.astrofriend.eu
Share: Twitter Reddit Facebook Gmail Gmail Email
Search Astrofriend's homepage:

Valid CSS!

All pages shall now have been validated

Info Cookies (Kakor) / GDPR

Navigation

Advertisement /
Annons:

Twitter @AstrofriendLars

Follow Astrofriend

Tutorial News

Advertisement /
Annons:

Advertisement / Annons:

3D Printing:
My first 3D printer, assembling and setup


Contents:

  1. Introduction, unpacking and assembling sliders
  2. Installing the pillars on the bottom frame
  3. Installing the top limit switches and the top frame
  4. Installing the timing belts
  5. Installing the display and the filament feeder motor
  6. Installing electric devices and cables
  7. Adjusting the print bed
  8. Test print and test of Z-axis offset
  9. Installing CP2102 drivers and Cura
  10. Upload new 3D printer software - Marlin
  11. Mechanical calibration
  12. Setup Marlin 1.1.19
  13. Setup/Calibrate Marlin 2.0.0
  14. Tweaks
  15. Temperature P.I.D. optimizing
  16. Calibrate horizontal expansion
  17. Wind shield
  18. Replacing the nozzle heater
  19. To be continued

Note:
I take no responsibility or liability for what are written here, you use the information at your own risk!


4, Installing the timing belts:

3D printer, assembling and setup

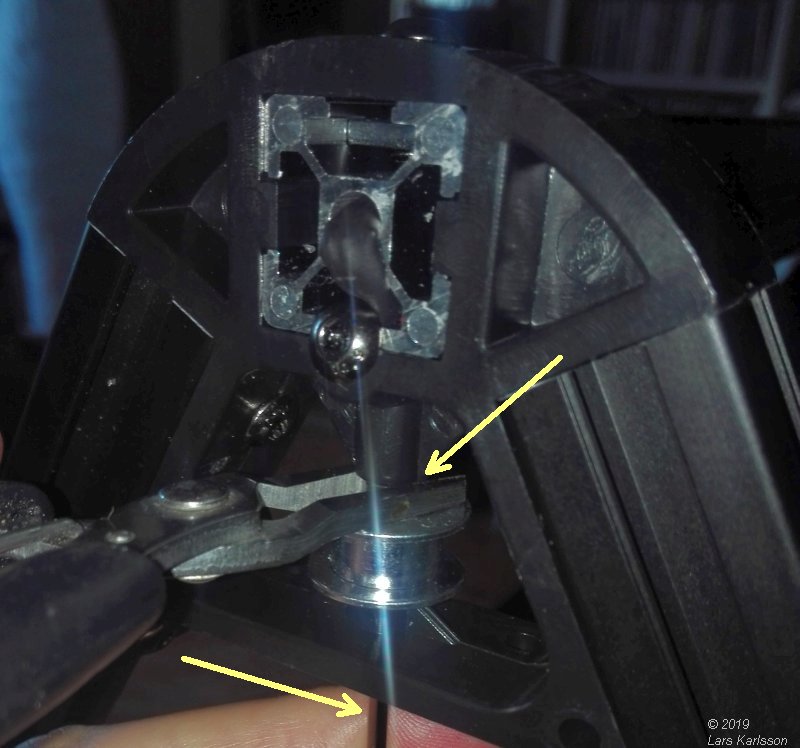
I needed to adjust the upper free rolling pulley. Then I noticed it was loose. When I examining the construction I see that the nut can rotate when the pulley rotate, in one direction it get high friction and at the other direction it come loose.


3D printer, assembling and setup

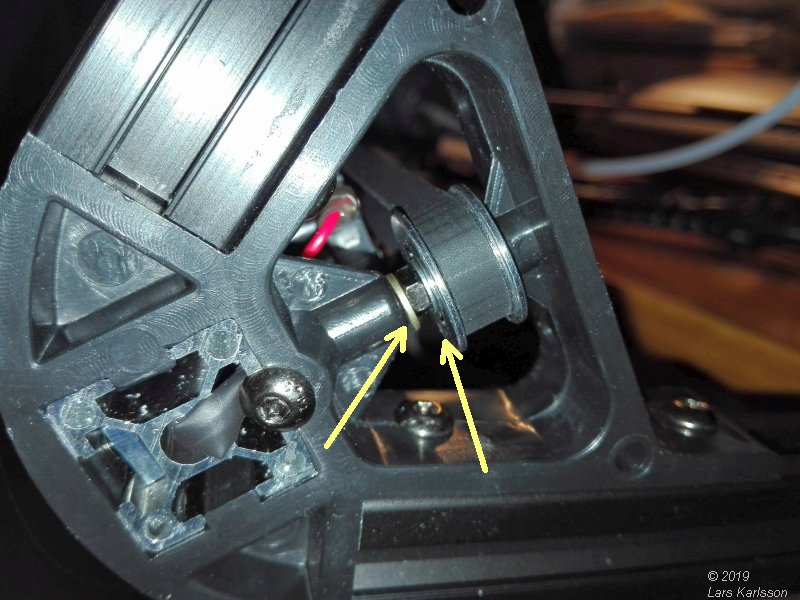
This is what I did, placed two washers on each side of the nut. Maybe even better had been to put two nuts and lock them against each other.


3D printer, assembling and setup

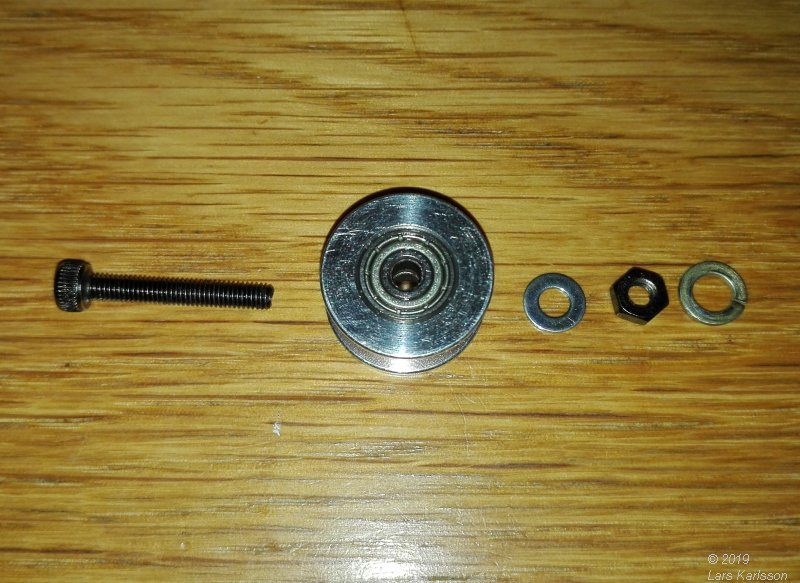
Close up of the order the different items is placed.


3D printer, assembling and setup

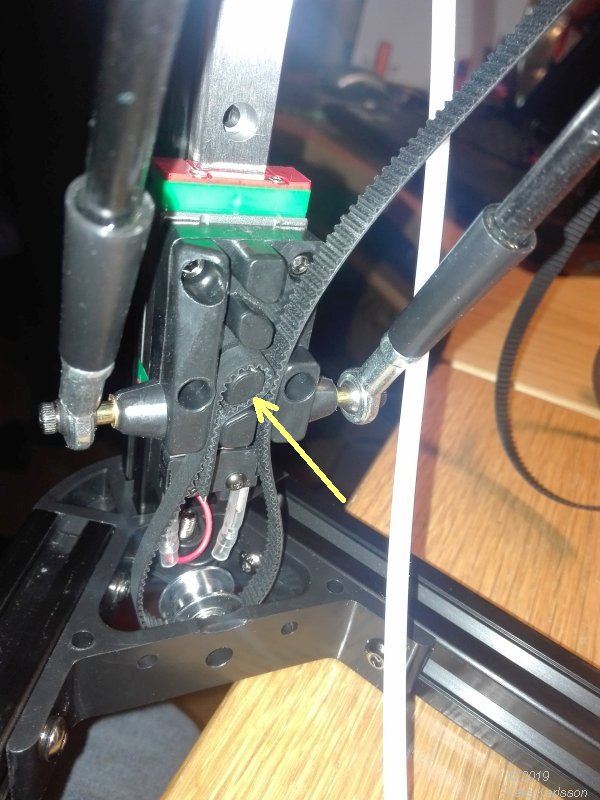
Installing the timing belt. See how it locks around the stud.


3D printer, assembling and setup

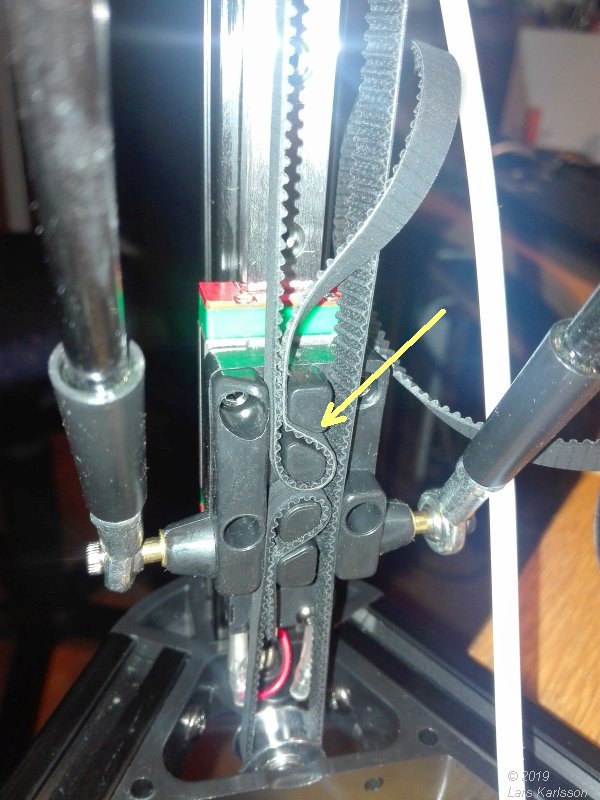
The free end wrap around the pulley of the stepper motor and back, in the bottom the free rolling pulley. I'm not sure how hard the tension of the belt shall be, I have to try it out. Too low and there will be backlash and too tense it cause high friction.


3D printer, assembling and setup

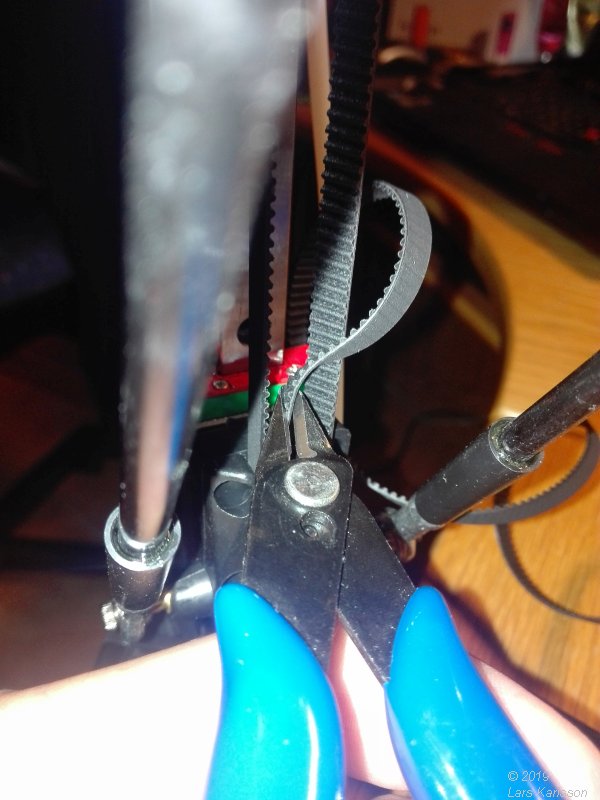
Cut off the timing belt, this timing belt are for all three axis, divide  don't cut them too short.


3D printer, assembling and setup

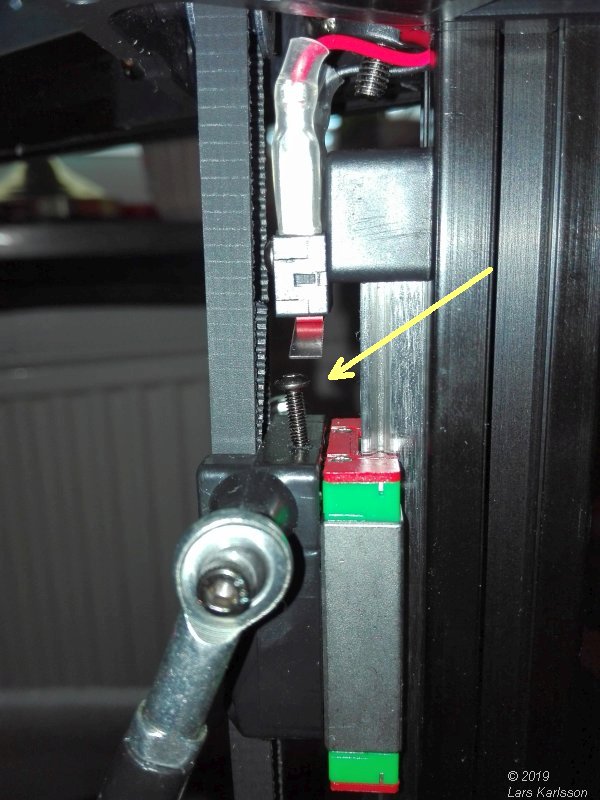
Another thing I noticed that was not perfect, the limit screw is at an angle. Maybe it work as it is, otherwise I have to adjust this.


3D printer, assembling and setup

The chassis upside down, checking that everything is ok. If you force the stepper motors to rotate they act as alternators, it could destroy the electronics if too high speed. My stepper motors were already connected to the driver board, I disconnected them.

Go Back to content

Go Back
To page V, Installing the display and the filament feeder motor

Advertisement / Annons: