Astrofriend's homepage

www.astrofriend.eu
Share: Twitter Reddit Facebook Gmail Gmail Email
Search Astrofriend's homepage:

Valid CSS!

All pages shall now have been validated

Info Cookies (Kakor) / GDPR

Navigation

Advertisement /
Annons:

Twitter @AstrofriendLars

Follow Astrofriend

Tutorial News

Advertisement /
Annons:

Advertisement / Annons:

3D Printing:
My first 3D printer, assembling and setup


Contents:

  1. Introduction, unpacking and assembling sliders
  2. Installing the pillars on the bottom frame
  3. Installing the top limit switches and the top frame
  4. Installing the timing belts
  5. Installing the display and the filament feeder motor
  6. Installing electric devices and cables
  7. Adjusting the print bed
  8. Test print and test of Z-axis offset
  9. Installing CP2102 drivers and Cura
  10. Upload new 3D printer software - Marlin
  11. Mechanical calibration
  12. Setup Marlin 1.1.19
  13. Setup/Calibrate Marlin 2.0.0
  14. Tweaks
  15. Temperature P.I.D. optimizing
  16. Calibrate horizontal expansion
  17. Wind shield
  18. Replacing the nozzle heater
  19. To be continued

Note:
I take no responsibility or liability for what are written here, you use the information at your own risk!


6, Installing electric devices and cables:

Installing the power supply:

3D printer, assembling and setup

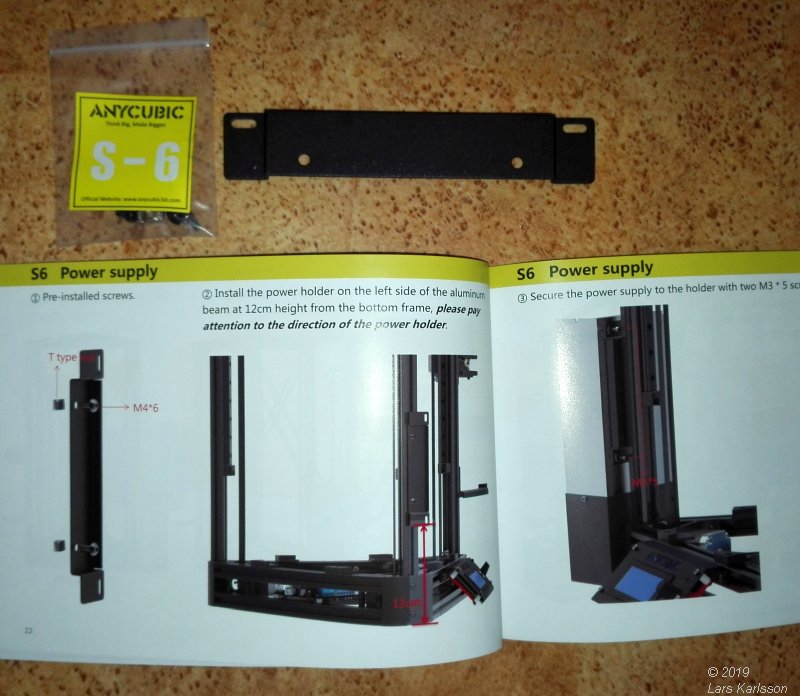
The power supply is mounted on one of the rails with this bracket.


3D printer, assembling and setup

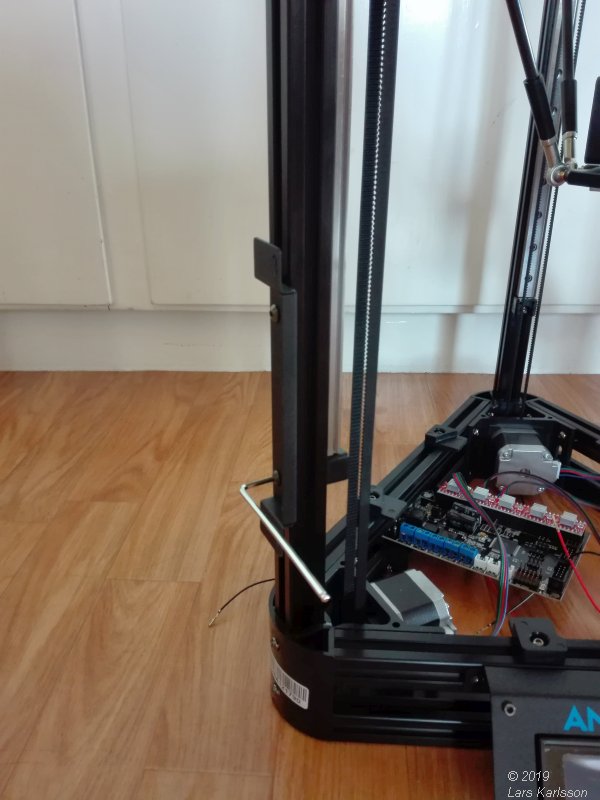
Adjust the lower end of the power supply holder to sit about 12 cm above the table.


3D printer, assembling and setup

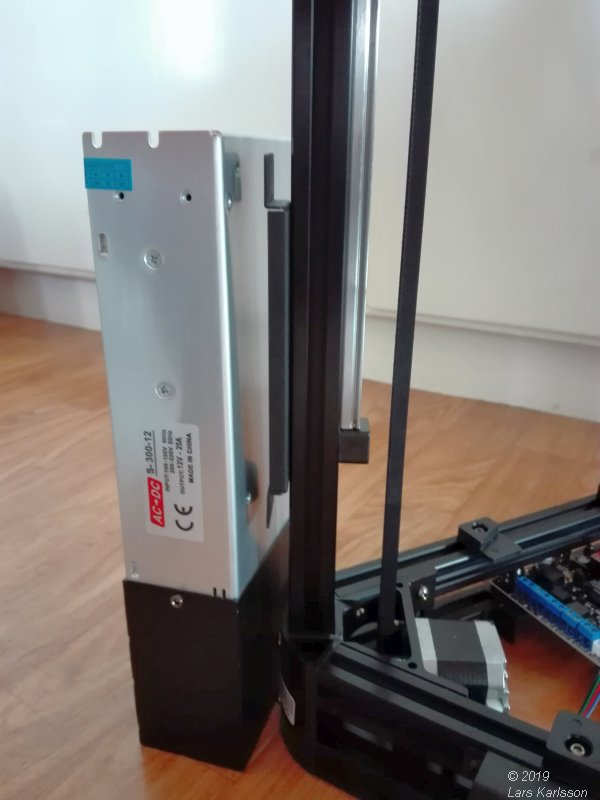
When installing the power supply, check the distance to the table, I have about 5 mm.


3D printer, assembling and setup

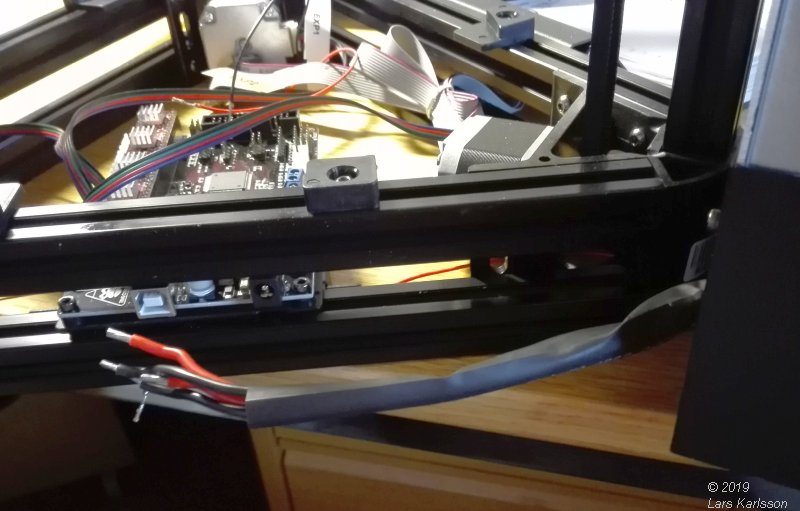
The low voltage cable from the power supply. 12 Volt and 25 Ampere.


3D printer, assembling and setup

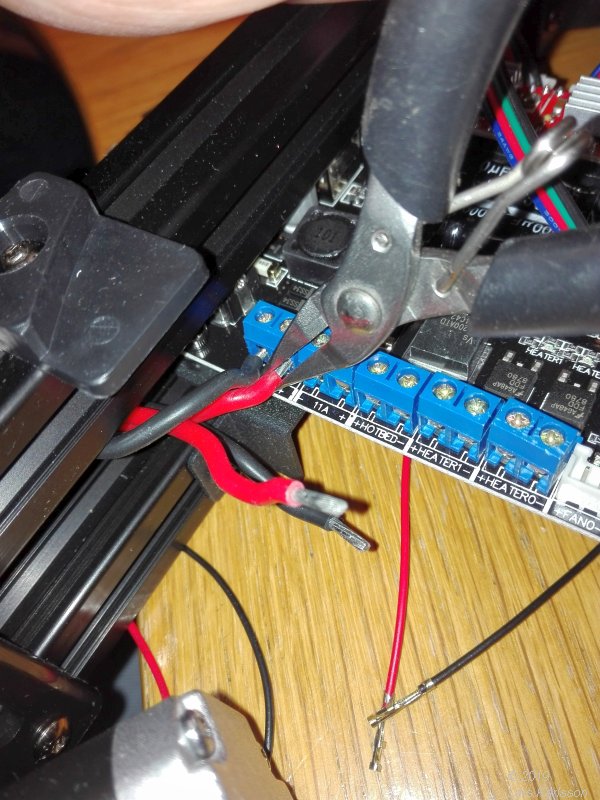
The cable was thick and difficult to put in the tiny connector. Note, you should not have the circuit board installed like this when installing the cables. Loosen it from the frame, less risk to bend and crack it when installing the cables.


Connecting the wires:

3D printer, assembling and setup

You have to install the black holder on the cables from the limit switches.


Installing the filament holder:

3D printer, assembling and setup

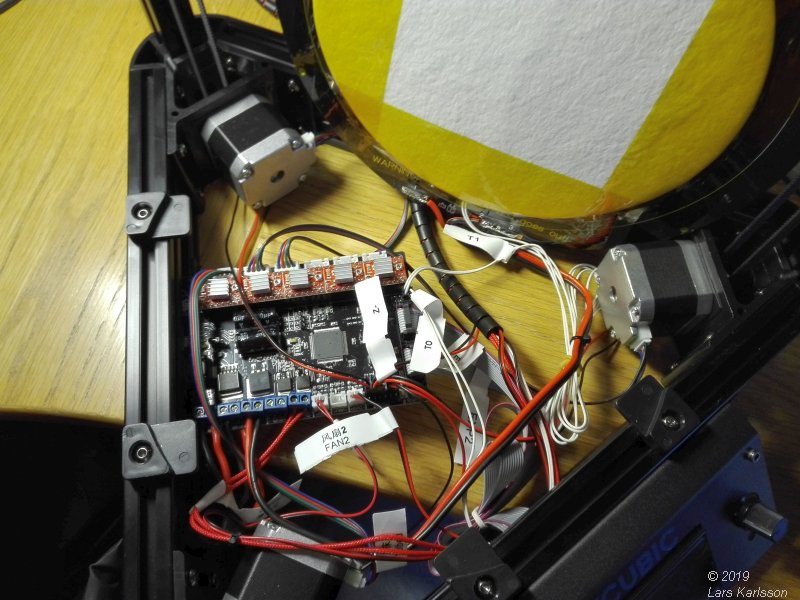
Keep the cables away from the heated board, it's hot and can damage the cables. Stripe them up.


3D printer, assembling and setup

This is the calibration sensor, the blue part is hold in place by a magnet. Only used during the calibrations process, after that you take it away, don't forget that ! Check that the cables have some distance from the hot nozzle.

Go Back to content

Go Back
To page VII, Calibrate 3D printer

Advertisement / Annons: