|
Advertisement / Annons: |
3D Printing:
|
Contents:
Note: |
17, Wind shield:I have a lot of 3D-Priniting now and collecting experience. Lately I by mistake bought an ABS-Pro filament. It's better when using outside but much more difficult to print. It need more heat on the nozzle. It's also more sensitive to winds, from the nozzle fan or wind from the environment. I had the window open to get rid of the smell, that wasn't good for the 3D-Printing process. Now I made a primitive wind shield around the printer. Some have it encapsulated when printing ABS filament. Cracks between layers: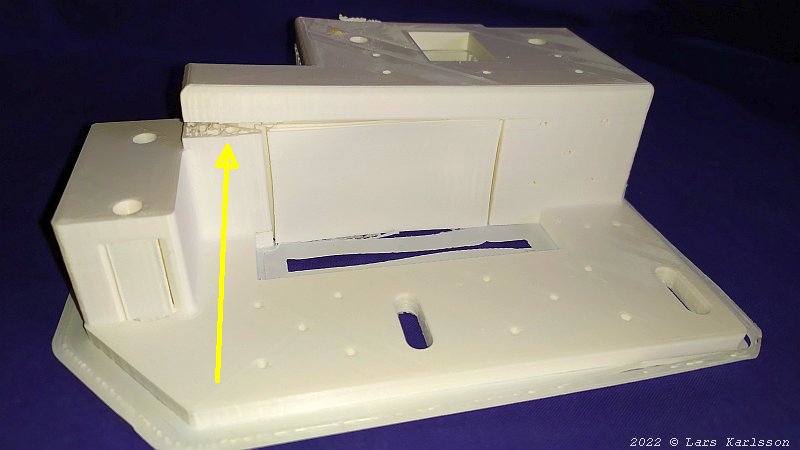
This kind of cracks can have been caused by too low nozzle temperature or winds that cool down the plastic too fast. It need more heat on the nozzle, I have increased it step by step: 225, 230, 235 and now 240 degrees Celsius. The recommendations are from 220 to 260 degrees Celsius. This one was printed with the temperature set to 235 degrees Celsius. It's also more sensitive to winds, first I lower the speed of the nozzle fan from 100% to 50% and later down to 25%, this was printed at 50% fan speed. Some people recommend to set it to 0%. Wind screen: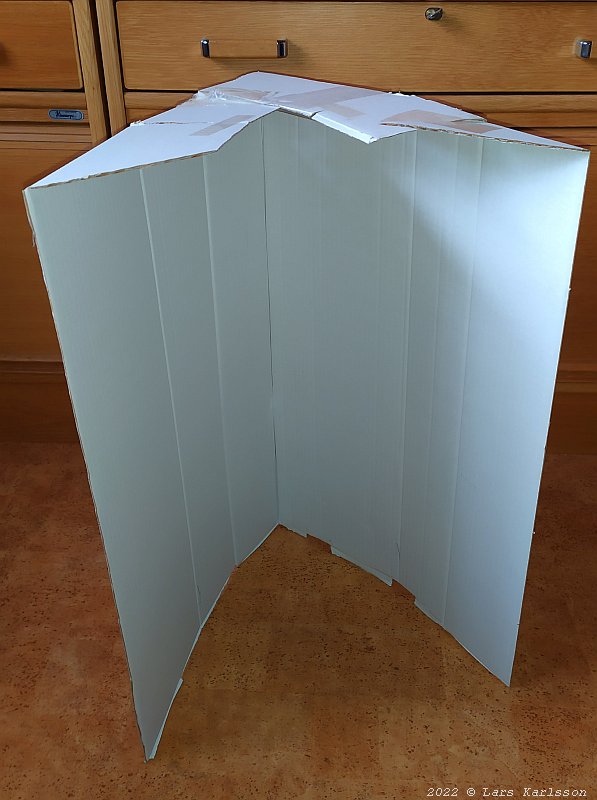
From a cartoon box I form a wind shield that protect two of the three sides of the printer. 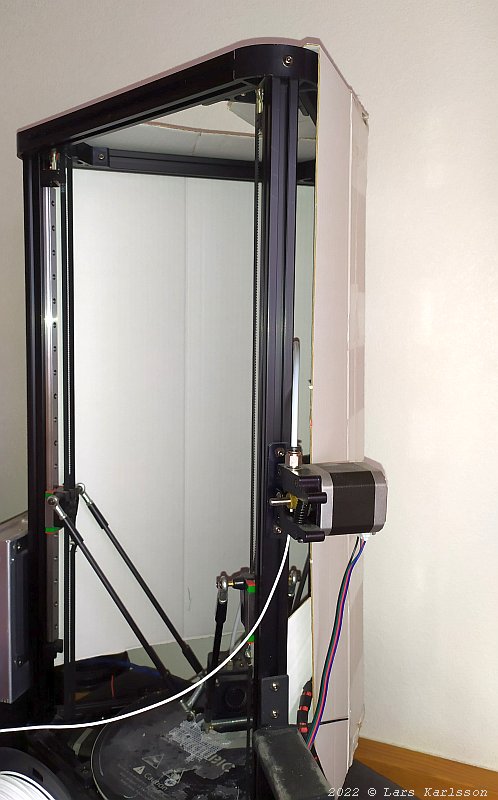
Installed around the 3D-Printer, must be sure that anything can't be stuck in the wind screen. I move the print head around to different positions slowly. Don't move it fast, it can destroy the electronics because the stepper motors act as generator when moved. It's also important that the electric devices get ventilation enough to not overheat. Wire protection: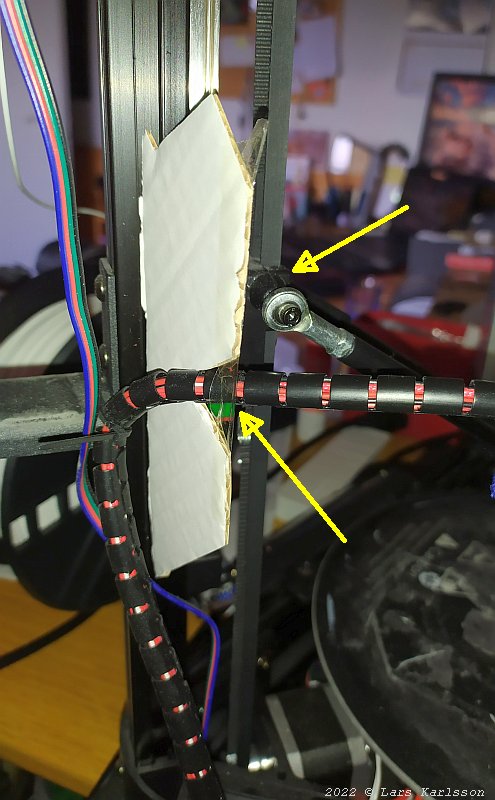
I also fixed this problem. When printing all the way out to the rim it happens that sometimes the wires to the print head get stuck on the arm. I test with something simple, just a bit cartoon that hold the wires away from the arm. If this is enough I later 3D-print some bracket.
|
|