|
Advertisement / Annons: |
My astronomy project:
|
Contents:
Note: |
6: Adapt the pier for EQ5 mountNowadays I have many mounts, the EQ6, Star Adventure and recently the HEQ5 mount. The purpose with the last is to have it as a portable mount when traveling and when I want little bit more than I can achieve with the Star Adventurer mount. But sometimes I maybe bring it to the observatory. To mount it on the pier there are some modification that has to be done. 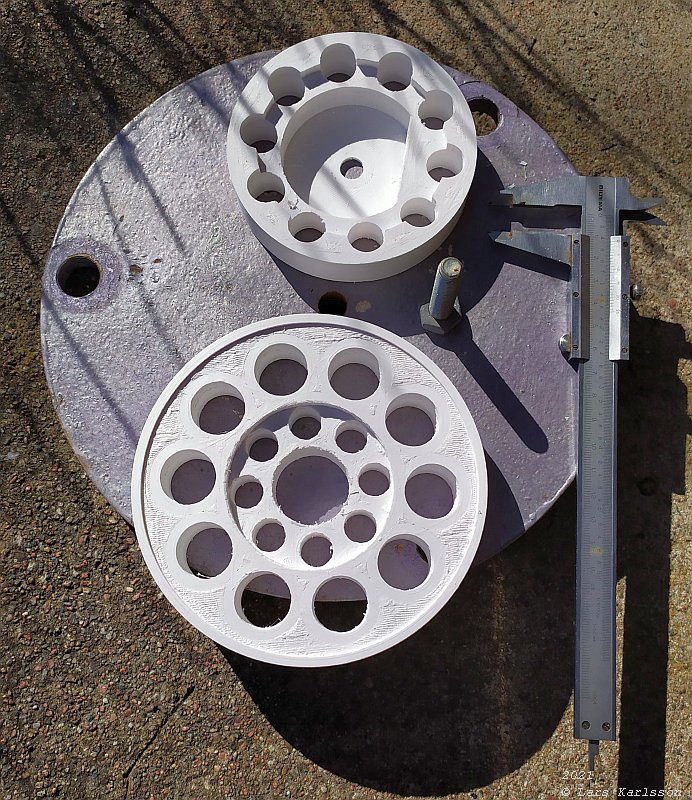
The two pads I have 3D-printed, the upper for the HEQ5 mount and the lower for EQ6 mount. My 3D-printing projects. 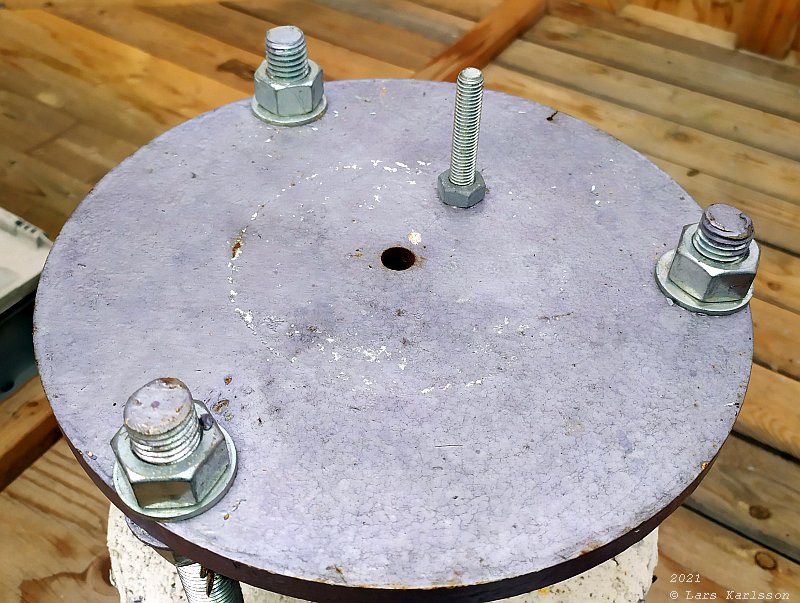
One difference between the two mounts is that the EQ6 mount has its guide pin placed 47 mm from the center and the HEQ5 mount at 40 mm. The guide pin is used when adjusting the Azimuthal angle. I need one more hole so that I can move the guide pin between these two positions. 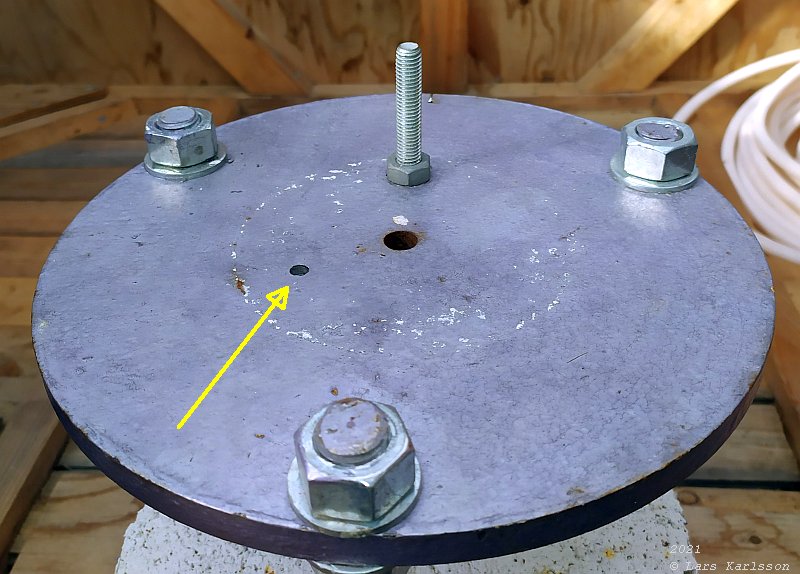
The problem was that the distances between the two places, 40 mm and 47 mm is only 7 mm. That didn't allowed me to drill two holes so close to each other. I also want to thread the hole because I don't want to have the nut placed on the upper side. I solved it by move the new hole 120 degrees apart, a 6 mm hole, later I can thread it for a M8 bolt. The disadvantage is that I have to loosen and rotate the steel disc when I change between the mounts. 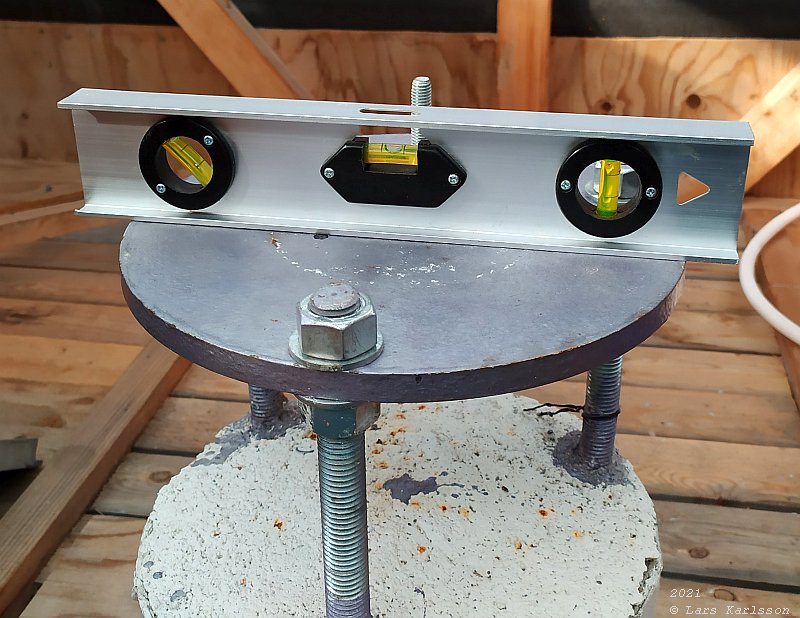
I moved the disc as far up it could be mounted, I don't have very high weight on my instruments. Otherwise it could have been too much flex in the M18 bolts. Here I adjust it in level. 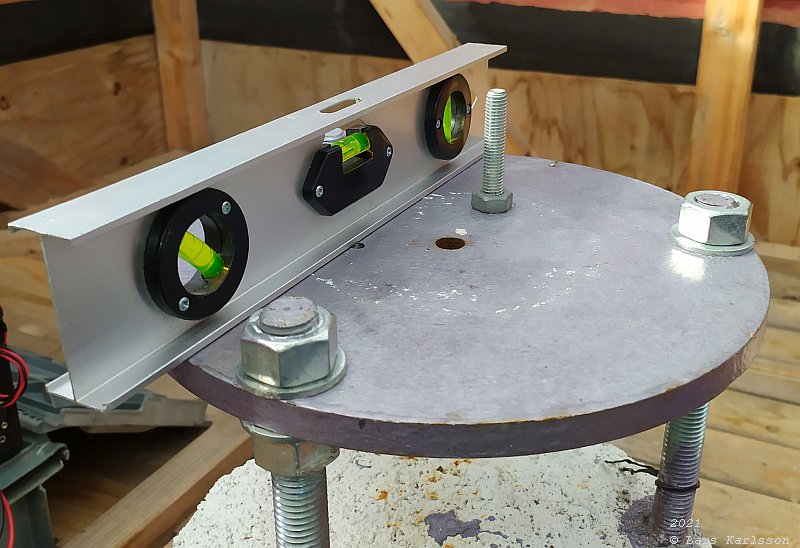
Adjust the level in the other direction too. The pier is ready to be used again. Spring 2022: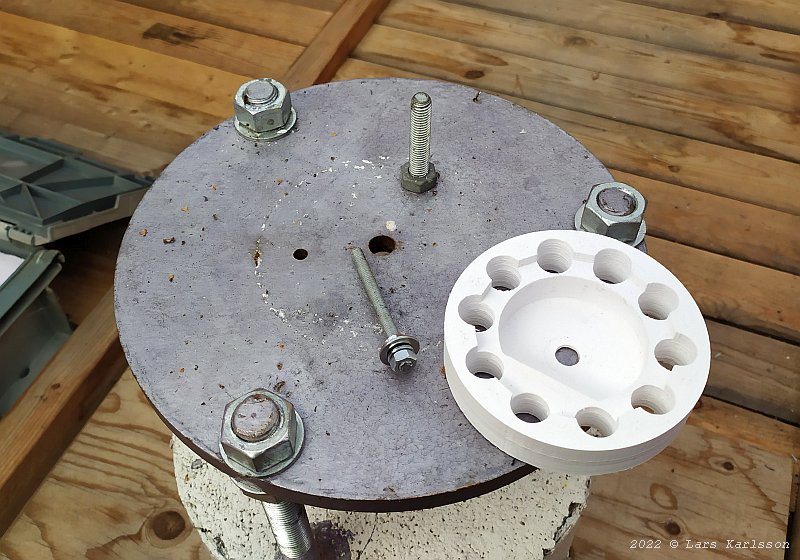
I have made a new pin bolt that the Azimuthal adjustment can be done against. The one standing up is for the EQ6 mount. 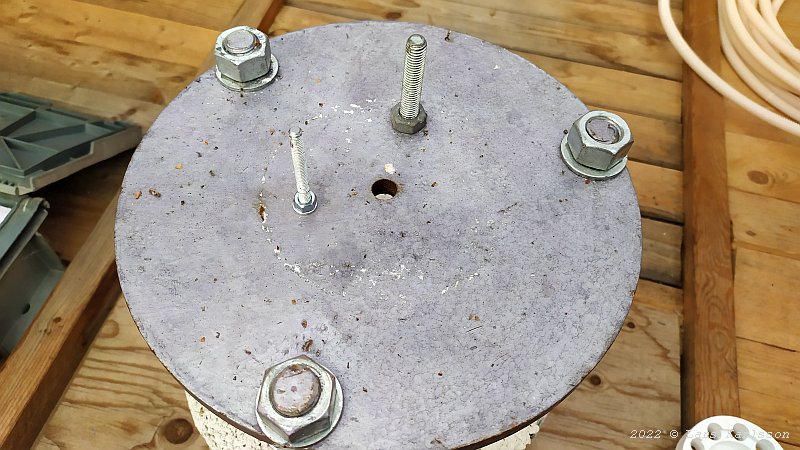
The new HEQ5 bolt installed, they sit too close to each other to let me drill a new hole inside where the EQ6 bolt is placed. 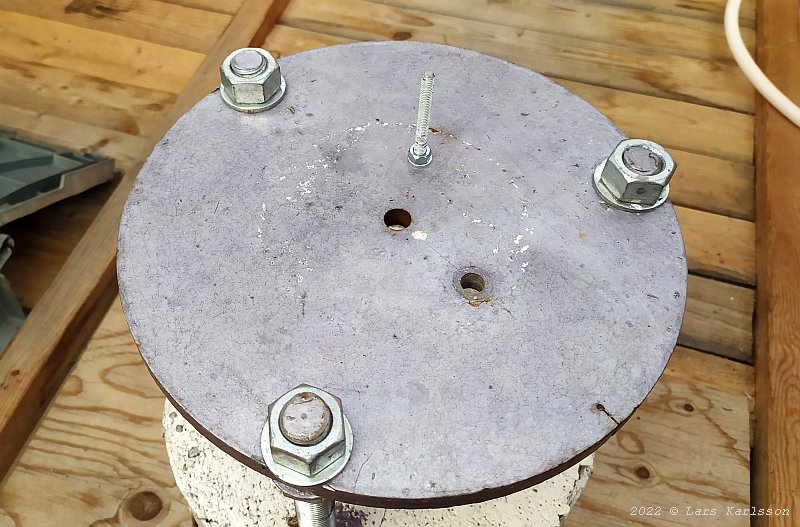
Away with the EQ6 bolt and rotate the steel dish 120 degrees, the bolt point to North. 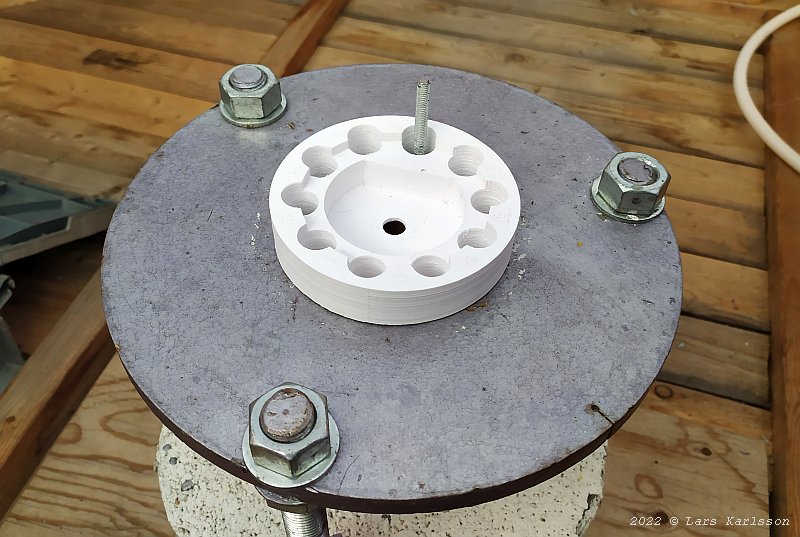
Install the 3D-printed distance for the HEQ5 mount. When I installed the bolt with a nut on the upper side there is a problem. The distance can't rotate when adjusting the Azimuthal angle, I must take up a wider hole in the distance for it. I don't know yet if it's to soft and introduce some flex, but it feels very sturdy.
|
|