|
Advertisement / Annons: |
My astronomy project:
|
Contents:
Note: |
2: Making of the two concrete piersHas now come a step further on the making of concrete piers. Two piers will be made, they will be placed about 10 meters apart. One will be used for photographing, the other for visual use. When the opportunity appears a binocular of about 20x100 mm with angled eyepiece will be purchased. Shooting will take place the more or less automatic so then it's nice to be able to sweep across the night sky with binoculars and look for beautiful objects. 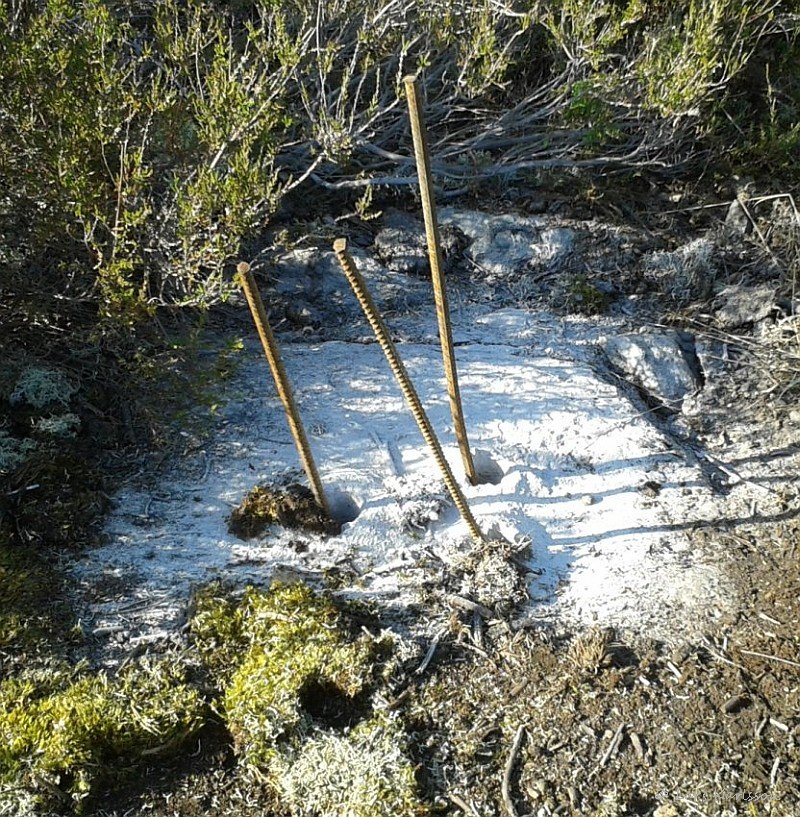
The reinforcement for the concrete pier is made of three pieces, drilled holes in the rock. 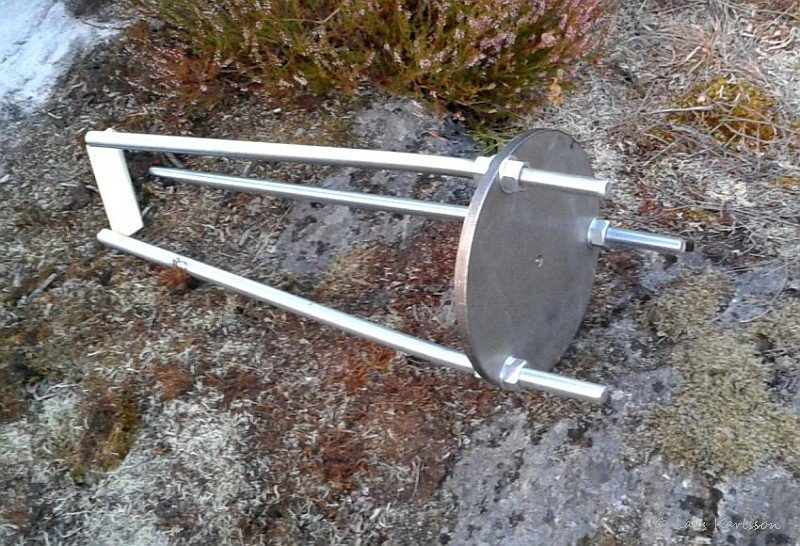
This is the threaded rods before they become embedded in concrete. I chose the dimension M18 and about 60 cm long, they also reinforce the pier. The rods are slightly bent inward center so it becomes more concrete around them when I did not want the pier to be wider than 25 cm. Someone here mentioned to me that it can be a problem that the equipment can collide with the pier in certain positions. 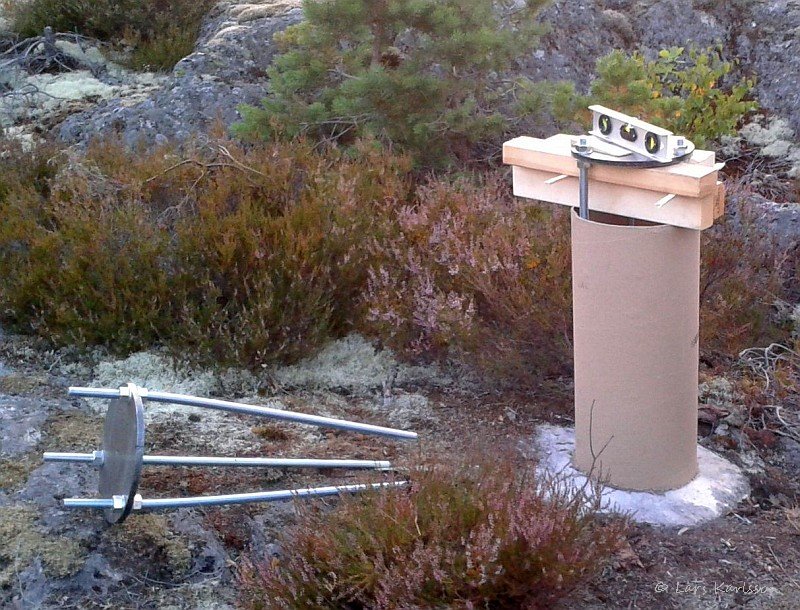
The bottom of the paper tube is already filled with 10cm concrete, now I install the steel rods. The slope of the plate is adjusted carefully in with spirit-level, afterwards when the concrete has burned and sat I fine-tune it with the nuts at exactly the horizontal plane. The steel plate must sit further down later so that the threaded rods are not wobbly. 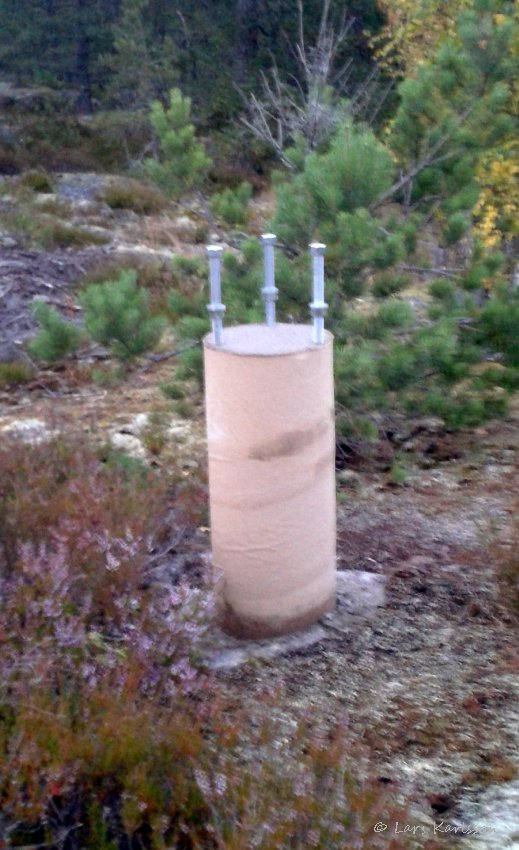
Here are the concrete burned so that I can take away the steel plate that fixes the threaded rods. A small hill has been built on top so water will drain away. Actually, my first idea was that a drain pipe would be cast inside the pier where cables could be drawn, however, I was a bit worried that it would be formed pools of water in the winter and the risk of freeze damage. Five 25kg sacks fine concrete was spent on the two piers and it is a long steep road up to the rock top! 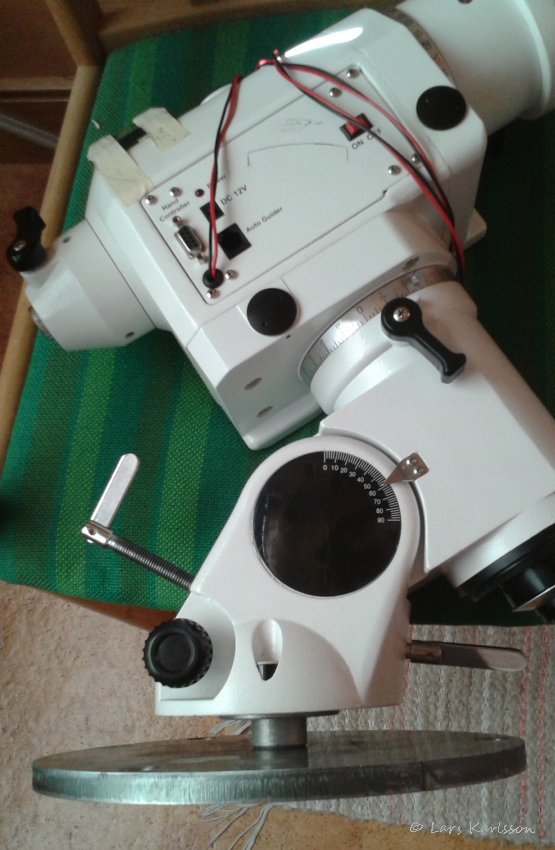
The assembly of EQ6's bottom is not flat and a spacer with hole diameter of 65mm must be manufactured, at least 20mm thick. On the picture you can see how I solved the famous problem of EQ6's, the power cable that jumps out, I have solder a new one directly onto the circuit board. The first cable cracked out in the cold and now replaced by one of better quality. It's partly twinned to reduce electrical interference. A guide pin must also be installed in the north direction on the steel plate when I have measured out north direction more accurately. The guide pin becomes an M10 bolt threaded on top, a total of three M10 bolts will hold the spacer in place. I chose to turn the plate so that one of the bolts ended up in the direction to the south. Thought it seemed the best at that time, now I feel it is better if it had been pointing in north direction. No problem, but had become a little more room around the adjusting screw for the altitude adjustment. Here in Stockholm we live on the 60 degree latitude and normally I use only the north screw adjustment, the south will in such an oblique angle that it risk to bend. There is modification kits for this. It doesn't matter how you turn the steel plate, the adjustment bolts will always collide with something, this seems to be a big problem in the future, maybe I make a new steel plate with welded bolts, that gives a free plan surface for the mount head. But now I am most eager to give it a try.
|
|