|
Advertisement / Annons: |
My astronomy project:
|
Contents:
Note: |
3: Assemble it togetherStruggling on here with the pier construction. Inexperienced as I'm in this, it will be one or another mistake, read below. 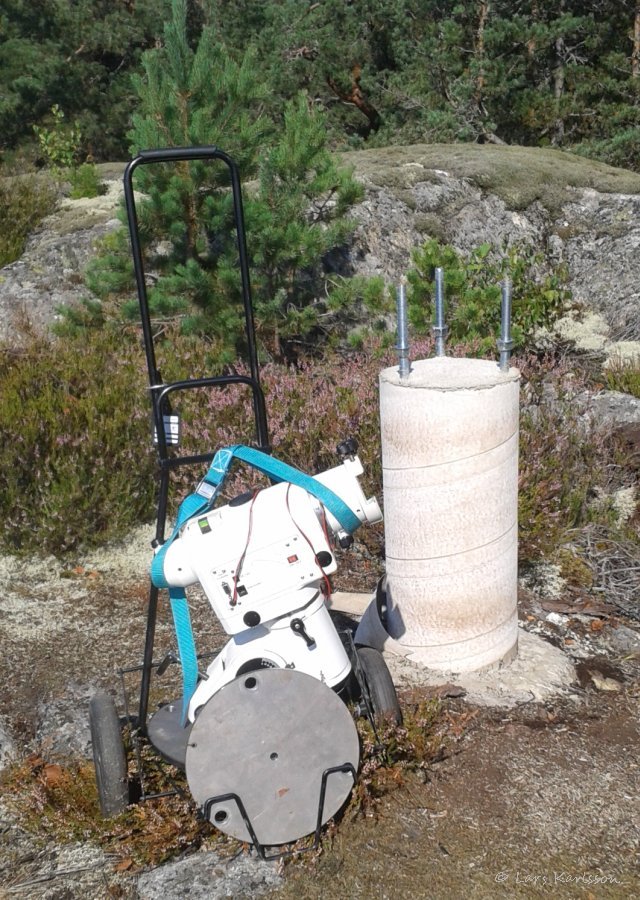
Here we have dragged up the equipment up the mountain. A steep hill up to the top but there are some staircases made of stones that help. But the view from the top is really impressive so it is worth it. Before assembly mount and the steel plate on the top of the pier was painted. My handy girlfriend takes care of it, we choose a color in white. I thought it was a good choice but it turned out that already after one day we had a steel plate with rust. Have to grind it down and put some anti rust paint first, mistake one. 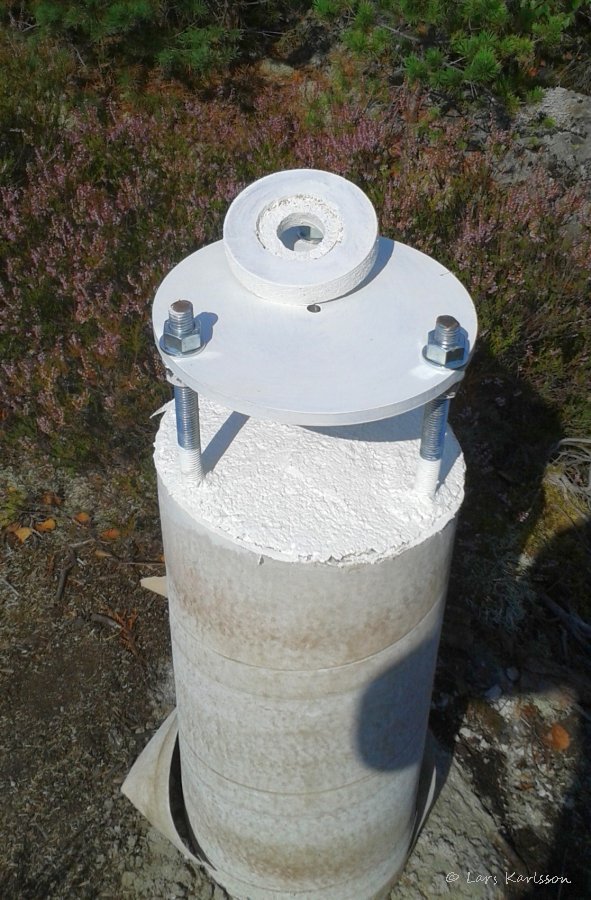
Here you have the color before the rust and it looks really neat out. The white ring on the top is a temporarily disc made of wood. Thought it was best to make a sample before I order one in steel. Usually always be something you overlooked. Then when the exact north direction has been measured out I drill a hole for the azimuth adjustment pin and mount the M10 bolt. 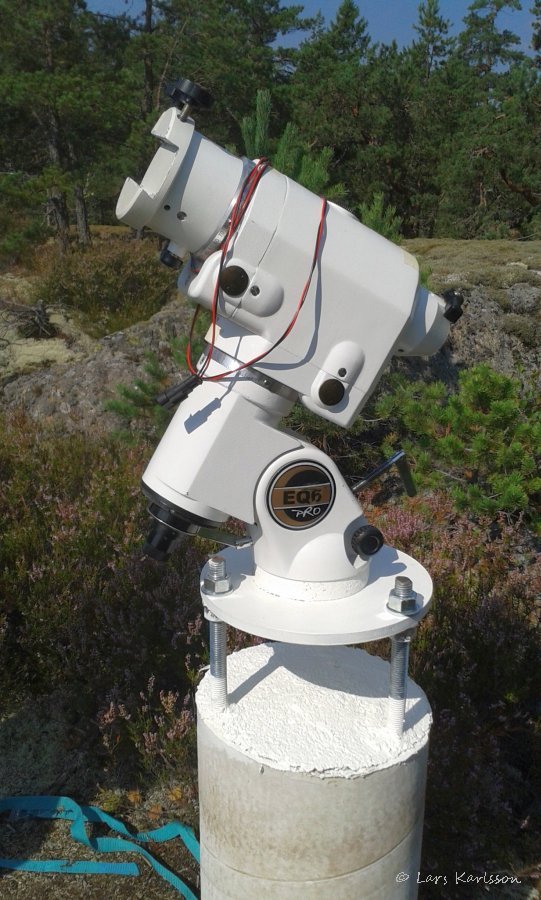
Here is the mount head in place. Mistake two was to turn the bolts so one ended up facing south. Luckily it was no problem for me with this EQ6 mount head. Both polar scope and altitude adjustment screw is free from hitting anything. But with a different mount maybe it could be a problem. Actually quite easy to fix, just do the spacer plate thicker. Mistake three was not to examine the rock properly, it turned out that under the moss it was a big hole in the rock where water collects. Must dig it out and filled up with stone and then maybe a concrete layer over. Now there were not so many other good places for the concrete pier so it had ended up here anyway. There are small channels for the water to escape in any case, so the water drains away quickly. Later when everything is tested, the steel plate is moved down an inch or two so that eventually any wiggling in the threaded rods are minimized. They may also be cut so that no unnecessary parts stand up posing a risk of telescopes and cables. Advice from others are to use M20 rods to be sure of a steady.
The total weight: I learn from my mistakes :-) and I share them here so others can avoid them.
|
|