|
Advertisement / Annons: |
Tutorial:
|
Content:
Note: |
4, How to use the macro 'Make master files from raw files':I have changed a bit how the raw files must be organized. Very simple, all raw files must be stored in a folder with the name 'raw'. That's all, but it easier if you have a plan how you organize your files. Have a look here how I have organized my files. The only important to use my macros is the 'raw' folder and it should contain the RAW files you want to process, no others ! Create a 'raw' folder with your raw calibration files. Files with other extension than you have chosen will be excluded. You should have moved away or erased RAW files that are not good. It should look something like this: 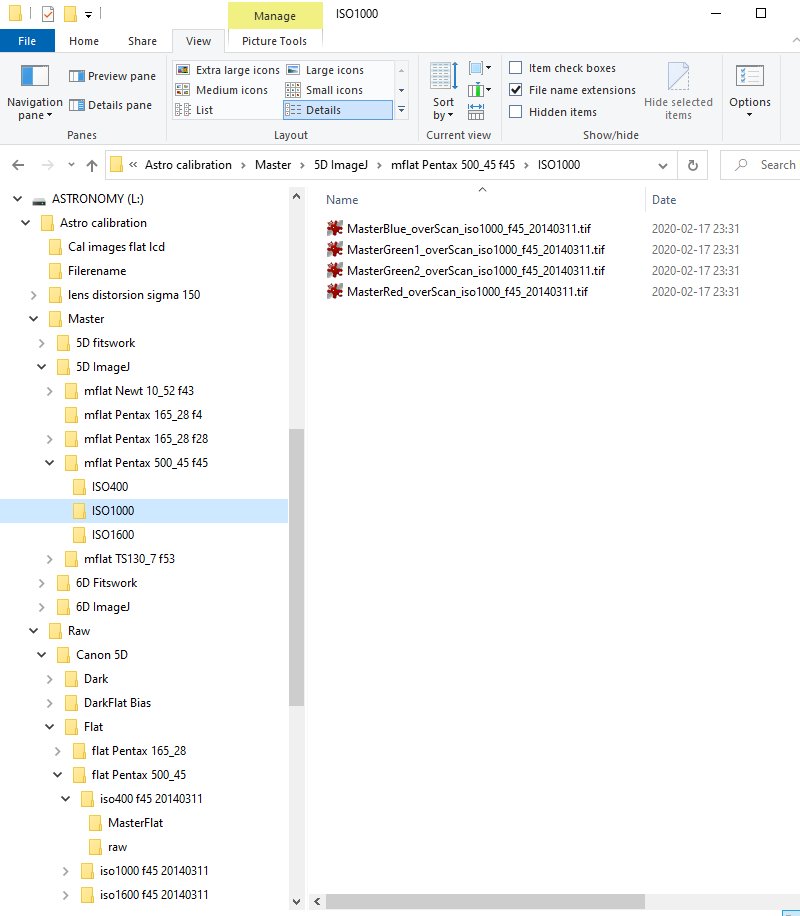
I have my raw files at the bottom and the masters at top. When making master they will automatically be stored where the raw files are. Later after I have inspected them and maybe added some extra info to the filename I move them to the main master directory above, Different calibration files set different demands of information that shall be include:
With that in mind I have my files organized like this. Later Canon cameras have the temperature stored in the exif data which can be useful. Most difficult to make is the flat calibration images, here is some ideas:
Menu: 'Setup Make Master Bias, Dark, Flat process':After that you have started the batch reading macro and chosen 'Make master Bias, Dark and Flat files' you come to this menu. 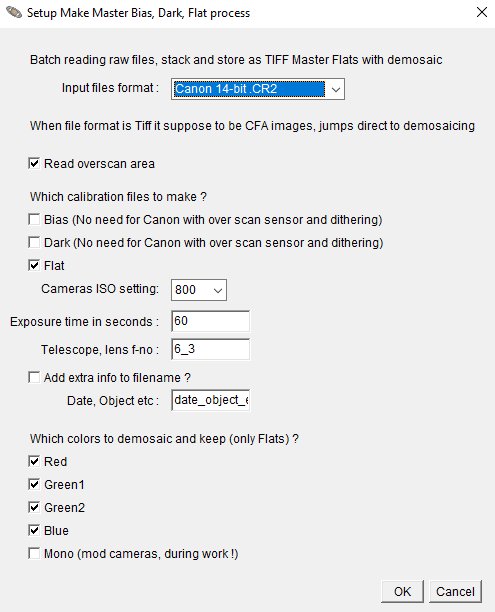
This is the setup menu. It replaced the earlier difficult procedure to direct retype the parameters in the macro. Much easier now to use. |
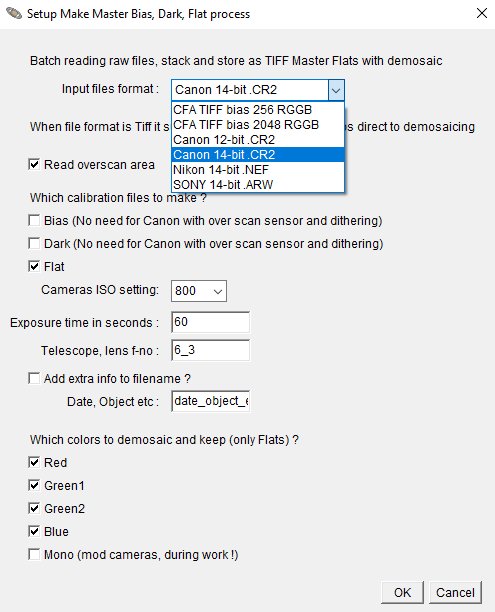
I have added the most common cameras, more will come later. The CFA TIFF you use when you already have run this macro and want to redo something but not want to convert the raw files once more. It's time consuming for the computer. With a good quality camera with low static pattern and no glow ampyou can cheat, just subtract a constant as a replacement for the bias. Remember that for every extra calibration file you use you will add readout random noise, a constant will not. Different cameras has different bias. Now in the beginning I have made it simple with the know ledge from my Canon cameras. 12-bit cameras has a bias of 256 and 14-bit cameras has a bias of 2048. CFA files doesn't have the bias subtracted and must be done in later process. That's why there are two CFA TIFF format to choose from. I will redo this in future development. 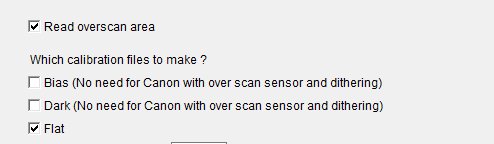
If your camera has a sensor with a over scan region it is prefer to use that. The over scan area is a region of the sensor that is covered. No light will hit that area and you can use it to get a value for the bias and dark, note this is an average value. I have only found this opportunity on Canon EOS cameras, but maybe there are others. You can test it with the 'Frame Selection test' macro I have made. You must maybe change the parameters of the selection area. It is stored in the macro at the camera data selection. If you use the over scan area and not do traditional bias and dark subtraction you must have taken your images with dithering technique. But when I test with my older images when I didn't take images with dithering it still works, it's because of the drift of the mount I have. Nowadays I never take any bias or dark images. It's amazing to don't have to worry about them, especially the darks that must have a matched temperature. If your camera doesn't have an over scan area and the camera has high static pattern or amp-glow you have to do a normal bias and dark calibration. You can do master bias, dark and flats in this macro. But when it come to calibrate the image I recommend to use AIJ native tools, DP in AIJ menu. Just make the transformation of raw to CFA TIFF format when not use an over scan region (non Canon cameras). I have not tried this yet, let me know if you get it to work.
Note: 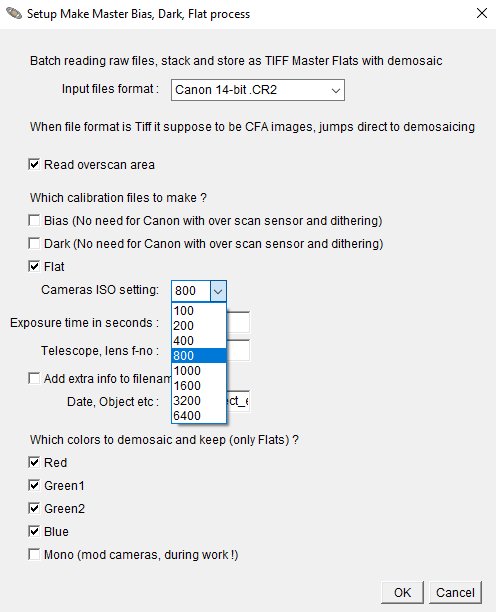
After a while you will have a lot of image files and calibration files. You must have information about them to not mix them up. Here are where you set the data about the image. ISO setting is important to know and will be added to all files. 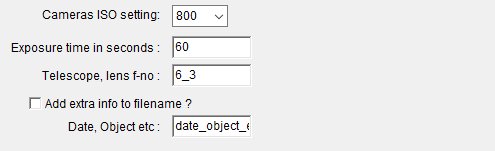
There is also a field for exposure time, telescope opening, and a free field for extra info. The last will only be added if you tick the box.
Note: 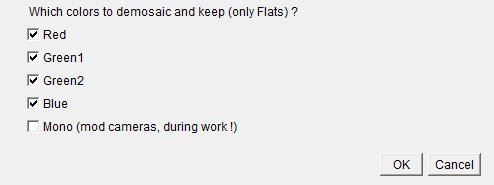
Even if DSLR cameras normally take images with colors there are not always necessary to keep all of the colors. One example, if you doing narrowband images with H-alpha you will only get information in the red channel. Then it's enough to keep only the red channel. The mono is something that will come later. It's for you who have modified your camera to be a mono camera, i.e. you have taken away the Bayer filter from the sensor. Check that all parameter are set correct. After that click the OK button and the process will start. 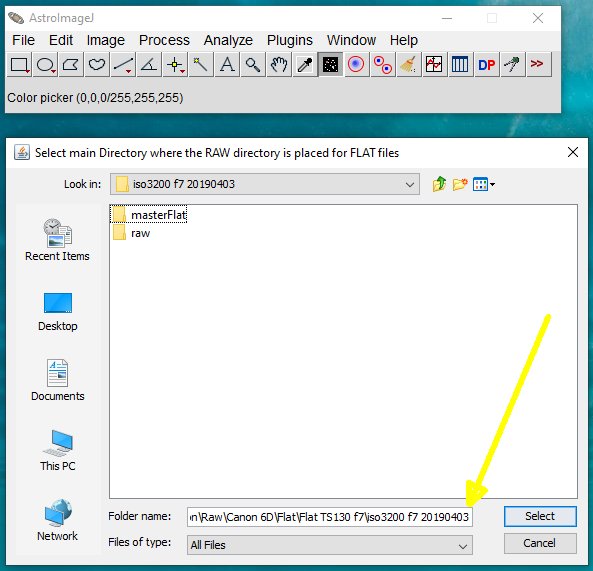
After the macro has started it will ask you where the RAW directory is placed. Note: You should not open the raw folder, only open the folder where 'raw' folder is stored. Even when it ask for the CFA directory it's the same procedure. Check the folder name below it's correct, if got the 'raw' or 'cfa' included, back up one level. This is very important ! The masterFlat directory is something this macro created from an earlier run. Here you will find your processed files as a masterFile, the same for bias and dark. There is a big difference between masterFlat and masterBias and masterDark. There are one masterFlat for each color, masterBias and masterDark are based on the CFA data, all color channels. There will also be a CFA directory, you can erase it later if you find your masters are OK. If you have to make more master, maybe you miss the file name extra info. You only need to process the CFA files which is must faster. Then you don't choose a camera file, choose the CFA TIFF format. More about the extra folders at next page.
|
|