|
Advertisement / Annons: |
Tutorial:
|
Content:
Note: |
5, How to use the macro 'Batch read raw files and calibrate':Before you use the macro you must have the RAW files placed in a folder with the name 'raw', otherwise this macro doesn't work. It could look like this but only the 'raw' folder is important for this macro: 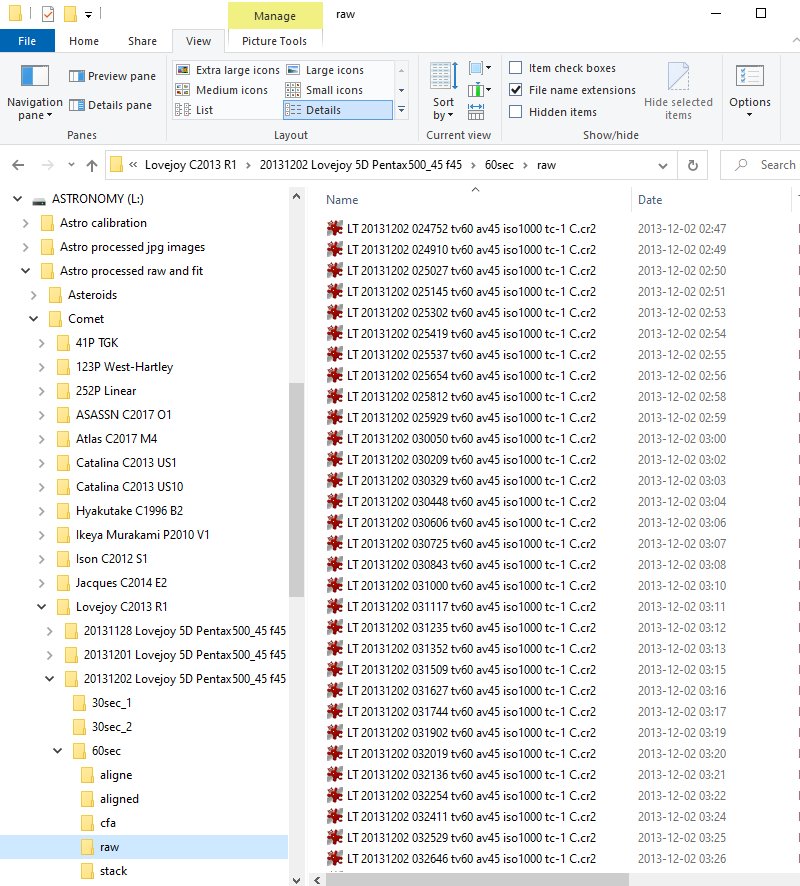
Notice that I have the temperature in the filename. I have done that with the software IrFanView. Here is a tutorial how to do that 'Dark calibration and matching temperature'. Maybe it only works for Canon cameras, the later ones with live view. Manu: 'Setup batch reading process':After selected 'Batch reading raw files and calibrate' from the main menu this comes up: 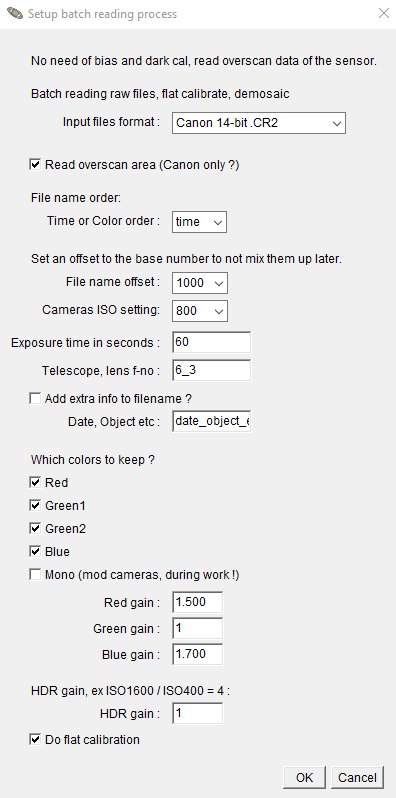
It's similar to the Make master files menu. 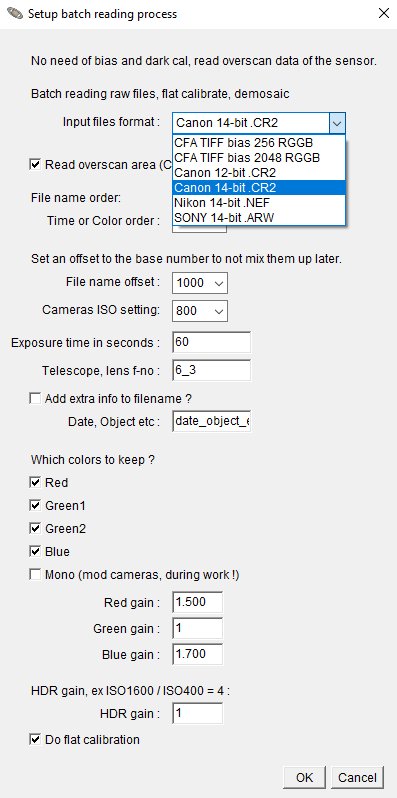
Choose the file format you want to convert to TIFF files or if that is already done you can start with the CFA TIFF file and save some computer time. 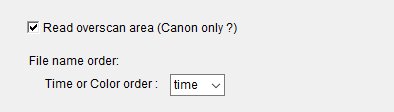
If your camera has a sensor with a over scan region it is preferd to use that. The over scan area is a region of the sensor that is covered. No light will hit that area and you can use it to get a value for the bias and dark, note this is an average value. I have only found this opportunity on Canon EOS cameras, but maybe there are others. You can test it with the 'Frame Selection test' macro I have made. You must maybe changed the parameters of the frame selection area. It is stored in the macro at the camera data. If you use the over scan area and not do traditional bias and dark subtraction you must have taken your images with dithering technique. But when I test with my older images when I didn't take images with dithering it still works, it's because of the drift of the mount I have. 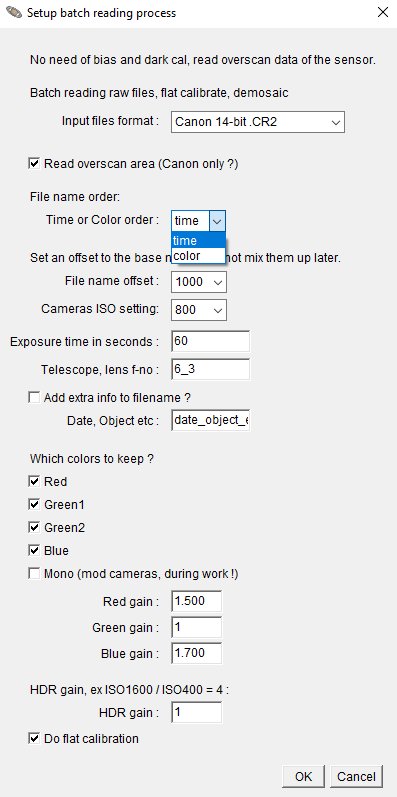
You have the option to set the output filenames. It could be sorted after the color or the time. Time is to prefer if there is a small drift in the mount because of bad polar align or a comet that moves relative stars, that's the default.
Time order:
Color order: 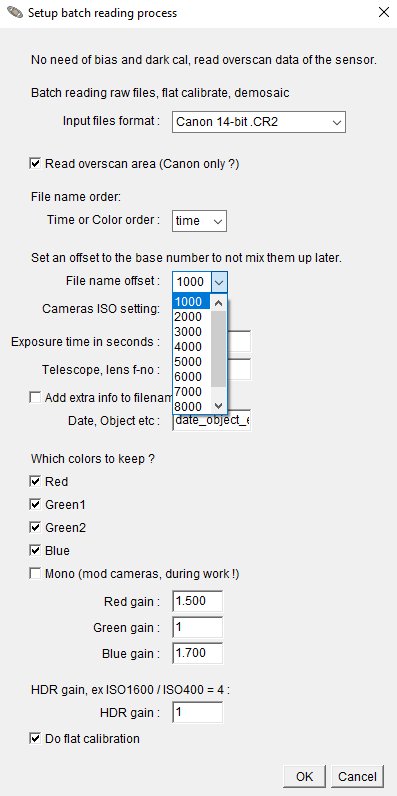
Sometimes you have images from different nights or with different gains (ISO setting). If you want to stack them you also need to align them together in some way. If you mix them they could not have the same name, then you can set an offset of the rolling file number. It process the images with the lowest number first, important when align that they come in correct time order if there is a drift in the mount. 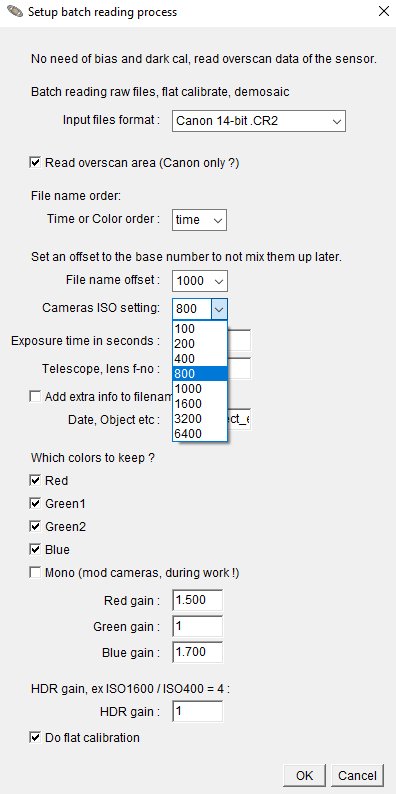
After a while you will have a lot of image files and calibration files. You must have information about them to not mix them up. Here are where you set the data about the image file name. ISO setting is important to know and will be added to all files. 
There is also a field for exposure time, telescope opening, and a free field for extra info. The last will only be added if you tick the box.
Note: 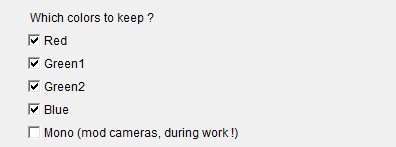
Even if DSLR cameras normally take images with colors there are not always necessary to keep all of the colors. One example, if you doing narrowband images with H-alpha you will only get information in the red channel. Then it's enough to keep only the red channel. 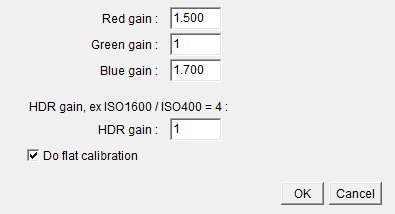
There is an option to correct for the cameras different sensitivity in different wavelengths. I prefer to do it like this, then I get much closer to correct color levels and only have to fine adjust the level in later process. The HDR gain is used to correct if you have taken images with different gains (ISO). ISO 1600 has a gain factor of four relative ISO 400. If you want them to have the same strength you have to multiply the 400 ISO with four to get them in same level. The sensor always catch the same number of photons each second, ISO / Gain is how you read them out from sensor. High ISO will limit the upper range and low ISO will add more readout noise. Here I have tried to explain what's going on in the sensor: 'ISO / Gain setting' Choose if the flat calibration shall be done. Check that all parameter are set correct. After that click the OK button and the process will start. 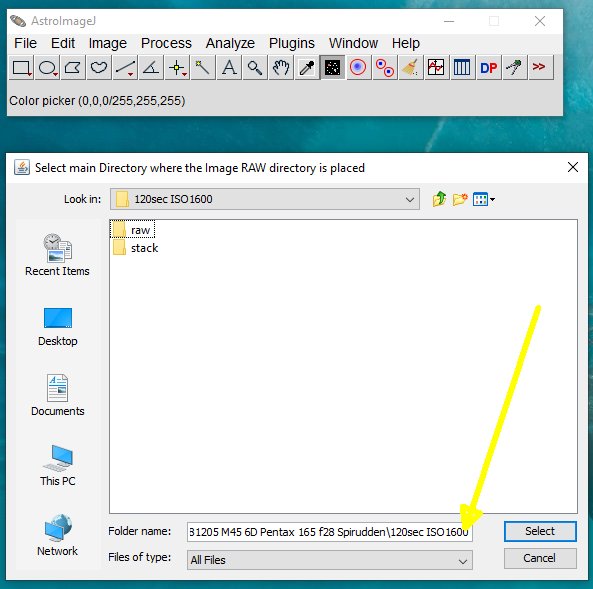
After the macro has started it will ask you where the RAW folder is placed. Note: You should not open the raw folder, only open the folder where it's stored. Even when it ask for the CFA folder it's the same procedure. Check that the folder name below it's correct, if got the 'raw' or 'cfa' included, back up one level. This is important ! 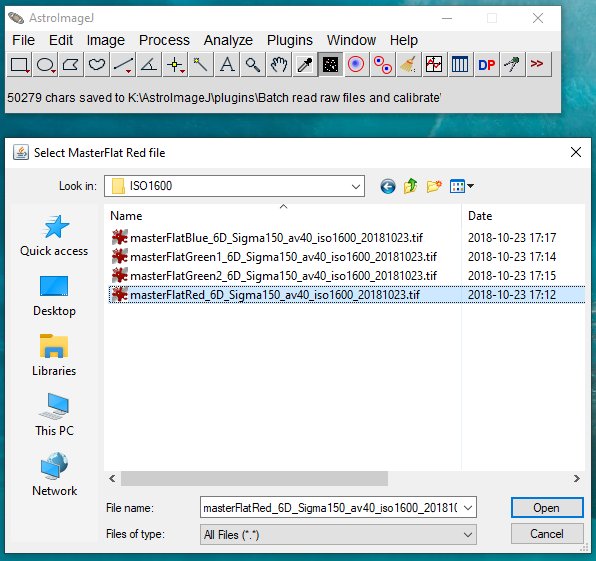
If you enabled the flat calibration function it will ask you to open the masterFlat files, one for each color. How many colors it ask for depends on how many colors you checked to be kept. Note that the sorting order in the window is different from the normal order, Red, Green1, Green2 and Blue. Be careful to open the correct file, see the title of the window for which to open. Log list:You can follow the steps the macro perform in the log list live: 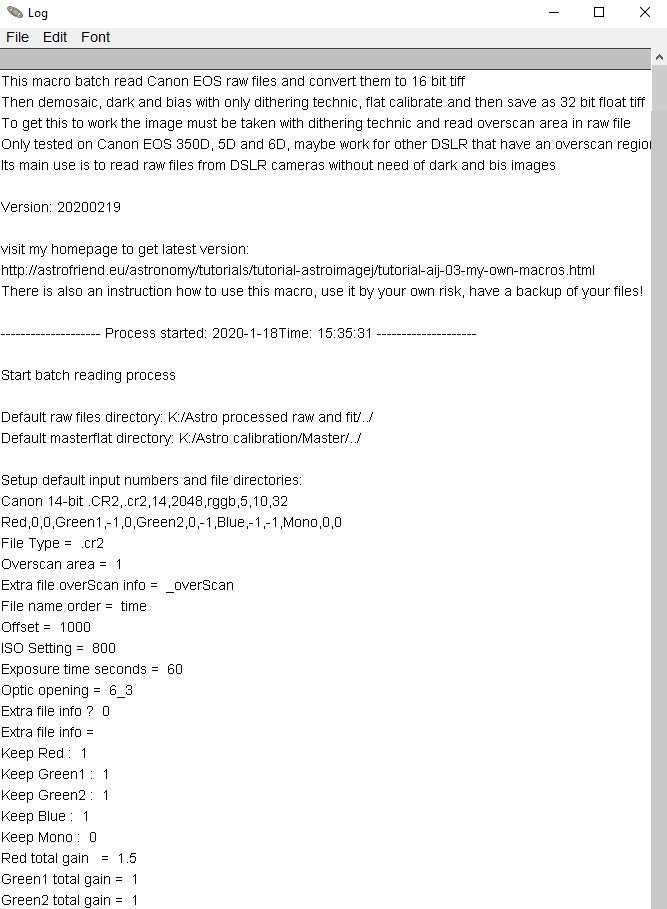
There are lot of information here, most for me when I develop this macro. Later I maybe reduce the info. |
Where are the processed files ?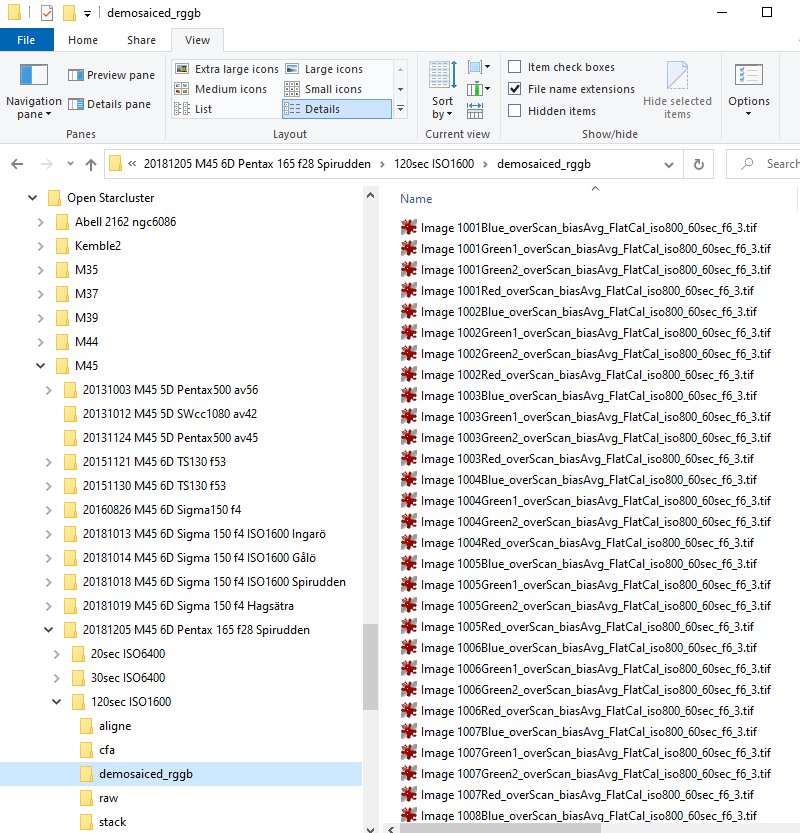
From the beginning there is normally only the 'raw' directory. This macro creates the other folders: The folders contain the following files:
There is a similar system for the calibration files. In my case with a Canon 6D camera the raw files are 24 MB, TIFF 16-bit 40 MB, TIFF 32-bit CFA 80 MB and color TIFF 32- bit 20 MB. Each of them !
|
|