|
Advertisement / Annons: |
My astronomy project:
|
Content:
Note: |
Page I.3: Box and chargingHere astro box taken a step further. Bought at a second market, a cooler box to mount the battery and the computer in. Good because the box's insulation will protect to some extent from outside cooling. 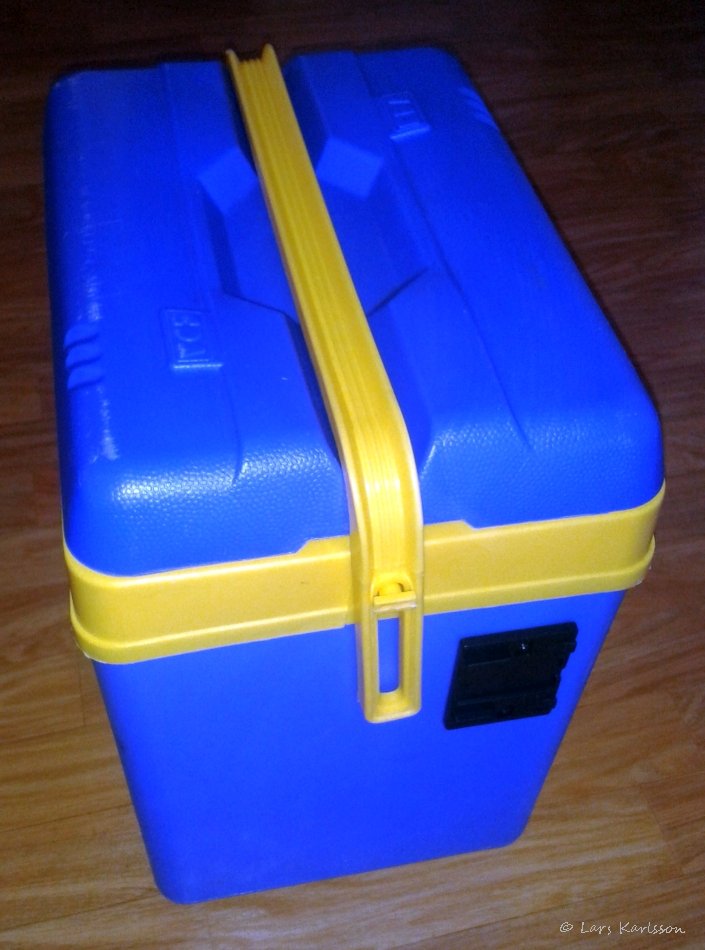
How the box will look during transport. The black plate is a mount for the cigarette lighter sockets. Chose to have it on the outside so I will not have arcs when connect and disconnecting connectors. 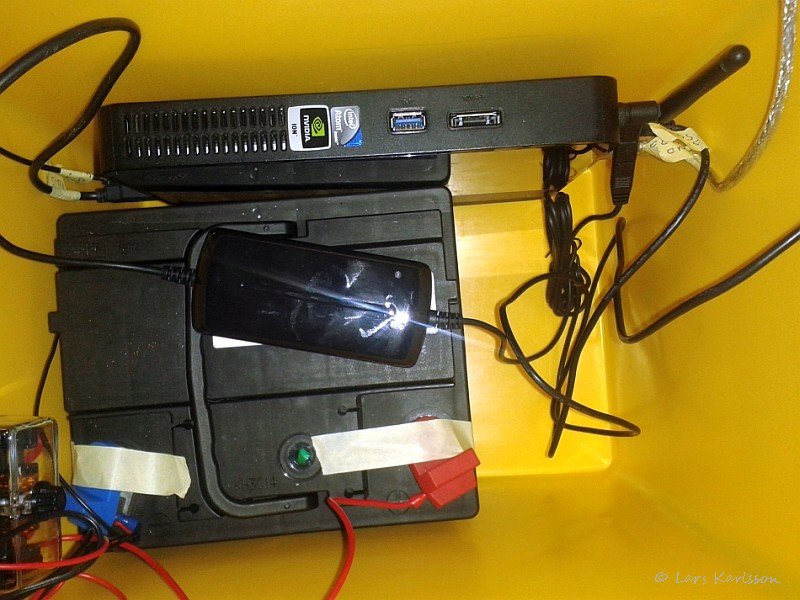
Here are the inside box equipment. Contains computer, voltage converters for computer, battery and fuse terminal. Later I have to secure the battery so it can not be sliding around inside the box. Here are also room for battery chargers and some accessories. A plastic shield have to be made across the battery terminals to isolate to not risk a shortcut. 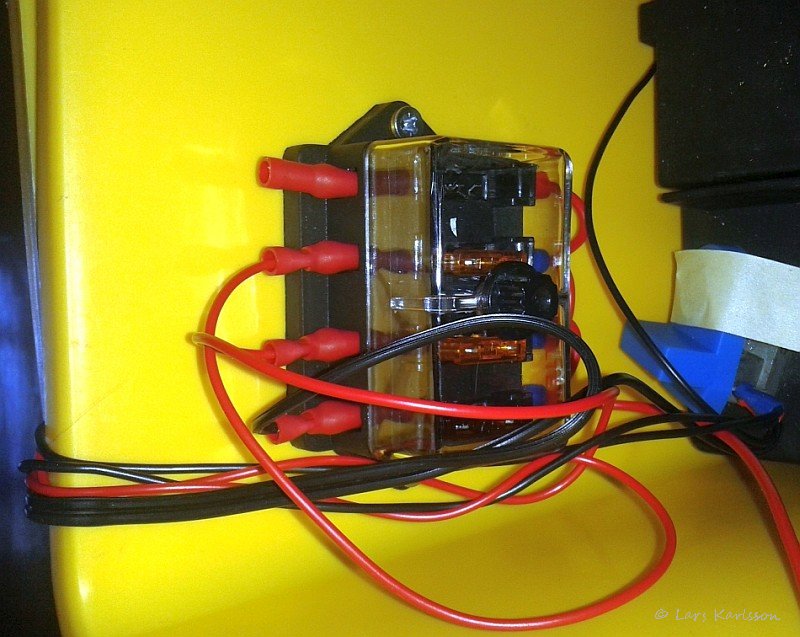
Fuse Terminal. 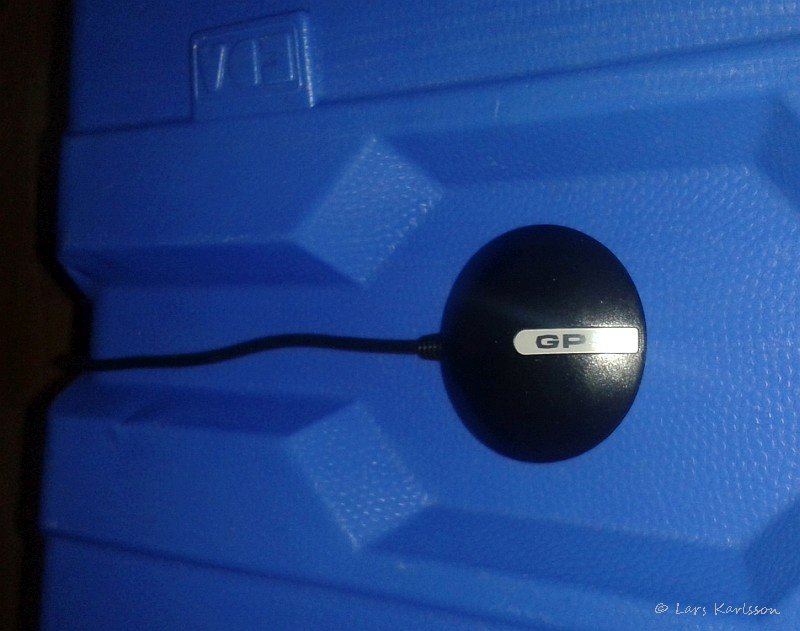
GPS unit, here on the cover, a piece of metal glued to the lid so the GPS magnet holder can be attached. 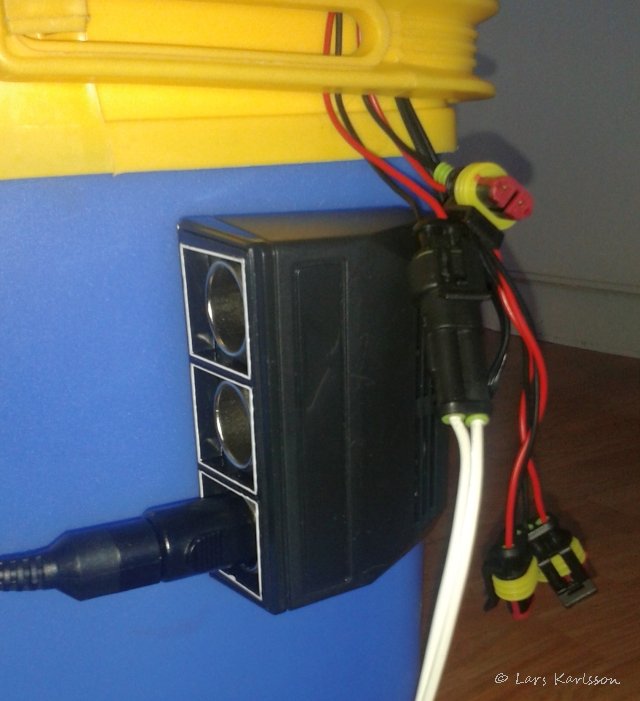
Cigarette lighter sockets mounted on the outside as they are in operation. Will try to have as few accessories connected through this as possible. The contacts can be seen hanging out are the ones I will use. 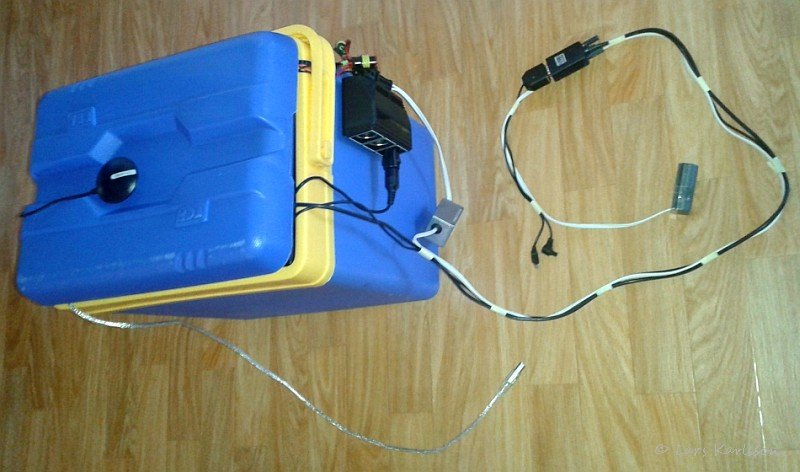
How does it look when used. The large wiring harness to the right is for the camera,
the gray box is the voltage converter to the camera, cable to the left to control the assembly. One must be careful when inclosing a battery like this, especially when charging it form explosive gas in the final stage. This battery has a valve that prevents fire / sparks outside penetrate the battery. But even this sealed battery leak small amount of this gas. This gas is hydrogen and it is a light gas that rises. The lid must therefore be off when charging. The charger is of a regulatory type which turns into maintenance charging when the battery is fully charged. The charger is connected to the cigarette lighter socket on the outside of the box to not get sparks near the battery.
|
|