|
Advertisement / Annons: |
Project:
|
Content: |
3: 3D design the diffuserI must have one or two extra diffusers to make the light even over the field, even this part is 3D designed and 3D-printed. Diffuser:It has now come to were I 3D-Print next part of the flat box, the first extension tube that holds the 2nd diffuser. 
All these extension tubes stack on top of each other. In the bottom of the extension tube I place the diffuser, an ordinary white paper, at least to start with. 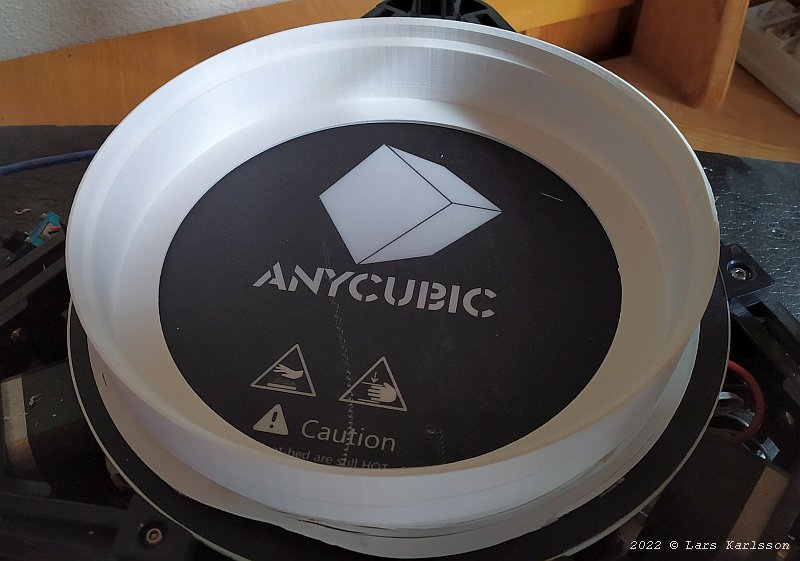
It took more than 5 hours to print this extension tube, 210 mm (later increased to 212 mm) in diameter. The maximum diameter my 3d-printer can handle is 220 mm. 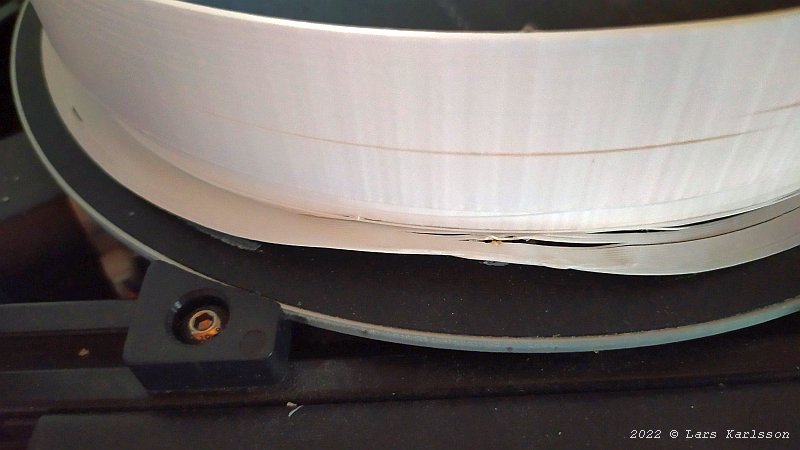
Some problem, the filament don't get stuck to the heater plate all times. Wrong temperature or is the heater plate not clean enough ? Later I found that my 3D-printer doesn't have heat enough to handle this ABS filament, I have now changed back to PLA and get much better results. 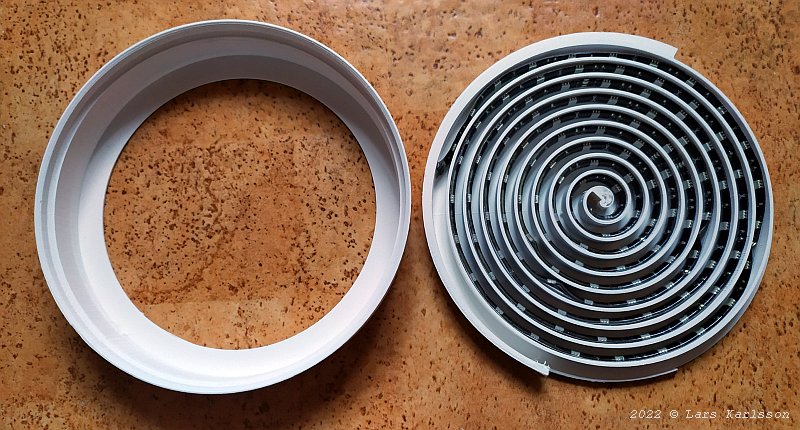
Comparison of the two parts, extension tube and LED stripe bracket. 
With the LED stripe bracket stack on top of the extension tube. 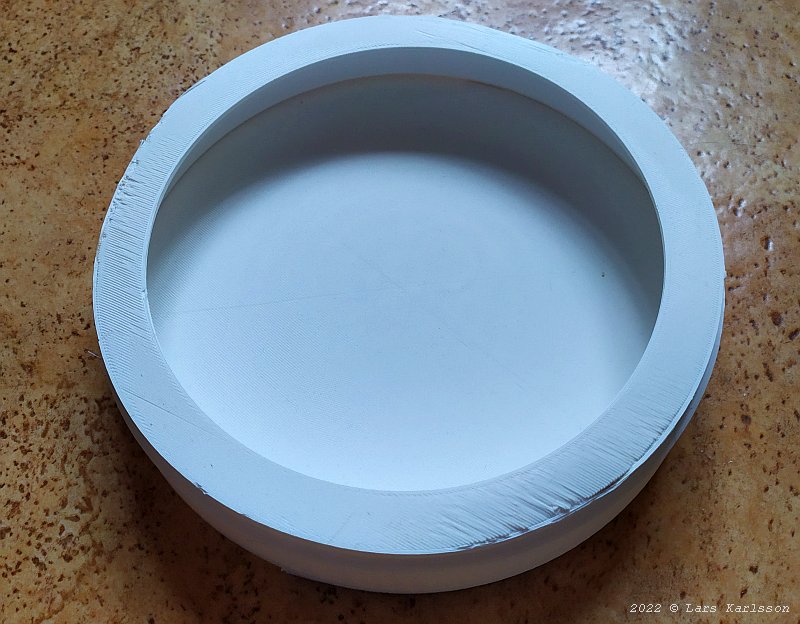
View from the camera side, the opening is 170 mm but have later increased it to 180 mm. 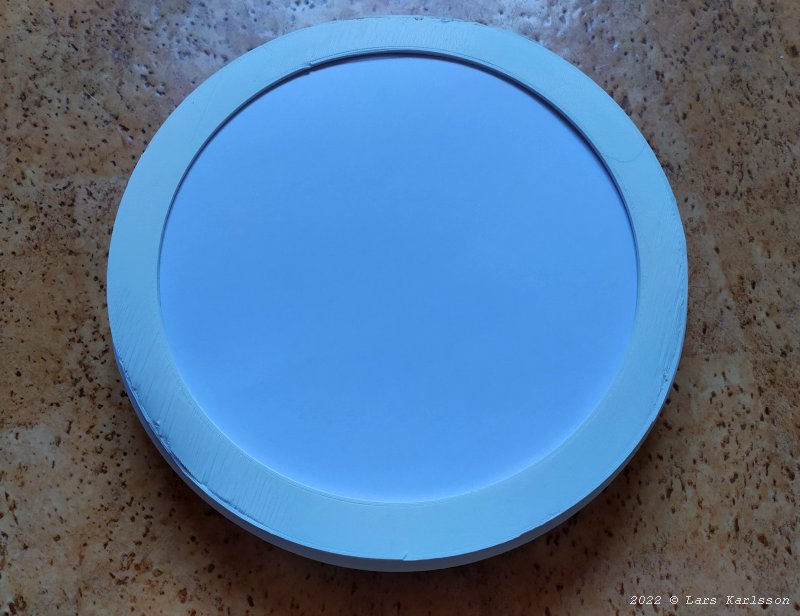
The 2nd diffuser is mounted in the 1st extension tube, just an ordinary white paper. 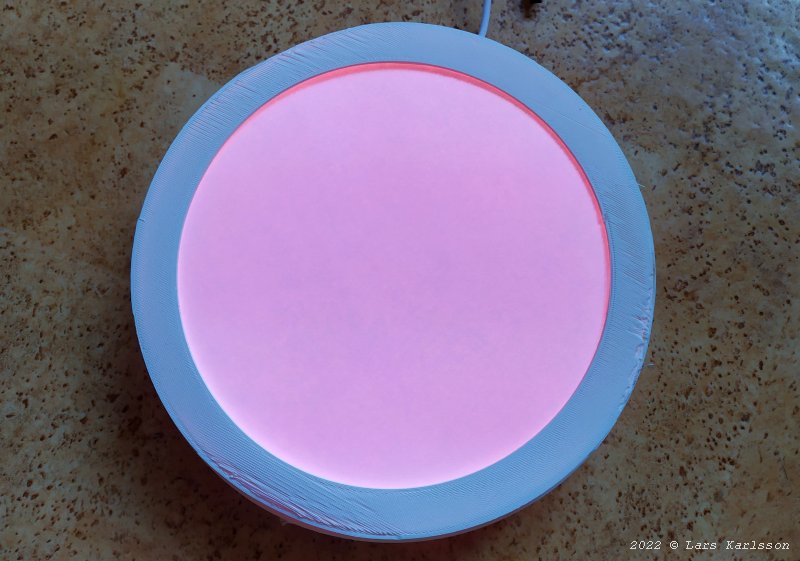
The LED stripe turned on, before I fine adjust the RGB level to make a color balanced image to make flats. This looks very promising. 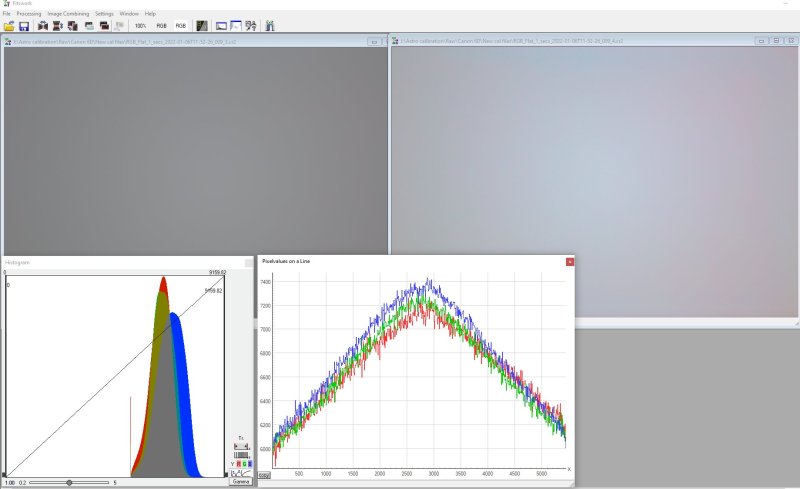
After tweaking the light's brightness of each color to have it in balance. The exposure is 1 second at ISO200. The top left is the Debayered image with gain R=G=B=1. The image top right is the same but the saturation increased to max. The is a small gradient of the red toward right, same can be seen in the histogram at bottom. That is strange, because all images I have taken with different setup of the LED stripe show this phenomenon, even if I rotate the Flat field box. The image bottom right is a diagonal line with signal strength, still this sharp peak in center. I guess this will cause a problem with over compensation of the vignetting when flat field calibrating, a black hole will appear in the center. Maybe a third diffuser solve the problem. But later also the Flat field box partly will be in black to block internal reflections which could cause problems.
|
|