|
Advertisement / Annons: |
Project:
|
Content: |
7: Making diffusers and install themThe diffusers are important, they make the light coming from the LED stripe to be smooth and even all over the field. I make them from ordinary white paper, but maybe some special material could be better. The first diffuser is already built into the LED bracket. Extension tube and diffuser lock ring: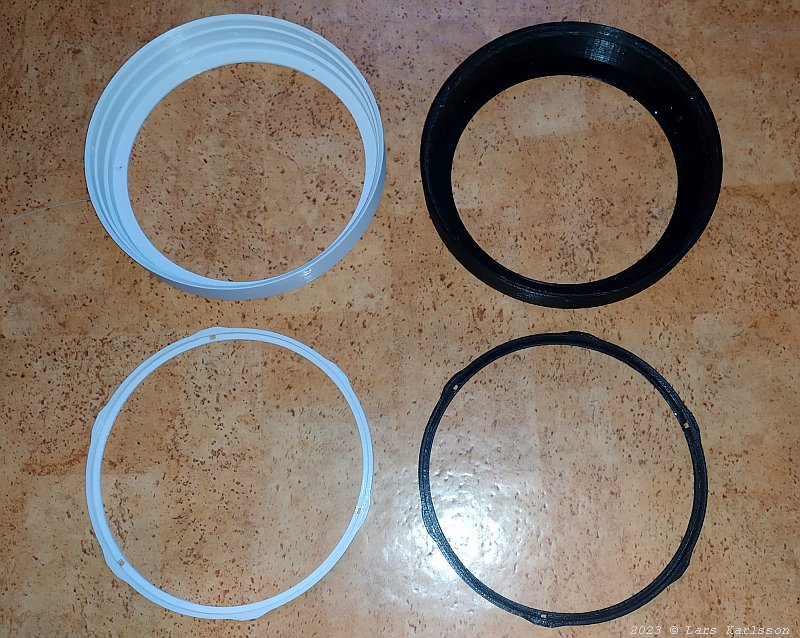
The second diffuser is the extension tube with a diffuser lock ring which hold the diffuser in place. Earlier I have taped them in place, but it can cause some wrinkles in the diffuser. I hope this construction will work better. 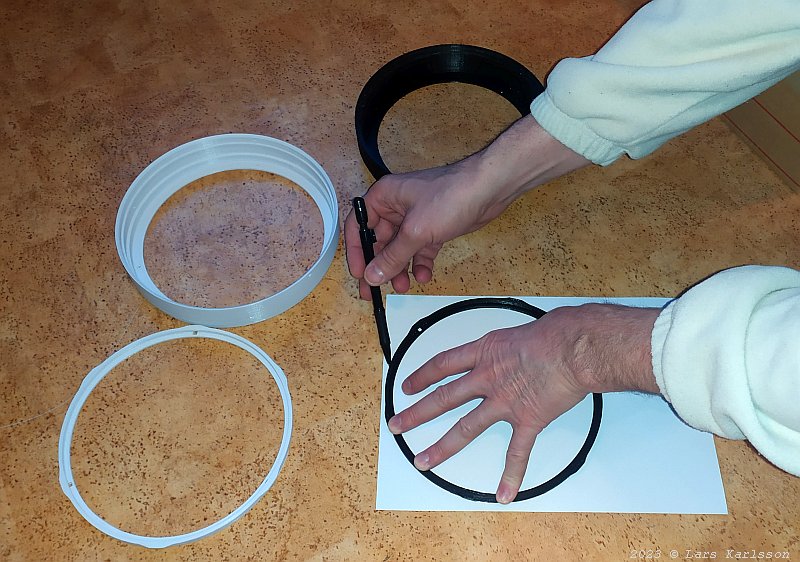
This technique I already learned at 6 years age in children school. Use one of the lock rings and draw a circle with it on a paper, here I use a standard paper from the printer. But don't have the paper on the floor as I have here, it will be dirty. 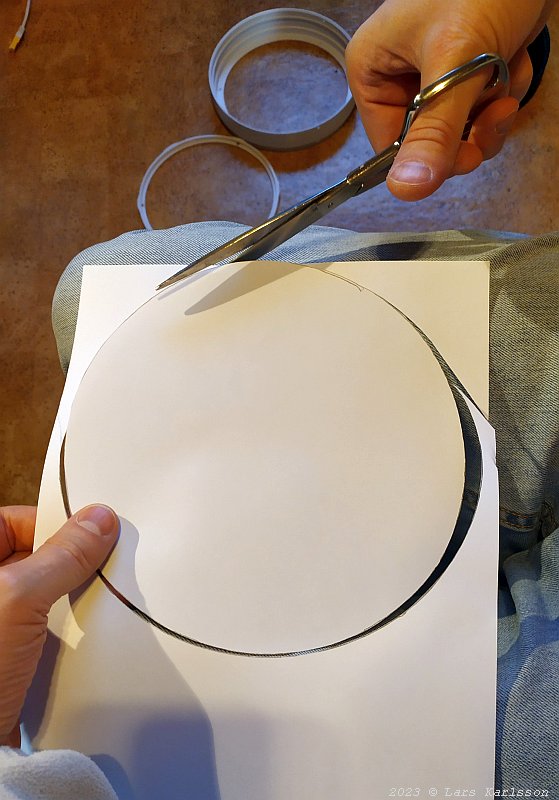
Cut the paper along the circle drown on the paper, no dirty fingers on the paper ! 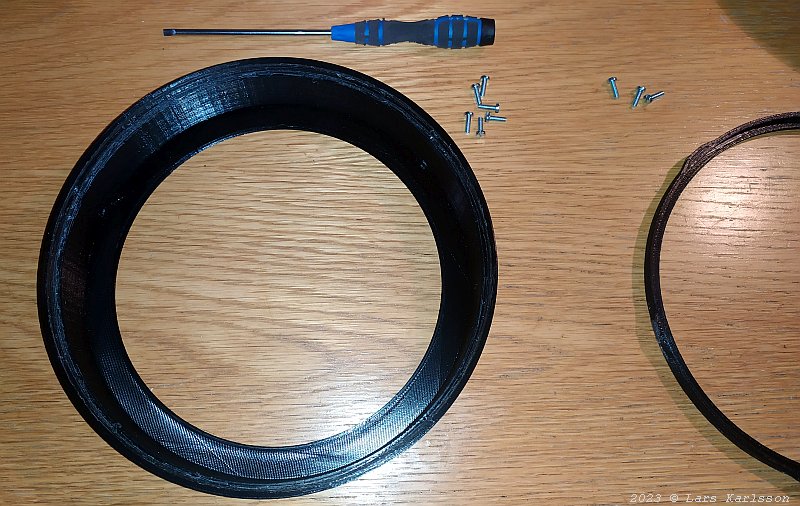
Check that all surfaces on the plastic parts are smooth before the diffuser is installed. 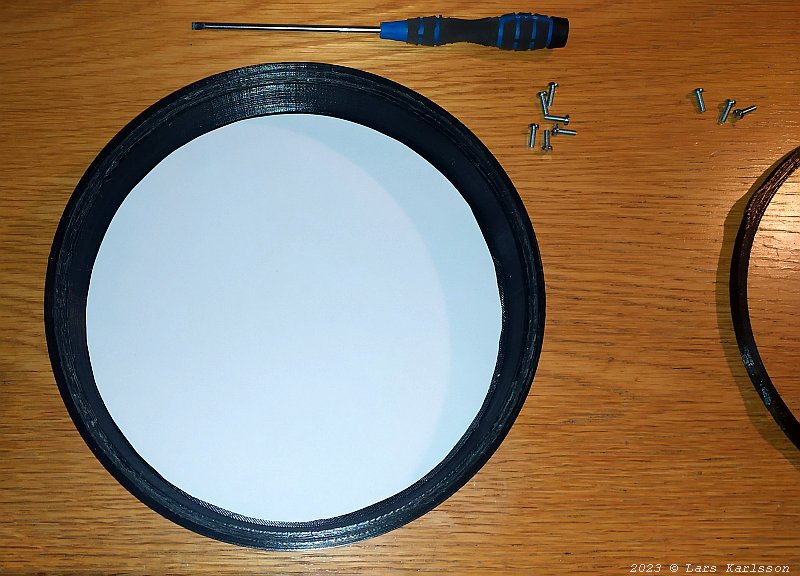
Put the paper at bottom of the extension tube. 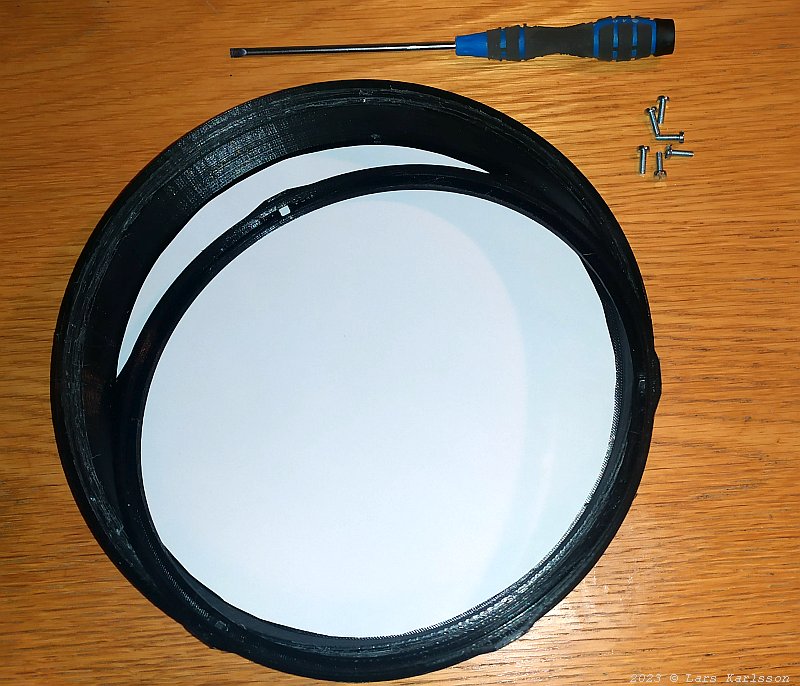
Put the diffuser lock on top. 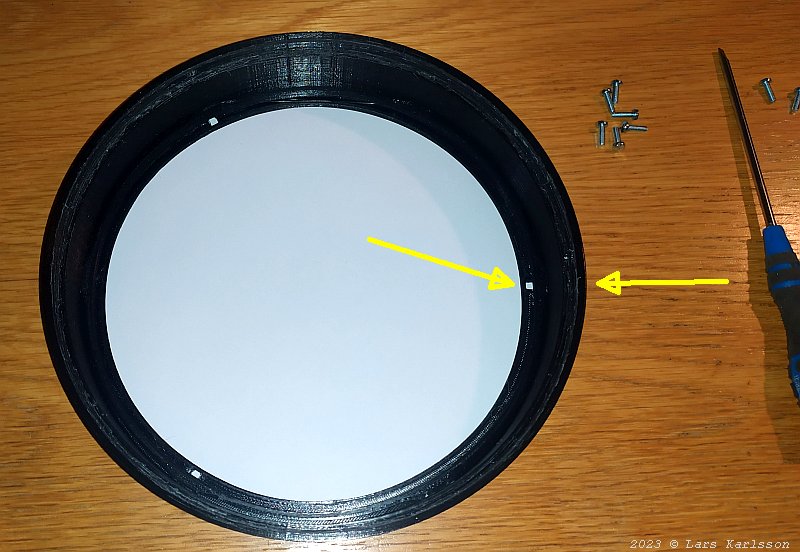
Squeeze the lock ring down until it reach the paper. The small hole must be directed to the hole in the extension ring. 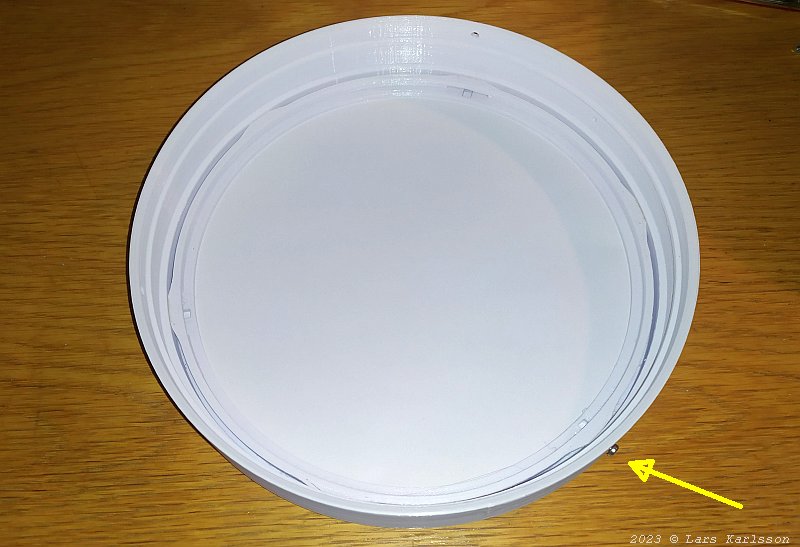
Do the same for the white diffuser. This time I screwed in one of the screws, make it easier to get the correct orientation of the lock ring. 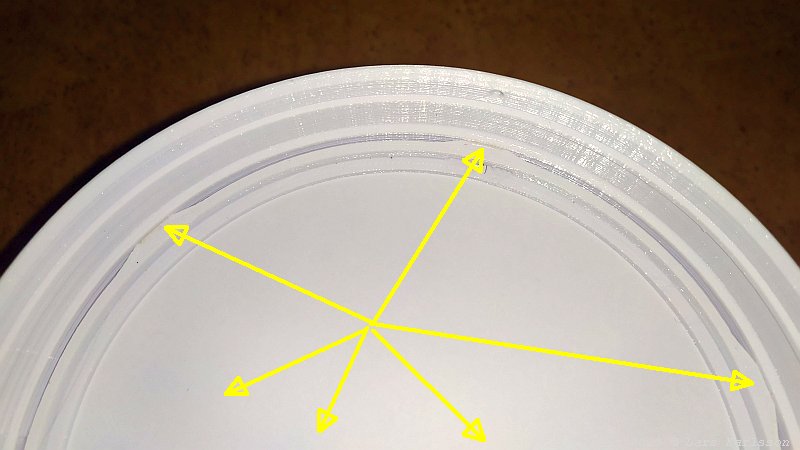
Close up of the lock ring, there are 6 tabs that press against the extender tube. I have over sized it a bit because all 3D-printer print it a bit different, you have to nail it down until it fit. Maybe from 0.1 to 0.2 mm has to be grind down, it should be small enough to be squeezed into the extender tube with very small force. 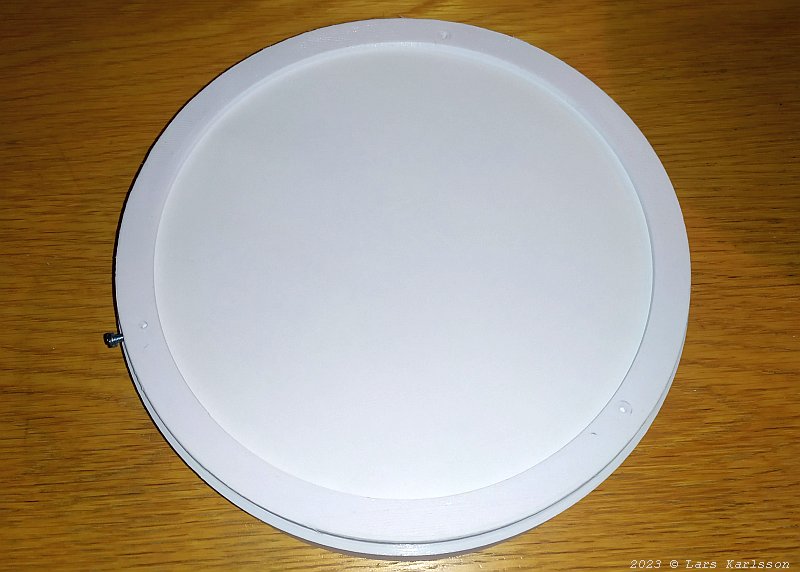
Diffuser from the front side, that point to the telescope or lens. It was much easier now with these lock rings to get the paper smooth and even, no wrinkles. 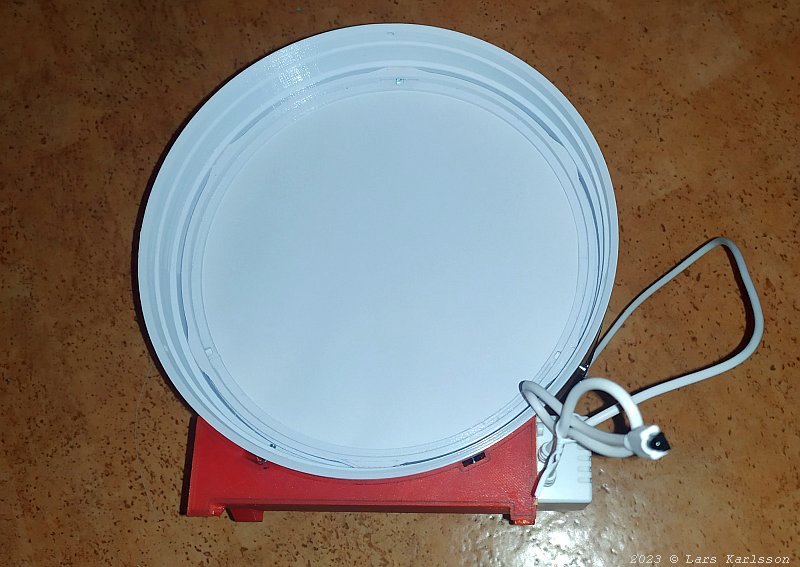
Install the stand again with the power supply, all extender ring has 3.2 mm holes for this. Attach it where you find it balance. The balance point differ because of what type of light source and the number of extension rings.
|
|