Astrofriend's homepage

www.astrofriend.eu
Share: Twitter Reddit Facebook Gmail Gmail Email
Search Astrofriend's homepage:

Valid CSS!

All pages shall now have been validated

Info Cookies (Kakor) / GDPR

Navigation

Advertisement /
Annons:

Advertisement / Annons:

My astronomy project:
Building an astroserver with a Raspberry Pi4


Content:

  1. Introduction
  2. The passive cooler
  3. Formatting the microSD card and transfer of the mirror file
  4. Setup KStars and Ekos
  5. Setup INDI Control Panel 'Telescope simulator'
  6. Setup INDI Control Panel 'Canon DSLR'
  7. Battery test
  8. Indoor test of focus control
  9. Adding a GPS receiver
  10. First Light
  11. Setup as Hotspot controlled from a pad
  12. Setup drivers peripheral
  13. Serial ports handling
  14. Good to know commands
  15. To be continued

Related projects:

  1. HEQ5 as portable mount
  2. Pentax 645 300 mm ED IF f/4 lens
  3. KStars / EKOS and Raspberry Pi4

Note:
I take no responsibility or liability for what are written here, you use the information on your own risk!


2, The passive cooler:

This new Raspberry Pi4 is much more power full and with that it also takes more power. It get really hot, it must have some cooling device.


Passive cooling:

Monting the cooler block on Raspberry Pi4

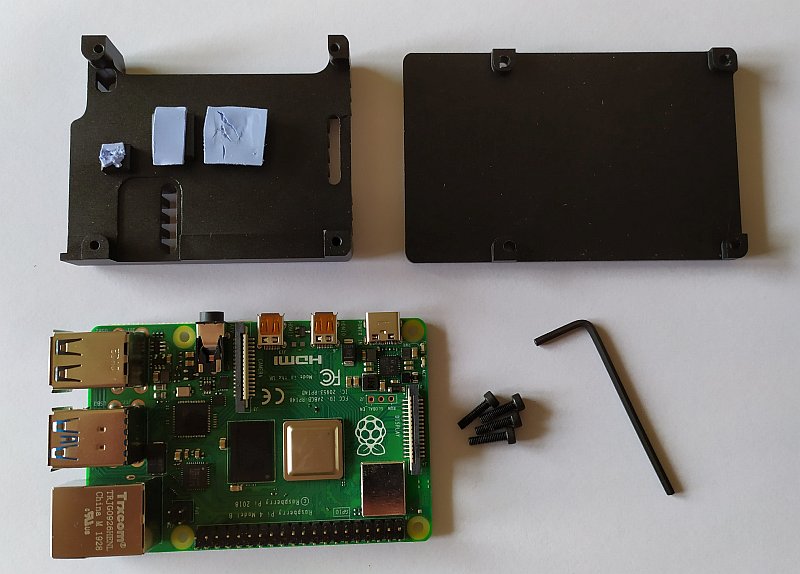
I bought the biggest passive cooler I could find, I don't want any fan. The grey stuff on the cooler is the thermal glue that connect the processor and other circuits with the heat sink, very important.


Compact format with lot of connections:

Raspberyy Pi4 Home Theatre

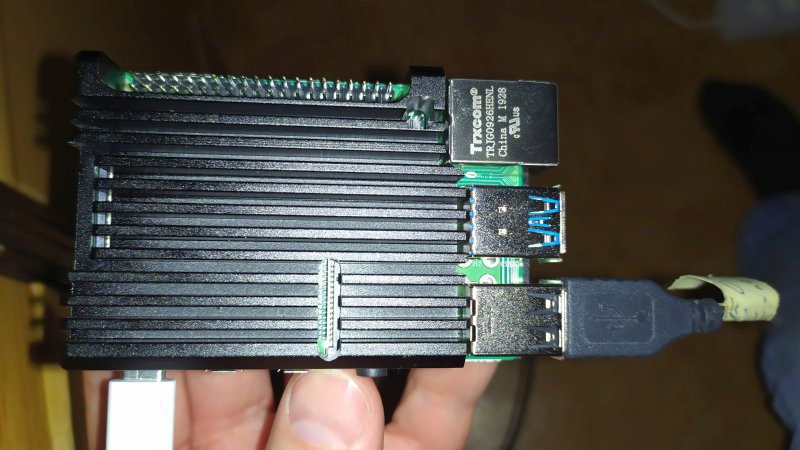
The Raspberry is really small, still it has two USB2 ports and two USB3 ports. It also have a Lan, Wifi, and two 4K micro HDMI outputs. Very power full. Where I have the thumb is a connecter for a camera.

What can be useful in the future:

Raspberry has a new camera device with a high resolution Sony color sensor, maybe something for planetary photography.

There are also other manufactures of cameras that have mono chrome sensors, maybe something for a auto guide camera.

The connector at top, here you can add extra hardware. There is a stepper motor driver, it could be used for a focuser.

Go Back to content

Go Back
To page III

Advertisement / Annons: