|
Advertisement / Annons: |
Tutorial:
|
Content:
Note: |
1.1, Background subtraction, easy case:All my astrophotos have problems with the high light pollution I have in the area where I live. That's something I want to remove, it's normally called 'Background Subtraction'. But how to do it in Gimp ? Gimp is not an astronomy photography editing tool. When I do it in AstroImageJ there is a tool called "Rolling Ball". It's not in Gimp, but what it should do is to remove all the stars and make a soft copy of the image that can be subtracted from the original image. You can see the stars as stains on the photo, for that the filter Despeckle is normally used to remove dust and stains from ordinary photos. Maybe that's the way to go and I have read from other software instructions that they use Despeckle in a similar way. At least it could be interesting to see how well (or bad) it works.
Note: M45 test image with light pollution: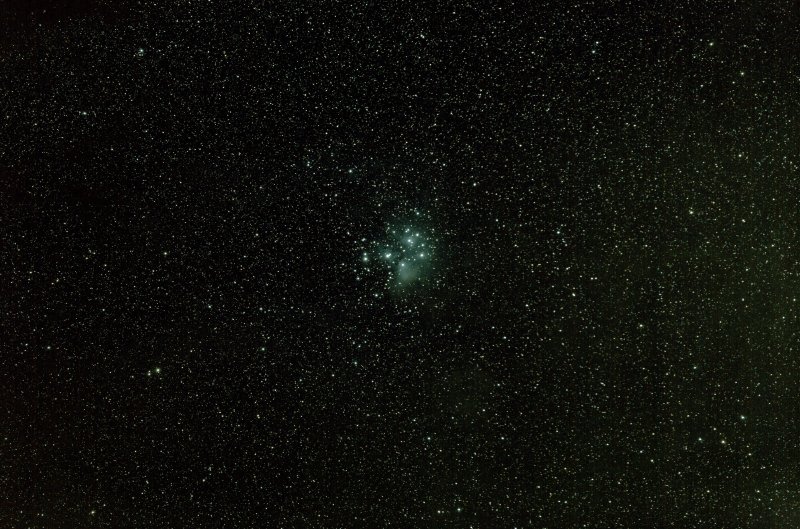
I will use this M45 image I have. It's not taken from where I lived but a bit darker place out on the village. As you see, even this photo taken from a dark place has light pollution problem. Especially at the right edge. Can I remove this without destroying the image in other ways ? Loading the M45 test object: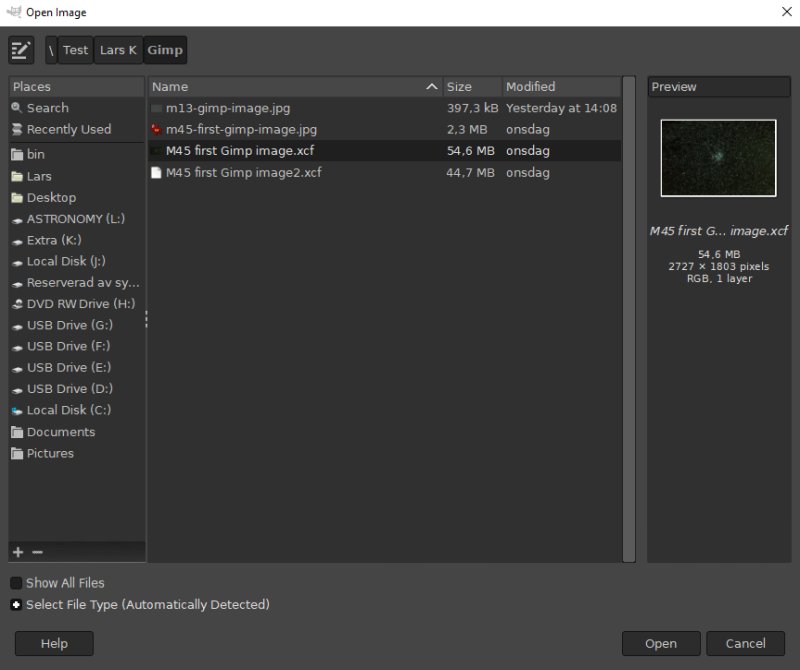
I had already prepared this image with Gimp earlier, actually it was my fist Gimp astrophoto. It's stored in Gimp's file format *.xcf with all its data preserved. Open it as normal. M45 open in Gimp: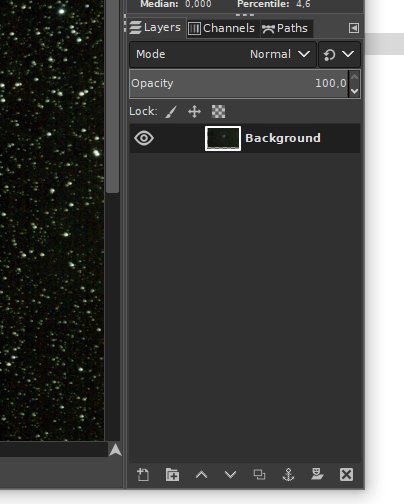
It open as it should, checking the layers to the right in Gimp window. If you have many layer, rename them, just double click on the name and type in the name you want. Adjusting the ugly greenish color:
M45 should not look like this, around the hot stars there is dust that reflect the lights, it should be blue. Change the green and blue color: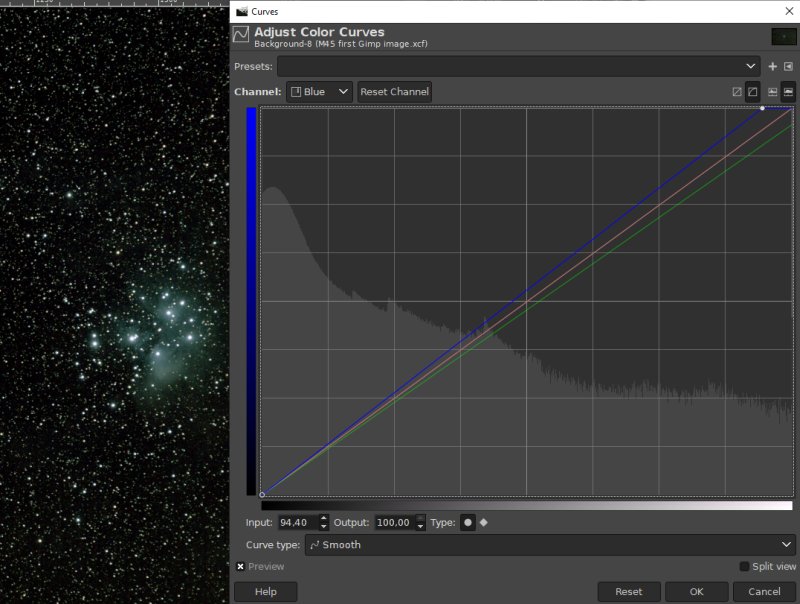
Before I start with the background I do a coarse adjustment of the colors. Open the Curve from Color menu. The only thing I did was to lower the output level of green and increase the blue output level a bit. Look much better now. Preparing a test of the Despeckle filter: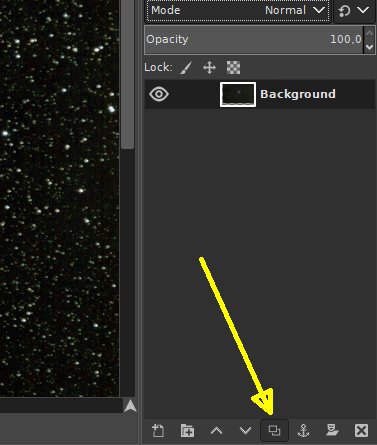
We do not want to work on the original image. We make a copy and put it in a new layer. The copy button is at the bottom of the Layer window. Add the Despeckle filter: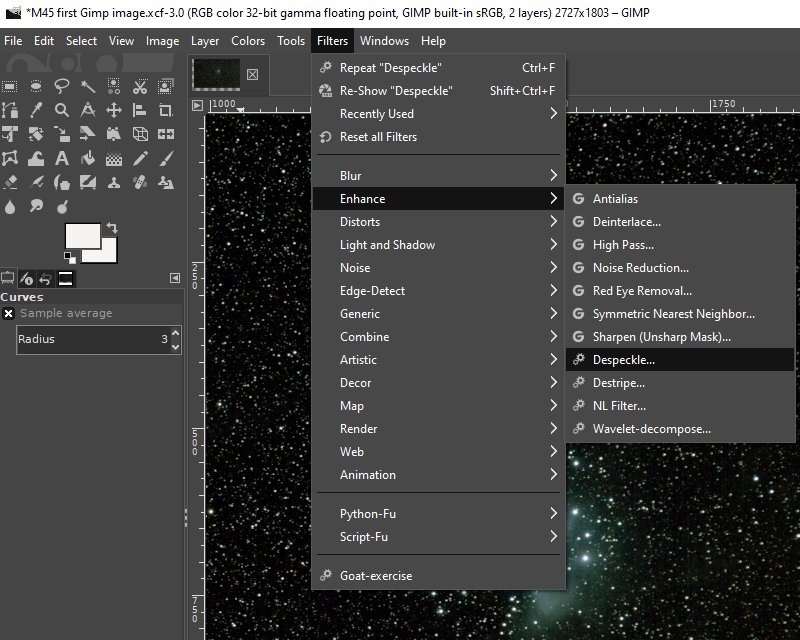
You find the Despeckle filter at the Filter>Enhance menu. I did some test of other filters before this, because I'm new to to Gimp and its tools and need to practice. Setup the Despeckle filter: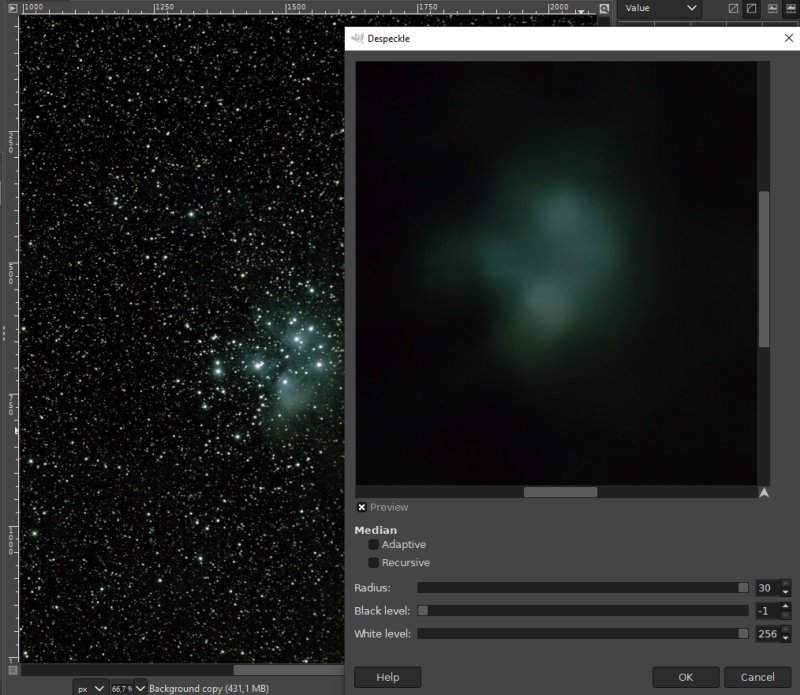
The stars are simple to get rid of, but more extended object like the nebulosity is more trickier. Increase the size if the Despeckle window and check the preview. I tested if Adaptive and Recursive had some positive effect, but no, uncheck them. The radius, this is how big object the filter shall act on, stars have typically 3 to 15 pixels radius. The nebula is much bigger and the maximum I could set the radius to was 30. The stars are of very high level and then we set the White level to maximum, 256. The black level, because the image lower level are already at the lowest level I set the Black level as low it could be, -1. Have the Despeckle window centered around the nebulosity and you can follow the result when your try different settings direct in the window.
Update: Clone Tool: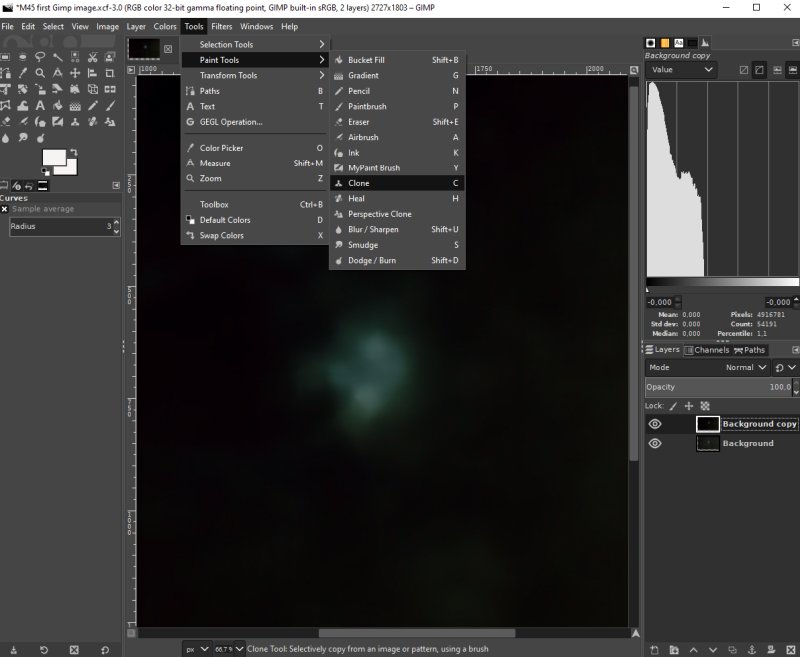
Because of the extended area of the nebulosity I have to edit this area manually. With help of the Clone tool I can paint over the green area from the surrounding darker areas. Setup the Clone Tool: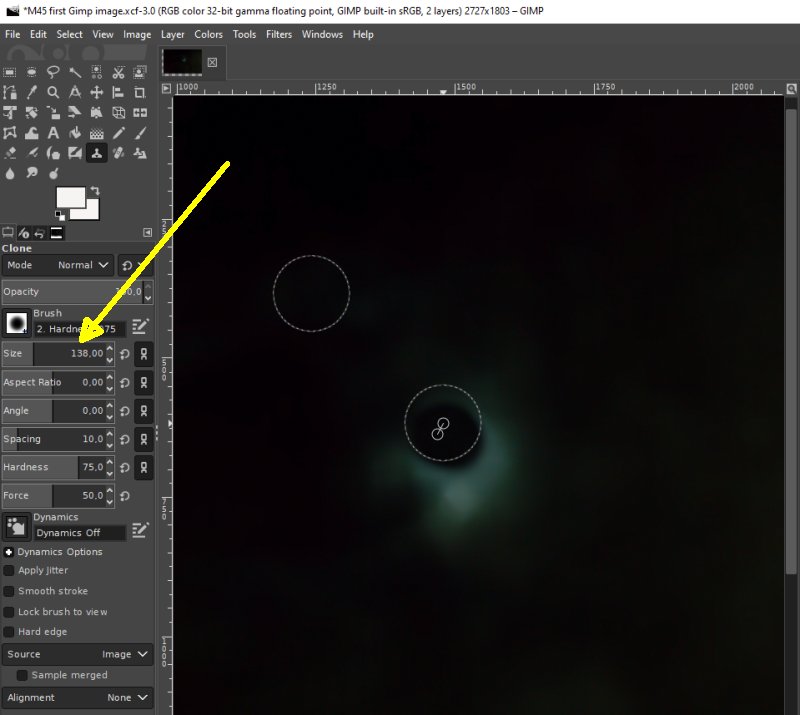
To activate the Clone Tool to this image, hold down the 'Ctrl' key and then right click on an area (upper left circle) you want to use for replacement of the green area. Do a test paint and see how big the pencil is, I had to increase it, practical if it cover about half the size of that you want to paint over. You can also try the 'Heal' tool, I find it easier to use, it's a sort of clone tool also, but smarter. Subtract the Despeckle image from the M45 image: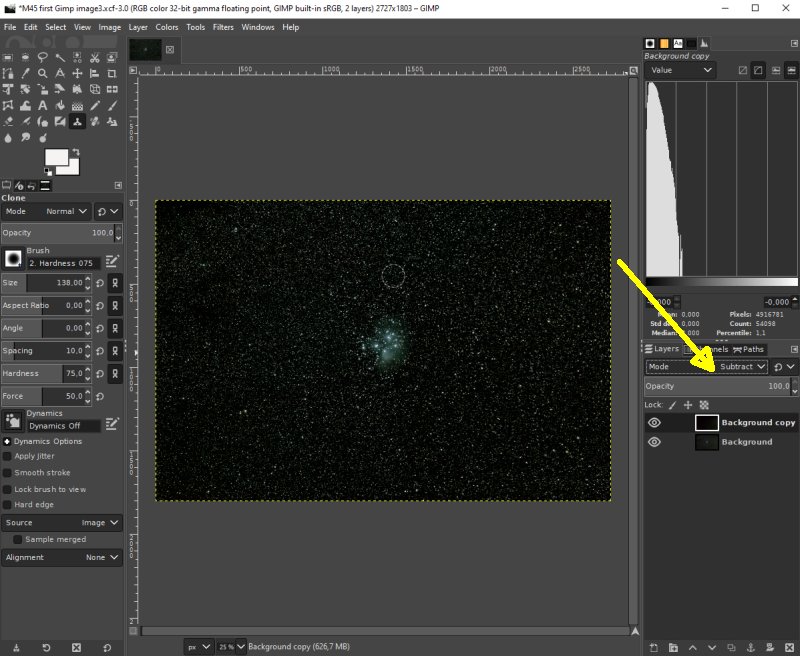
Now we shall subtract the Despeckle background from the M45 image. Change the mode to subtract, the 'background copy' layer, (Despeckle image) shall be activated. When you feel the result is ok, flatten (Image menu) the image. That is to make the two layers to one, but not necessary. Messier 13 sample image:
The result, looks fine with in mind that it was a very simple technique I used. The light polluted area at the right edge is gone. Later with more practice I maybe find a better background remove technique or a special filter for this purpose.
|
|