|
Advertisement / Annons: |
Tutorial:
|
Content:
Note: |
2.1, Correct image for vignetting:I got a question on a forum if it's possible to correct the optical vignetting (rotational symmetric) in Gimp. I had never thought about to do it in Gimp because I do it in AstroImageJ with high precision. I took a look on how to do it in Gimp and found it to be very easy. Test object comet Panstarrs C/2011 L4: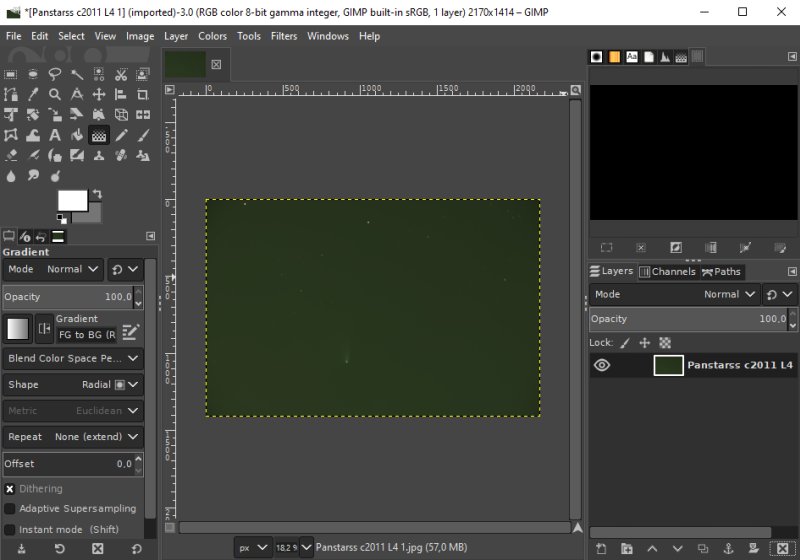
To do this I took the same image as earlier, my Panstarrs comet. This image is already calibrated and now has very low vignetting. But it doesn't matter, I just only want to show the procedure. Make a copy and create a gradient layer:
Make a copy of the image and rename it to radial gradient. Gradient tool: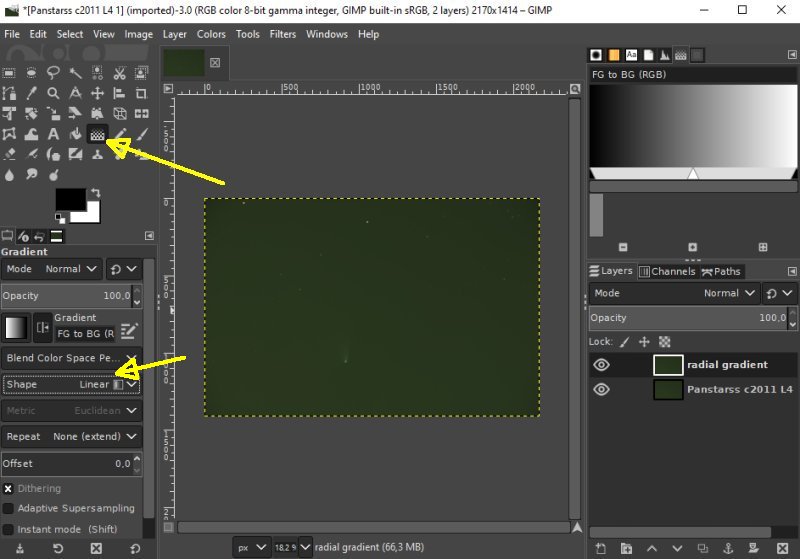
Click on the gradient tool and change the shape. Vignetting is rotational symmetric around the center of the image. Set to shape Radial: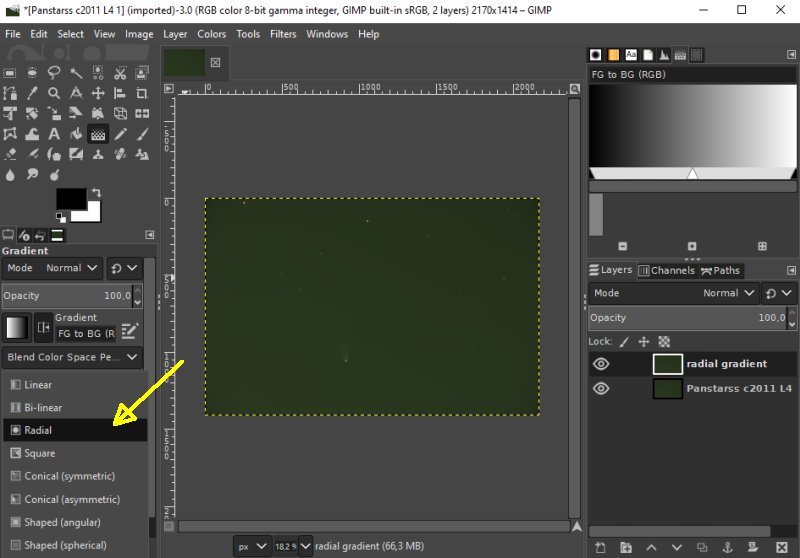
Choose Radial shape. Set foreground color: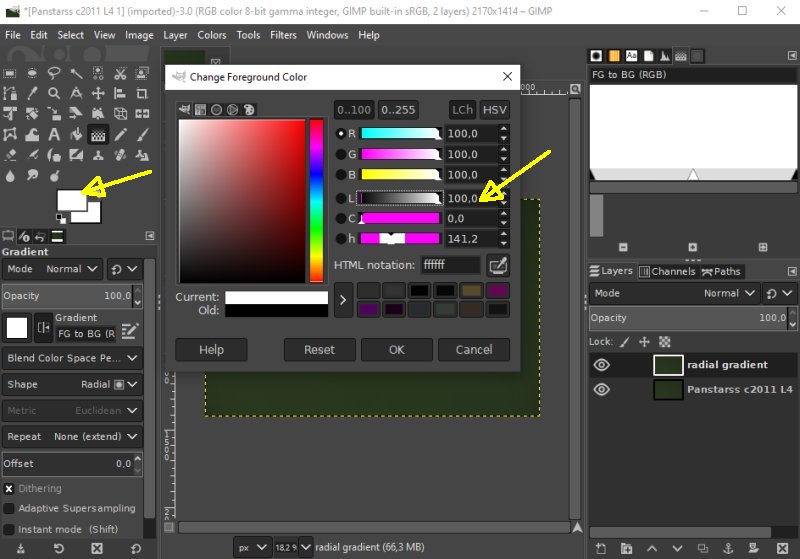
In center of the image the optics has it brightest part. Because we will do a division as we do when doing a normal flat calibration. We normalize the gradient to be white in center, Luminance = 100, check that also the R,G and B is set to 100. Set the background color: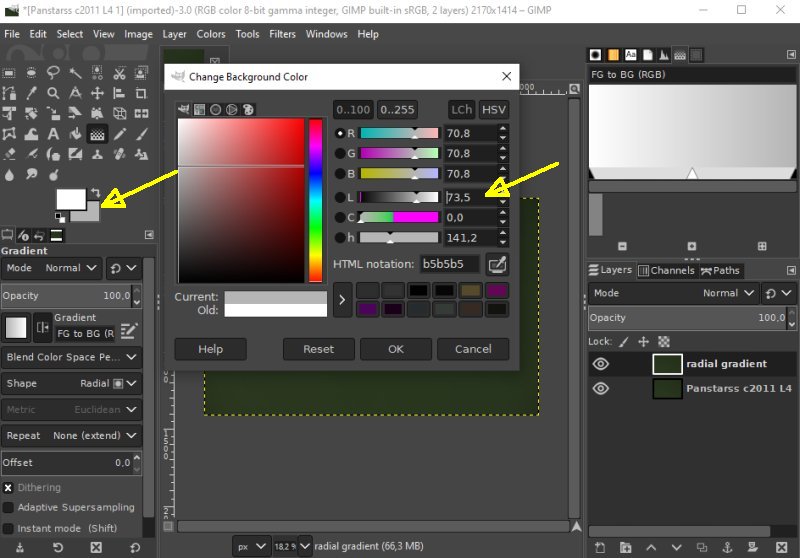
Do some measurement about how much the signal has dropped in the corners relative the center. You can use the Drop tool. If the drop is 30%, set the background to 100 - 30 = 70, check also that R, G and B get the same level. Set direction of gradient: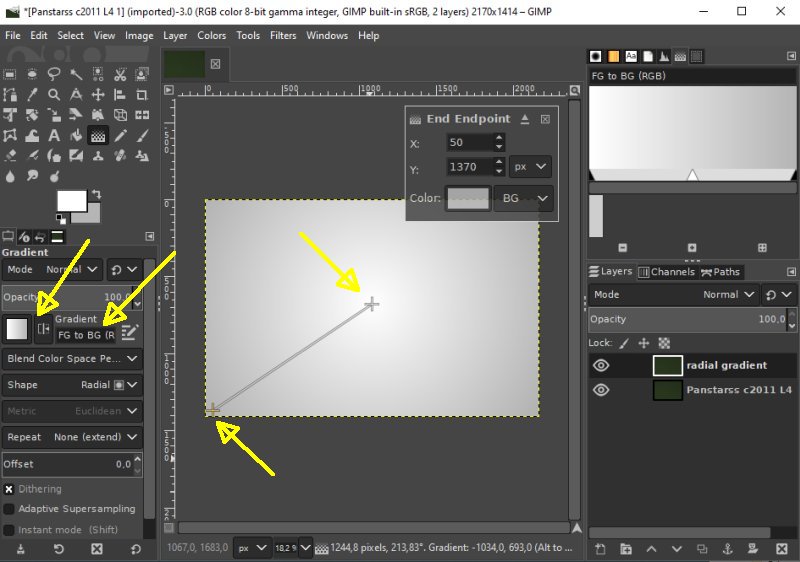
If we want to start from center: Click on the square symbol until it has the white part to the left. FG to BG means, Foreground to background direction. Set the first point in center of image, the foreground color. Then move to one of the corners and set the second point, background color. Set layer to Divide: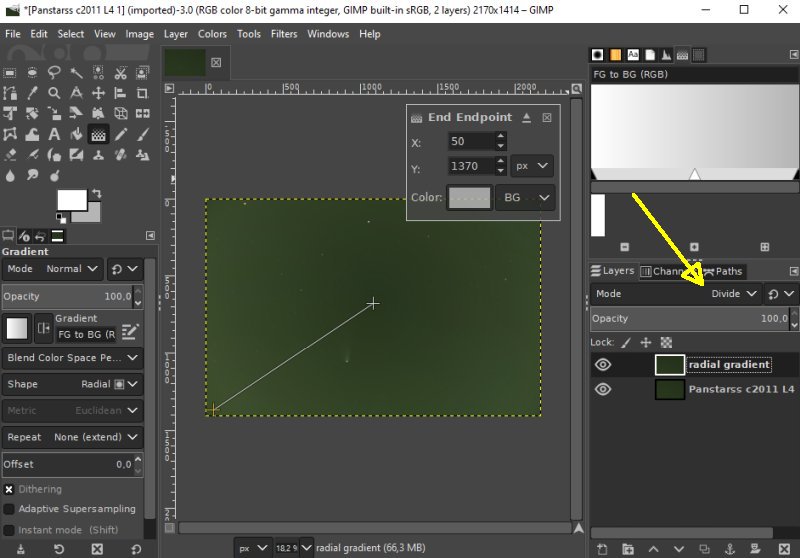
Set the radial gradient layer to Divide. In this case it got a bit overcorrected, and of course it should be that because it was already corrected for vignetting. After this you subtract the background. When doing a flat calibration with this method you don't correct for the pixel to pixel variations. That comes from the different gain of different pixels. I handle it by taken my images with dithering, i.e. small movements between each image. When stacking the variation between pixels is somewhat even out. To my surprise this was very simple to do, maybe you don't get the precision as I can get in AstroImageJ. But it will be OK in most cases.
|
|