|
Advertisement / Annons: |
Tutorial:
|
Content:
Note: |
3.4, Separation of stars and DSO:Test of background mask: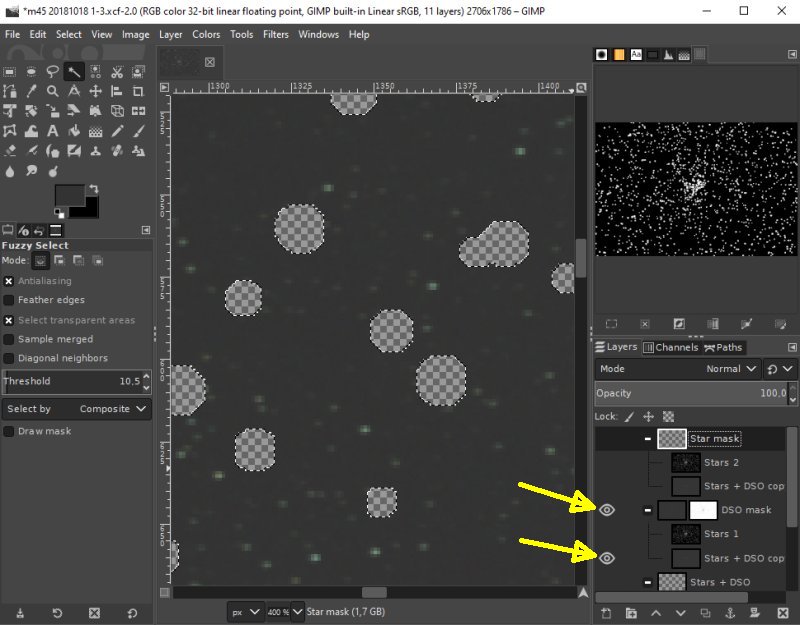
Set 'DSO mask' and 'Stars + DSO copy' visible. The mask has made 'holes' were the stars are. They look a bit big, but first do a test before go back and do changes. Later I shall fill the 'holes' with the color from the surrounding edge. Add mask to 'Star mask':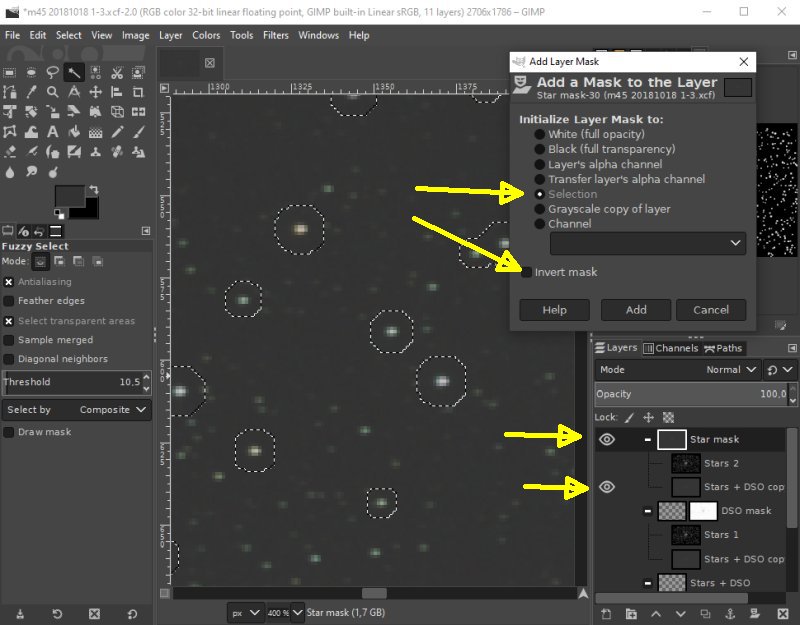
Change the visibility to the 'Star mask' layers group. Right click on 'Star mask', choose selection AND invert the selected area. Test of 'Star mask':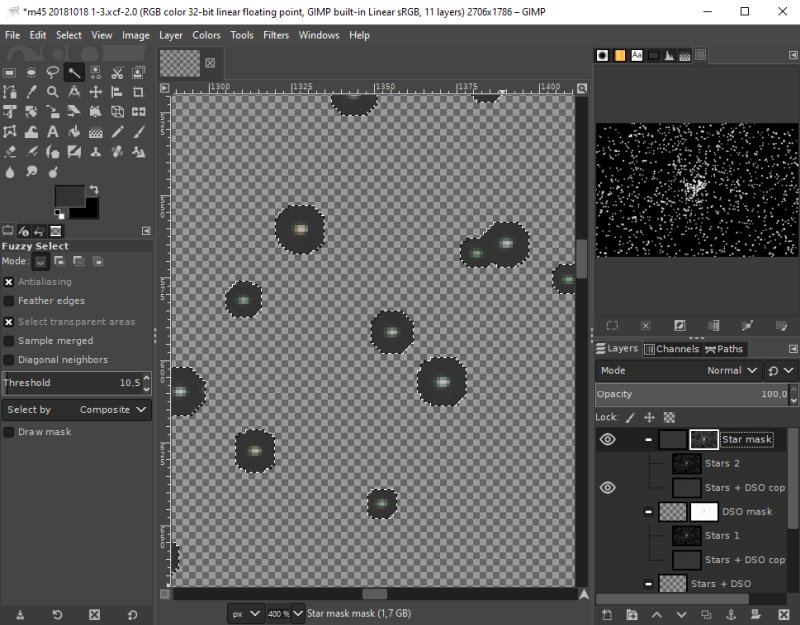
The mask work correct, but look a bit big as mentioned earlier. Overview of the mask selection area: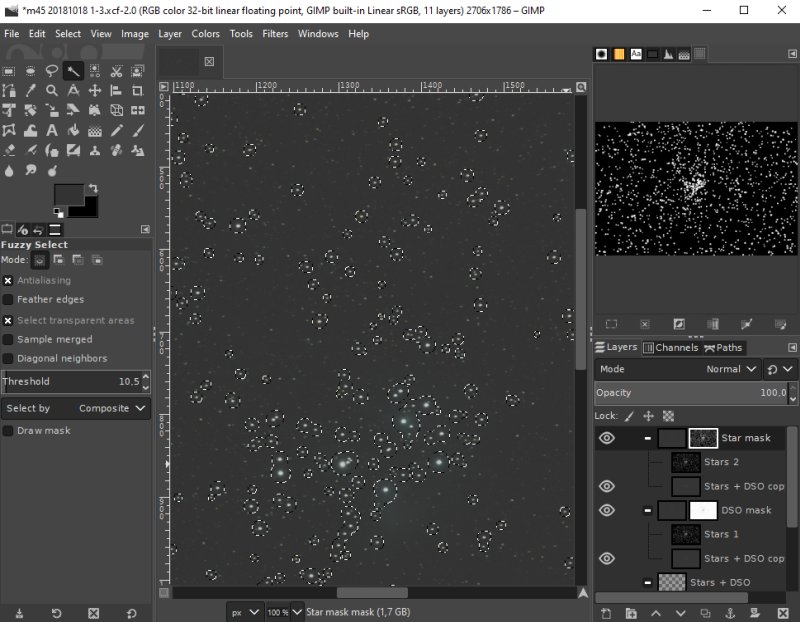
Zoom out, the area around the Open Cluster M45 is very cluttered of stars. I have to do trail and error method to find the correct size of the mask 'holes'. It vary a bit for every image dependent of camera, telescope and object.
Note: Star Mask copy: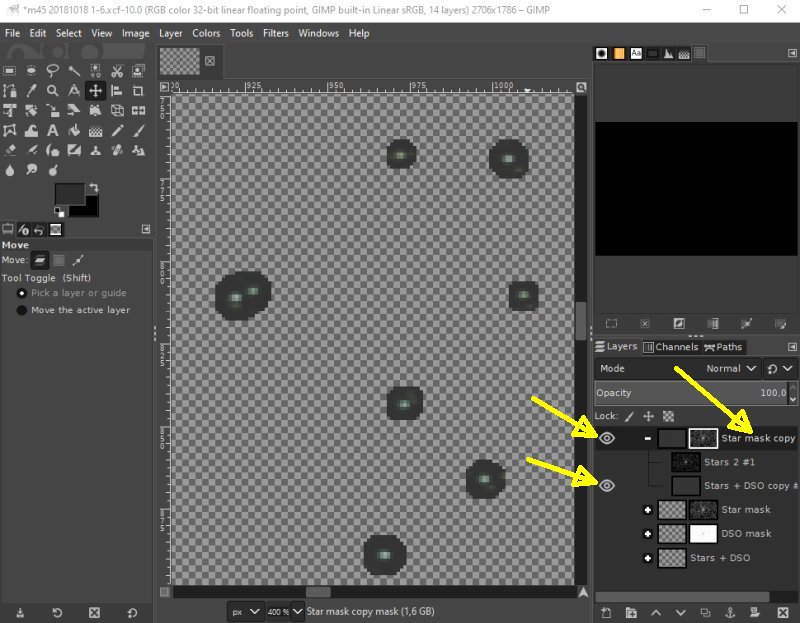
I make a copy of the 'Star mask' too have as a fill area for the DSO layer. Erode: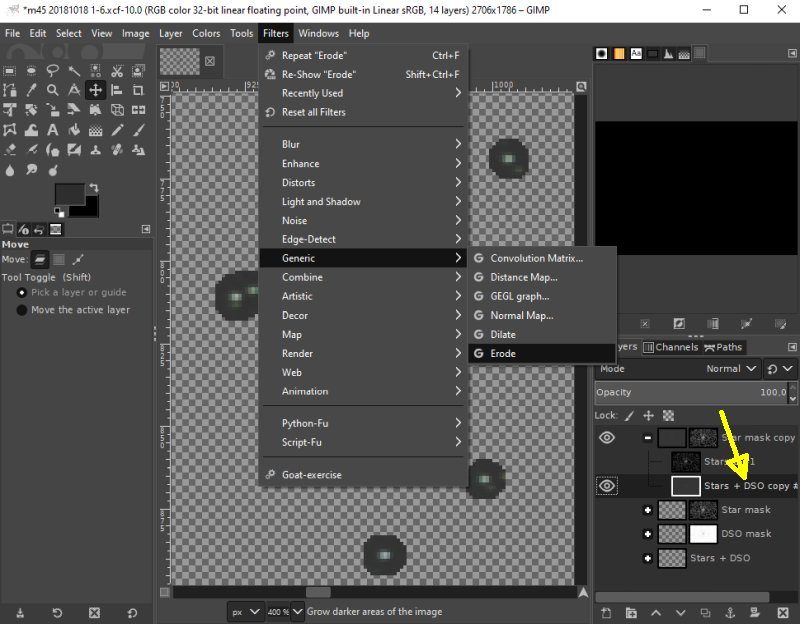
These areas are to use to fill the holes in the DSO mask later. I want them as a flat area. With the Erode tool I expand the blackest area in each star hole. Menu: Filters>Generic>Erode. Note: I have the layer 'Stars + DSO copy' active ! Erode: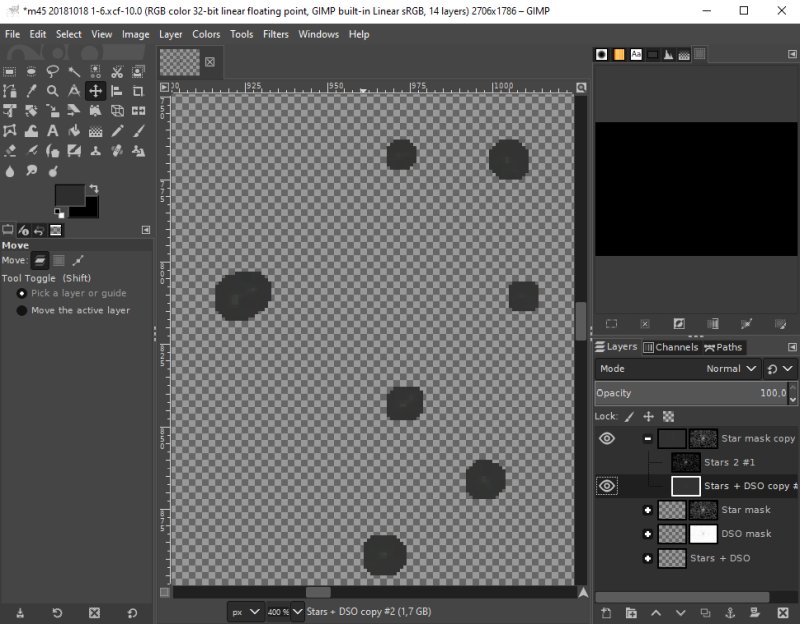
This is the result of one erode, the stars is still visible, run Erode once more. You can use 'Ctrl' + 'F' to repeat the command. Totally I did two Erode. DSO with filled holes: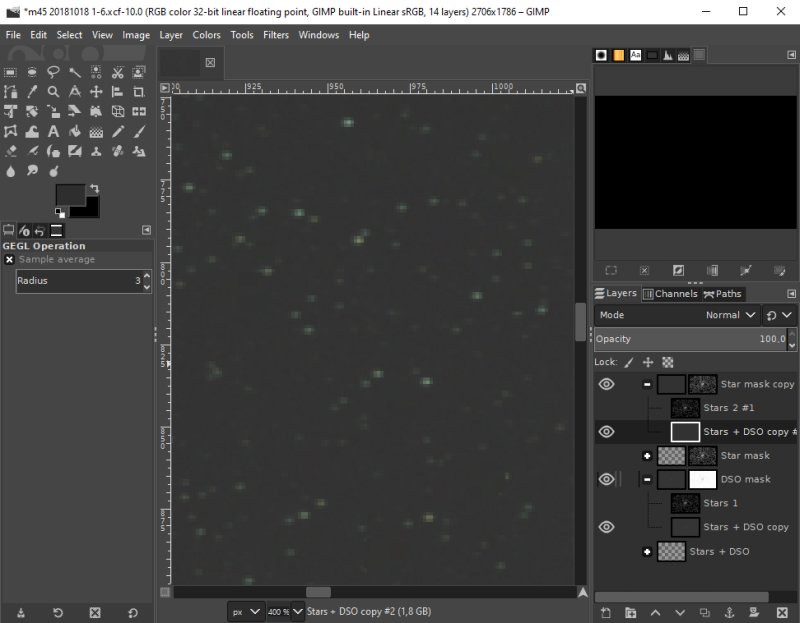
The result, with both Star and DSO mask activated. The bright stars are gone.
|
|