|
Advertisement / Annons: |
Tutorial:
|
Content:
Note: |
4.1, Separation of stars and DSO:My earlier attempt to separate the stars worked good, but need to shrink the selection area around the stars. How big the selection area should be depends on a lot of factors. The pixel scale of your setup, sharpness of the image among others. I also do the workflow in another way to make it simpler. Which workflows that's best to use depends on the situation and I'm still in the learning process with Gimp. Preparing the M45 image for star separation: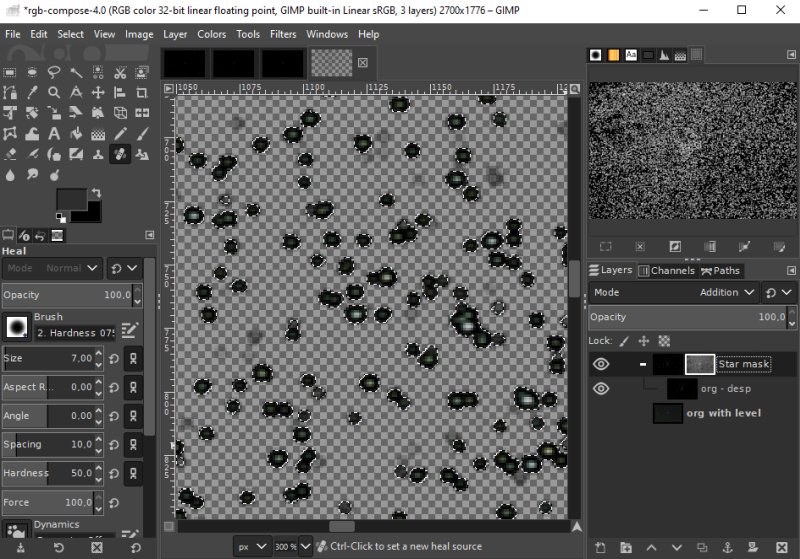
The first step is almost a repeat of the earlier workflow. The difference is that now I not only subtract the DSO, I now subtract everything that's not stars. I.e. I did not use the clone tool to erase the trace of the nebula. This selection now only have stars, no background or DSO traces. The original is only level adjusted and cropped to get rid of edge defects from stacking process. The Despecle setup was as earlier but with radius set to 10 pixels. The selected area is 'Grow' by 1.5 pixels and a Feather of 2 pixels is applied. It's easier now to select even the weak stars when both the DSO and background is subtracted away. It's important to select even the weak stars so do this carefully. Make a new DSO layer group: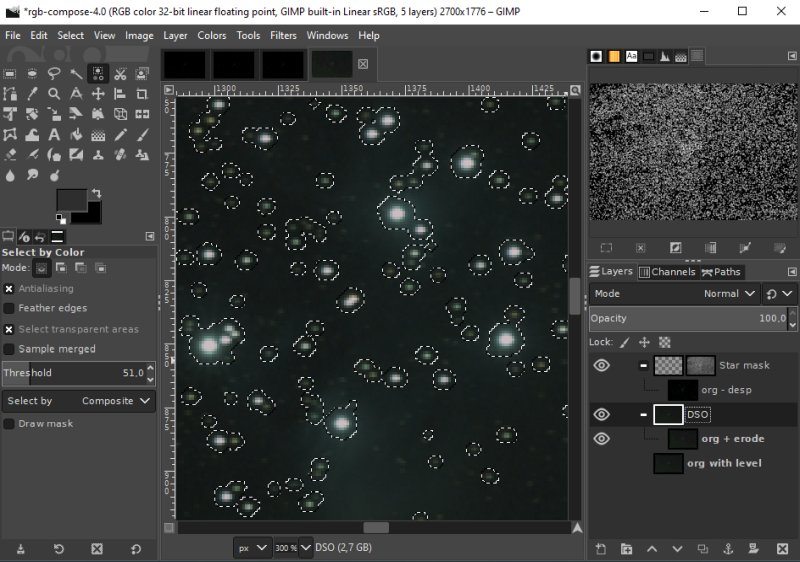
Now I made a copy of the original layer and put it a new layer group and named it DSO. Just now only a copy of the original. Erode stars in DSO layer: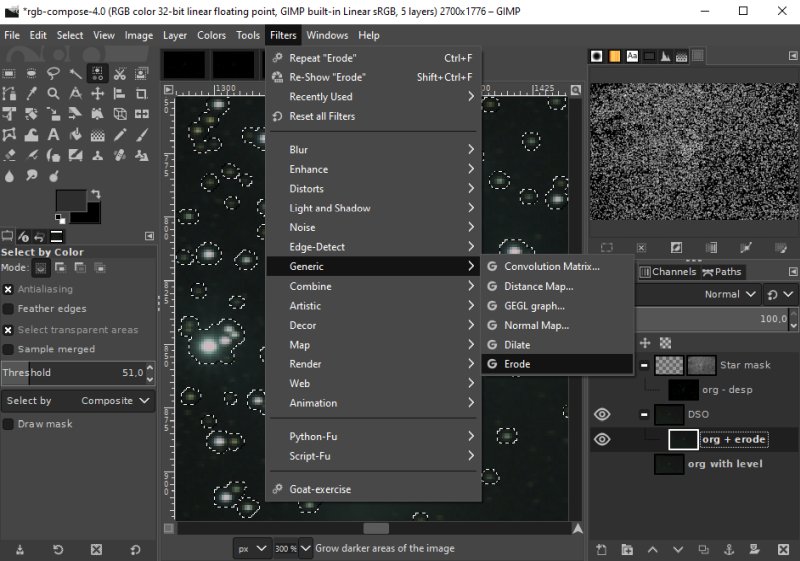
The selection around the stars is still active. Apply the erode filter. Erode: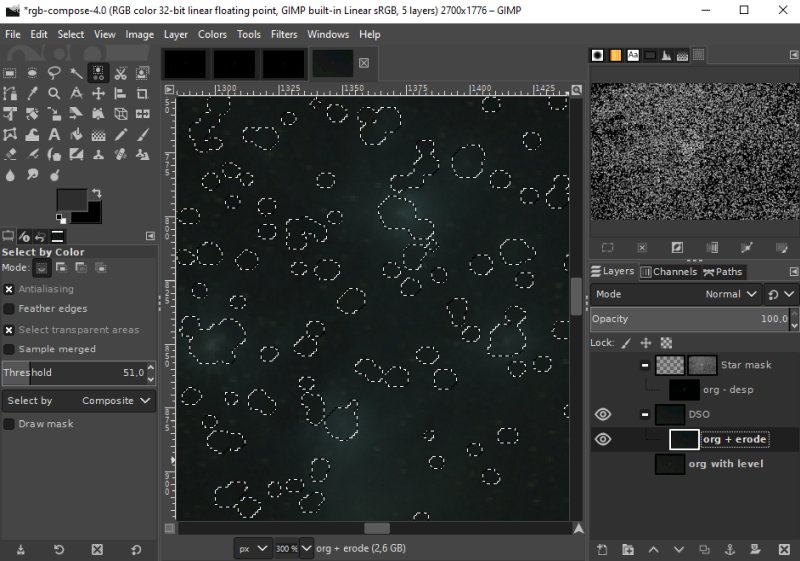
I repeat the Erode command three times by 'Ctrl F', in total 4 times. Now there is almost no traces of the stars. Overview of what has been done:
I set the four highest layers visible and the top layer to Addition mode. This was much faster done when I skipped the mask layer on the DSO layer. Next step is to subtract the back ground of the DSO layer. But now time for a break, coming back later.
|
|