|
Advertisement / Annons: |
Tutorial:
|
Content:
Note: |
3.5, Separation of stars and DSO:Add Gaussian blur: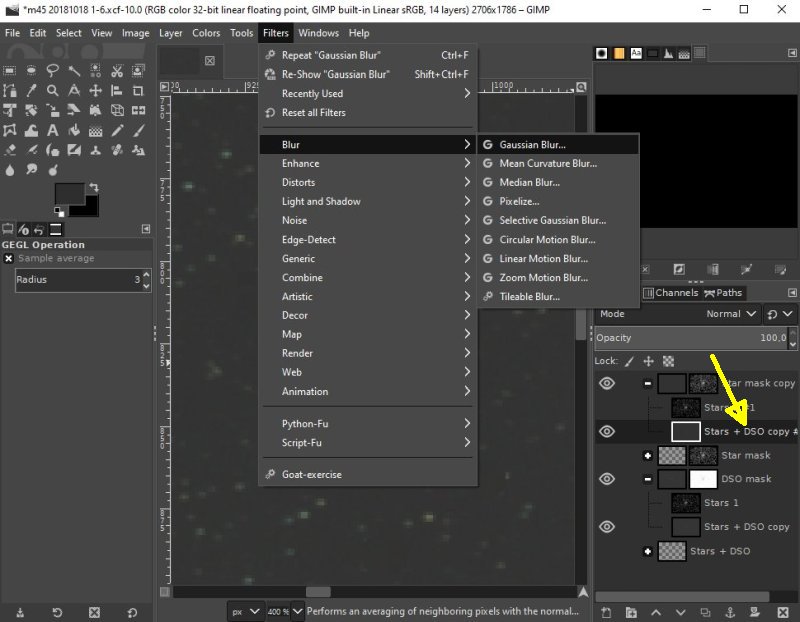
To get the edges of the star mask and DSO be smother, use a Gaussian filter. I used a very small pixel radius, 1.5 pixels, I got best results with that. Merge visible layers: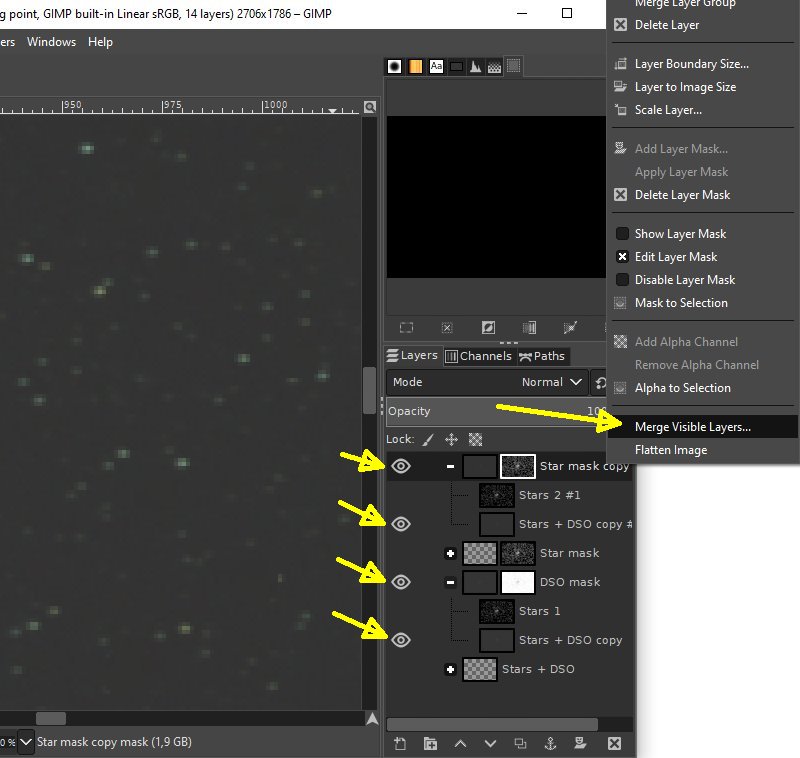
Merge all layers that belong to these 'soft stars'. This is now our new DSO and background only layer. DSO + Background: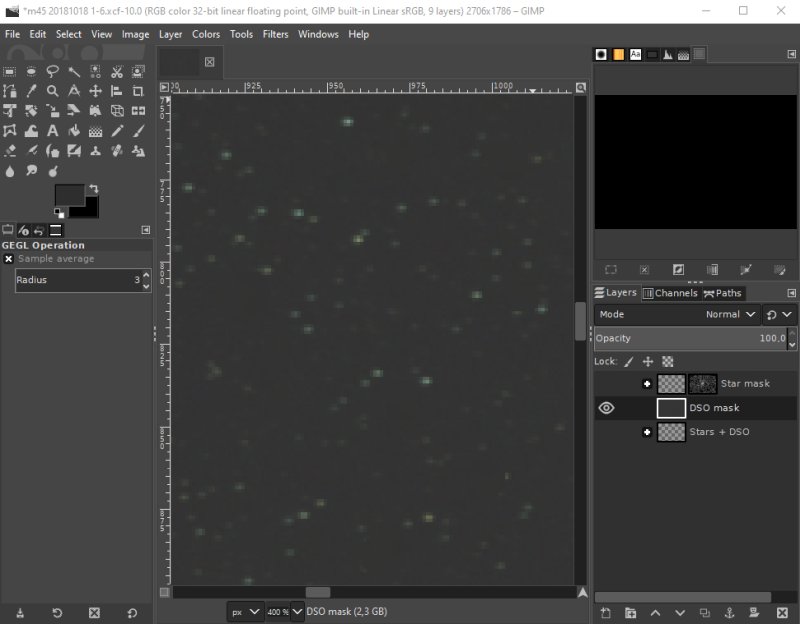
Now when we got rid of all bright stars we can expand or increase the contrast of what we have left, the Deep Sky Objects. Levels adjust: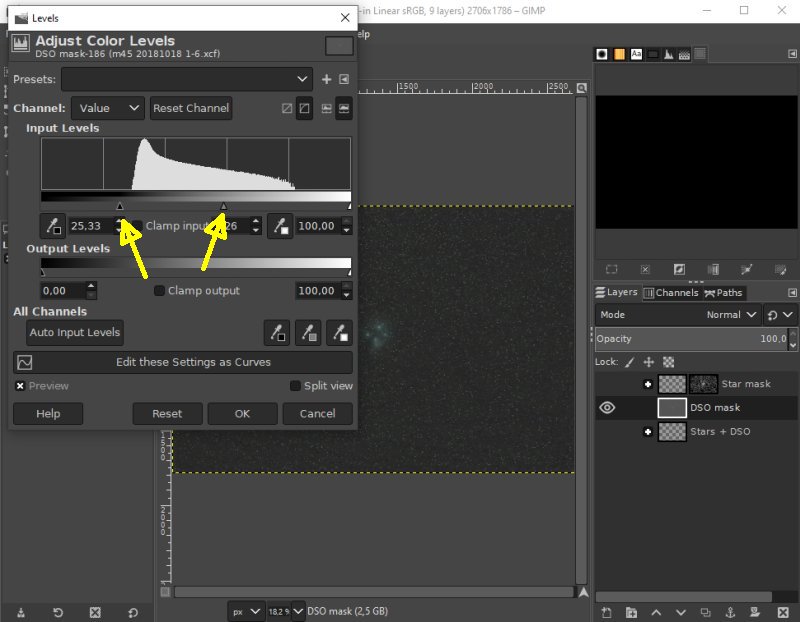
I working with the levels controls, Color>Levels, the left and middle one until I get a pleasant view of the M45 nebula. When working to hard with the middle (gamma) control you will notice a blocked background. Then you try to expand the data more then what is in it, back of a bit. I got a feeling that something is wrong here, this is 32 bit floating point data and shouldn't be blocky that easy, maybe the mask is only 8-bit and cause this effect. Adjusting curve of stars: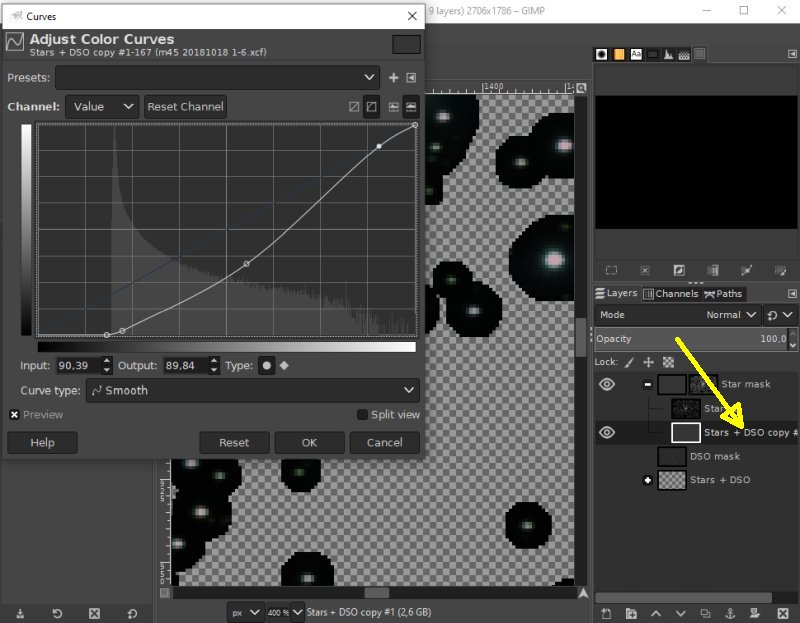
Change to 'Star mask' layer. This time I used Color>Curves to adjust the stars. I want them to show some color and not saturate. This is very rough, it can be done much better. I just want to show the principle. DSO and Star layers active: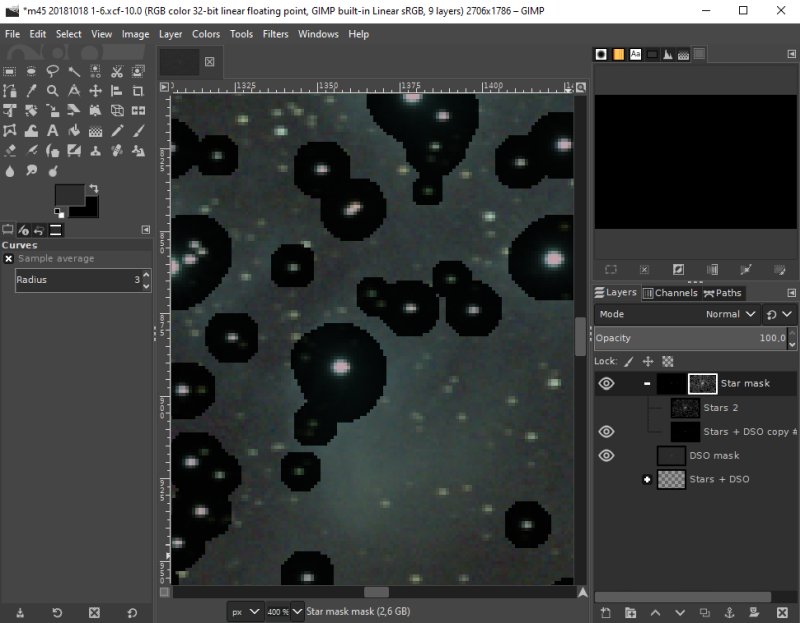
Get the 'DSO' and 'Star' layer visible. This place the stars on top of the DSO layer. Add the layers: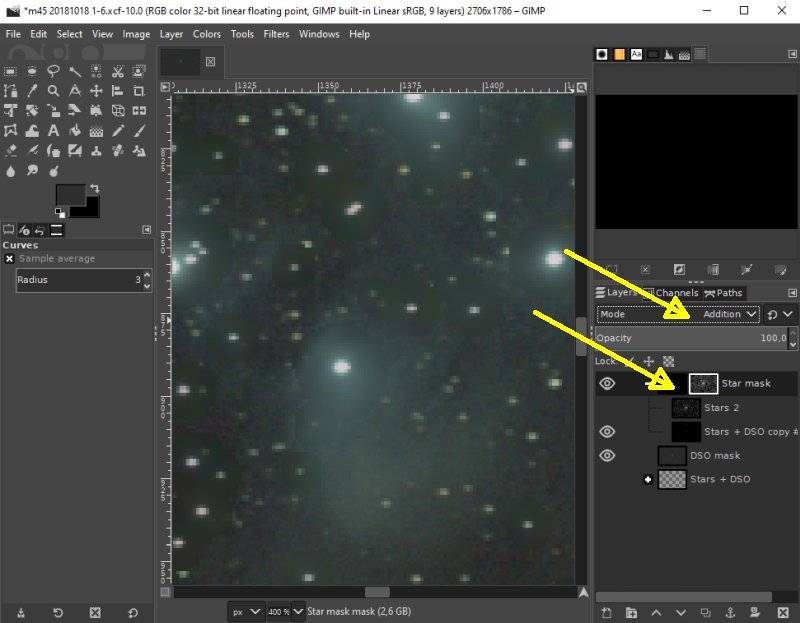
Change the top layer 'Star mask' to Addition. Smooth sharp edges: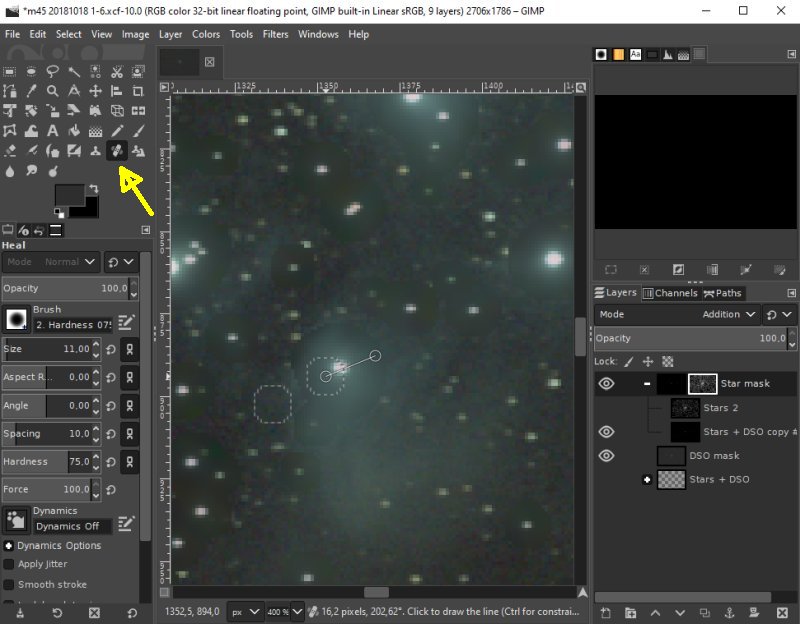
The edge between the masks is visible, I used the Heal tool to smear it out, more effective if you merge the layer together. But better to do the whole procedure from the beginning again and make the mask more tight to the stars. And even maybe include more of the weaker stars. Zoom out and enjoy: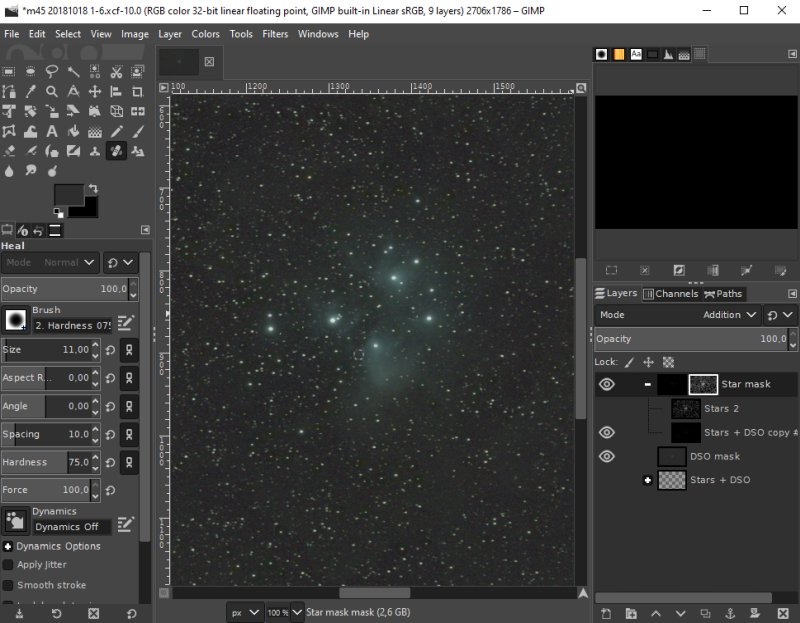
Zoom out the image and enjoy the result. Now the bright center stars doesn't flow out as they do with normal image processing. Of course much more tweaking to do, but now the principle behind the separation of DSO and stars is clear.
|
| Go Back |